I needed more space for the following card, so I went with a slimline card. I have made a card with these dimensions before, but the word slimline was never part of the description, just to fit into a business size envelope.
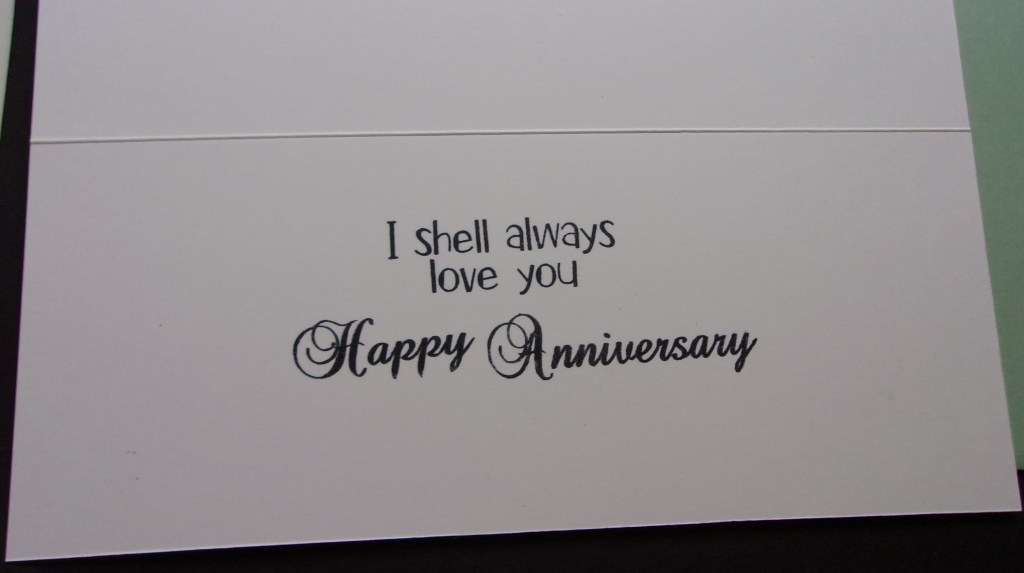
Tortoise outside Tortoise inside
I used the newest club set from The Stamps of Life, called tortie2stamp. Tortoise eat dandelions, so I stamped several to fill in the background. This was a joy to create. I am always looking for a new idea each year and this was a winner.
I have been creating cards for challenges on Split Coast Stampers lately. Here is a card for the MISTI challenge and a Thursday challenge.
Butterfly Window
This month’s MISTI challenge is to make a summery window card. Then there was a Thursday challenge to make a one-layer card, so both challenges work perfectly together.
The windows were cut with SU dies that match the Butterfly Basics stamp set and the Watercolor Wings set, all retired product. I began with the windows then placed the matching butterfly in front of the window opening in my MISTI. I opened the card front and leaving it flat. I stamped the butterflies in bright colors. Then closed the MISTI, laid the body on the butterflies, then opened the card again to stamp it. I wanted the body there, but not on the colorful images. I added a flower from the Layered Daisies set from Gina K Designs along with the sentiment. I popped the small butterfly on the flower and walked away.
I came back the next day or so, kept looking at the white background and didn’t like it. Then I remembered a cloud stencil, from Bonnie, that worked perfectly. I added blue clouds to the sky, then needed green for grass. I didn’t have a grass stencil and didn’t want to keep thinking of ways to get grass and leave the card flat. I have a punch and a die, but both will give elevation to the grass and I was thinking I didn’t want dimension on the grass, so I used the cloud die. I thought it gave the illusion of grass.
I like the card. It took a while to finish, but I think whoever I send it to will enjoy it. Thanks for reading my process.
I received the bottom card from my girlfriend the other day and yesterday I just learned that her long time neighbor and friend passed away. Since dragonflies are my friend Joy’s soothing image, I decided to CASE the card I received from her as a sympathy card in the loss of her neighbor.
I found the dragonfly dies on Amazon which is a set of two –detailed and outline. After cutting the outline on the front single layer card, I then added the detailed die and embossed in to the inside of the card. Then die cut once more the detailed dragonfly and colored it. With my sticky fingers I glued each individual section to the embossed inside. Then backed the detailed outline with clear transparency sheet. Both dies are the same size and cut nicely. My clouds were made using a SSS cloud stencil and Distress Oxide Tumbled Glass ink. The sentiment is from GKD’s Showtime StampTV Kit Picture It! As I was adding the sentiment I kept on thinking “be straight, be straight”. Whew…it worked without the Misti and a red rubber stamp too.
Thanks for looking. Have a great day and weekend. Stay Safe.
Two totally cute free digis were made available by The Cat’s Pajamas PaperArts stamp company. Their Poochie and Kitty Kats are all too cute. I’m feeling satisfied with the finished cards and clearing one project off my desk. Note: I did clear a tiny section of my desk and blocked the back view….LOL….the mess went right back on top after photo. Thanks to our Stamp Buddy who advised of this freebie.
It’s color week at Just Us Girls using pink, yellow, green and orange. I had a lot flowers cut using the dies from the My Monthly Hero Kit for January – love that set. I colored the flowers with various Distress Oxide inks using my blending brushes, though some of the filler leaves were cut from green cardstock. The envelope from the kit was cut from soft stone. The birthday sentiment, also from the kit fit perfectly on the envelope. The card base is lemon drop. I used the Press ‘n Seal trick to get the flowers arranged and in the envelope. I had lots of fun creating the flowers.
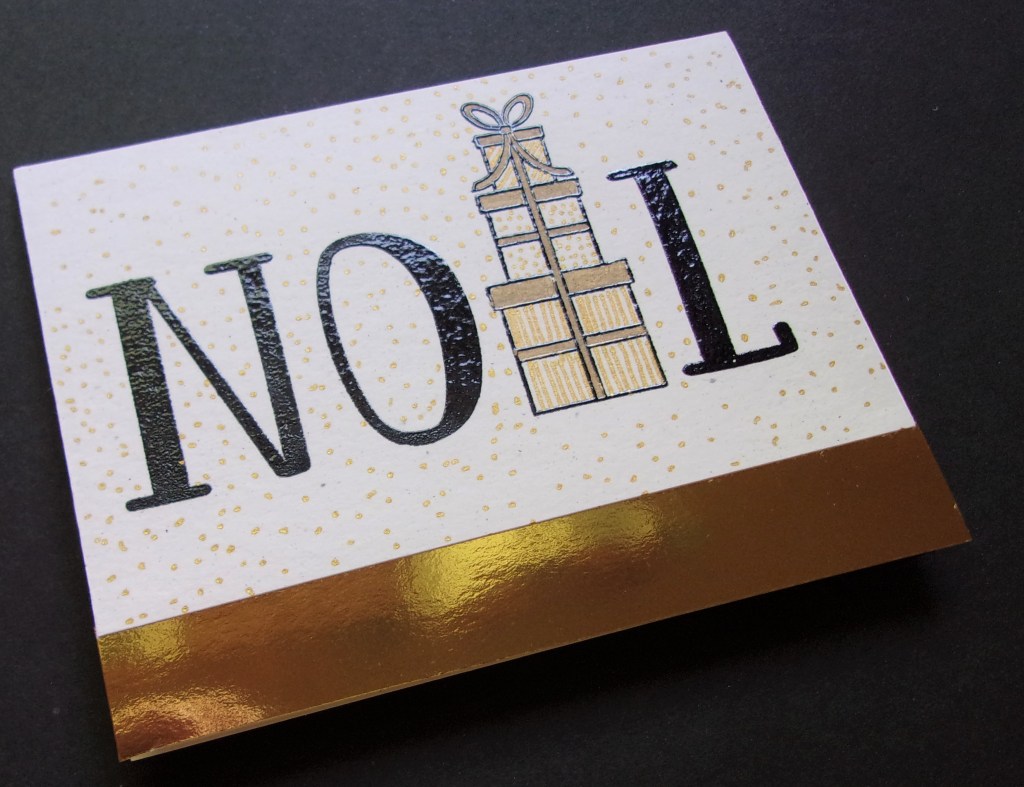
Day 10 is all about letter substitution. I have a stamp set by Maymay Made It called Noel. It is designed for letter substitution as it comes with Christmas images to substitute for the letter O or the E. I pulled out a stamp from The Stamps of Life penguins4Christmas, and used the gift for the letter E. To decorate the gift boxes I found a piece of patterned paper that had gold foil gifts all over it and I used it for inspiration. I used a gold Sharpie marker and a gold gel pen to decorate the boxes, like the patterned paper. I added dots all over the background with the gold gel pen, then added a strip of gold foil to the bottom of the card front.
Round 2 with gesso. I think I’m focusing too much on the product and results which is way out of my comfort zone. Anyway business at hand, The AYSI challenge for 05.08.20 was a sketch challenge:
and the The Sisterhood of Crafters Challenge is one of Birds, Bees, Butterflies which of course I immediately chose butterflies. I used some clear gesso on my text vellum, then stamped the Pretty Pink Posh Beautiful Butterflies stamp set in Versafine black onxy ink. I colored my butterflies with color burst in marsala and rogue with a water brush, adding some dots with the Ice White Pearl Pen. My clouds using my Bonnie cloud stencil were created using Distress Oxide ink in Milled Lavender and Broken China. I liked the light milled lavender and am thinking I should have stopped there, then for good measure tried to add some white gesso through a cloud stencil…..not happening and trimmed that down. My side panel was cut from my favorite DCWV patterned paper pack The Mariposa Stack and layered on some GKD cardstock after using a darice butterfly embossing folder which cannot be seen but I know it’s there. The sentiment is GKD’s Sweet Friend that I cut apart.
I really enjoy playing along with both of these challenges as they are always fun and creative.
The gloves are coming off with this gesso stuff and am definitely open to constructive critique. You won’t hurt my feelings because you are all such good friends. I promise to only cry a little bit…LOL. To my eye it’s messy.
I am slow posting the cards I have created as I go through the class. Today is Day 12, and this post will allow you to catch up with all I have created.
Day 3 Flourish Day 3 Roses
Day 3 was all about embossing with stencils. I watched the class video, tried getting my sandwich correct for my Big Shot and it wasn’t working. I finally went into the Gina K library and found a card she created a couple of years ago with the Cuttlebug. That was perfect for me, as I was able to get my sandwich correct. I embossed several pieces of cardstock, which are waiting to be used on a future date.
Day 6 Color Blocking
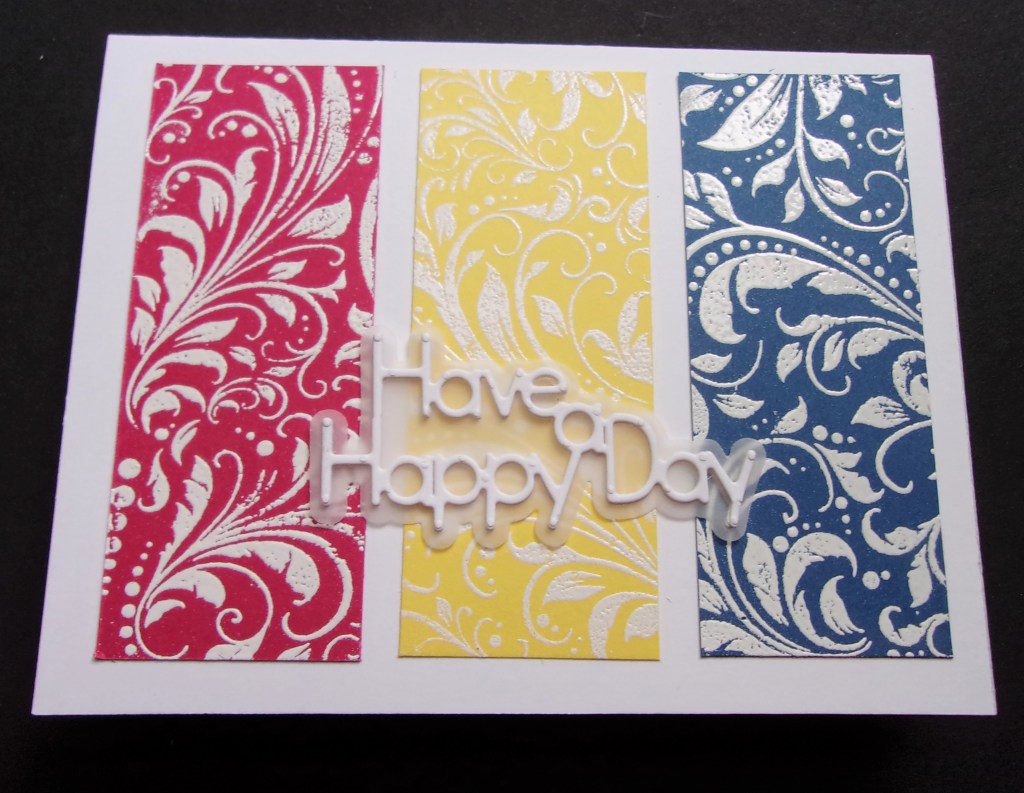
Day 6 was color blocking where the assignment was to either use embossing folders to create texture or use a stamp and heat emboss. I used the MFT Flourish background stamp on SU cardstock that is quickly retiring in color. These colors are Lovely Lipstick, Pineapple Punch, Blueberry Bushel and are heat embossed with Gina K Designs white embossing powder. The die is from Sizzix, part of a card die set. I enjoyed this class quite a bit and have pieces of this embossed paper left for other cards.
Day 7 Framed Vellum Day 7 Vellum Overlay
Day 7 was all about Vellum. For the first card I used the Flower Power die by Sizzix and Stephanie Bernard. I used a piece of scrapbook paper and tried laying the vellum on it, but it was too much lavender, so I finally decided it looked good on black. It needed the white behind the vellum and black to balance it, so I grabbed the Hello die, from Gina K Designs and cut the black Hello. By this time I had a large piece of black cardstock with adhesive on the back, so I keep cutting Hello dies from this cardstock, placing them on the card for a greeting.
The second card was fun to create. I placed the Friendship Blooms set in my MISTI and stamped it with black ink, followed by Versamark and used clear embossing powder. I simply do not like black embossing powder, so I usually use either regular black ink or a black pigment ink and clear embossing powder. The vellum overlay has a circle cut in the center for the flower to show through and a white frame added. I liked this card better then the one with lavender. The Hello die and the stamp set remained on my desk and MISTI for quite a while, so they both keep getting used.
Thanks for reading this post and sharing in my class creations.
The inspiration photo at The Card Concept challenge was loaded with patriotic images. I used our beautiful American Flag as my inspiration. My style always tends toward CAS, but I think according to the styles on The Card Concept website, this perhaps leans more toward Clean and Layered. Using the flag stencil from Simon Says Stamp, I brushed Red Velvet ink on the stripes. Then I placed the field of stars and brushed on VersaMark and embossed in white embossing powder. Using the emboss resist technique (a first for me) I brushed Blue Denim over the stars to create the field of blue and gently wiped the excess away with a paper towel. After I trimmed the flag I realized it was too large for an A2 card, so I decided to make a slim line card – another first for me. I stamped the eagle head from Divinity Designs in Warm Cocoa and fussy cut it. I used masking so I could stamp the sentiment, also from Divinity Designs in red and blue. I used Warm Cocoa to mat the flag and the sentiment.