Gesso Begins!

AAA Cards CAS Game #165
The Paper Players PP490

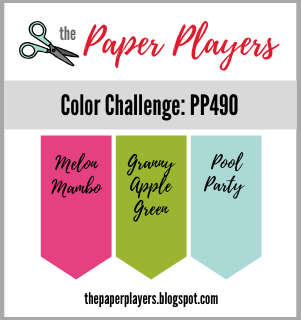
Deal in place — ordered and finally received clear and white gesso and my reward is one fabulous butterfly stencil by our Bonnie. As you buddies know, Bonnie makes the most outstanding backgrounds and mixed media concept cards. I’m not sure if the mixed media will fit me but I do love butterflies. Thank you Bonnie. I’ll be searching your blog and other YouTube videos on what to do with this new to me product. So I taped off all but three butterflies from the stencil and spread on some white gesso. After drying and taping off the two thirds of the card, I used direct ink to paper to create the background. The inks used were GKD’s Key Lime, Ocean Mist and Memento’s Lady Bug. The color challenge PP490 at The Paper Players is to incorporate Melon Mambo, Granny Apple Green and Pool Party.

The AAA Cards clean and simple challenges CAS Game #165 is Up to One Third + optional twist A Repeating Image which is where my three butterflies comes in. Although it’s not the same butterfly there are three.

I used Bonnie’s suggestion of text vellum (not sure if I have the same weight) and then spread some clear gesso over that…..just for good measure!! Oops almost forgot the sentiment is from GKD’s The Giving Tree. Now h ave a great day. Stay Safe.

Lavender Little One

Double D Challenges Lavenders-Lilac-Purple Challenge
ModSquad Challenge A Day for Mothers

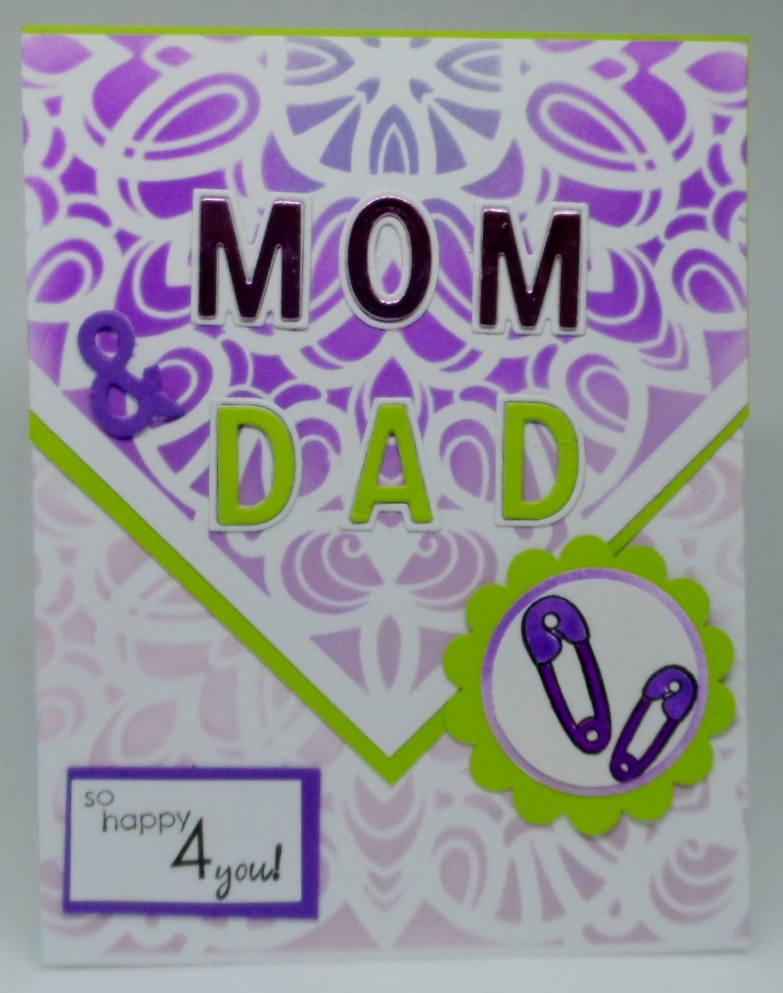
I have been very remiss is getting out a congratulations card for a new baby. So I thought I would use the Double D Challenge of using Lavenders-Lilac-Purple challenge and the ModSquad Challenge A Day for Mothers to include the word mother on the card. The Double D Challenge mood board:

includes shades of purples, white and green. So I sponged a GKD stencil in Lovely Lavender, Wild Lilac, Wilted Violet and Shaded Lilac inks cutting it out and layering it on some green. The base card was also sponged using the same stencil in the lovely lavender. My alphabet die letters are Concord & 9th’s double cut alphabet letters which were layered for dimension. My sentiment and “baby pins” image were both from GKD’s Oh Baby! stamp set illustrated by Rupa Shevde.

Thanks so much for looking and hope all had a wonderful day on Sunday.

Phases 5-7

Here are the next few phases.

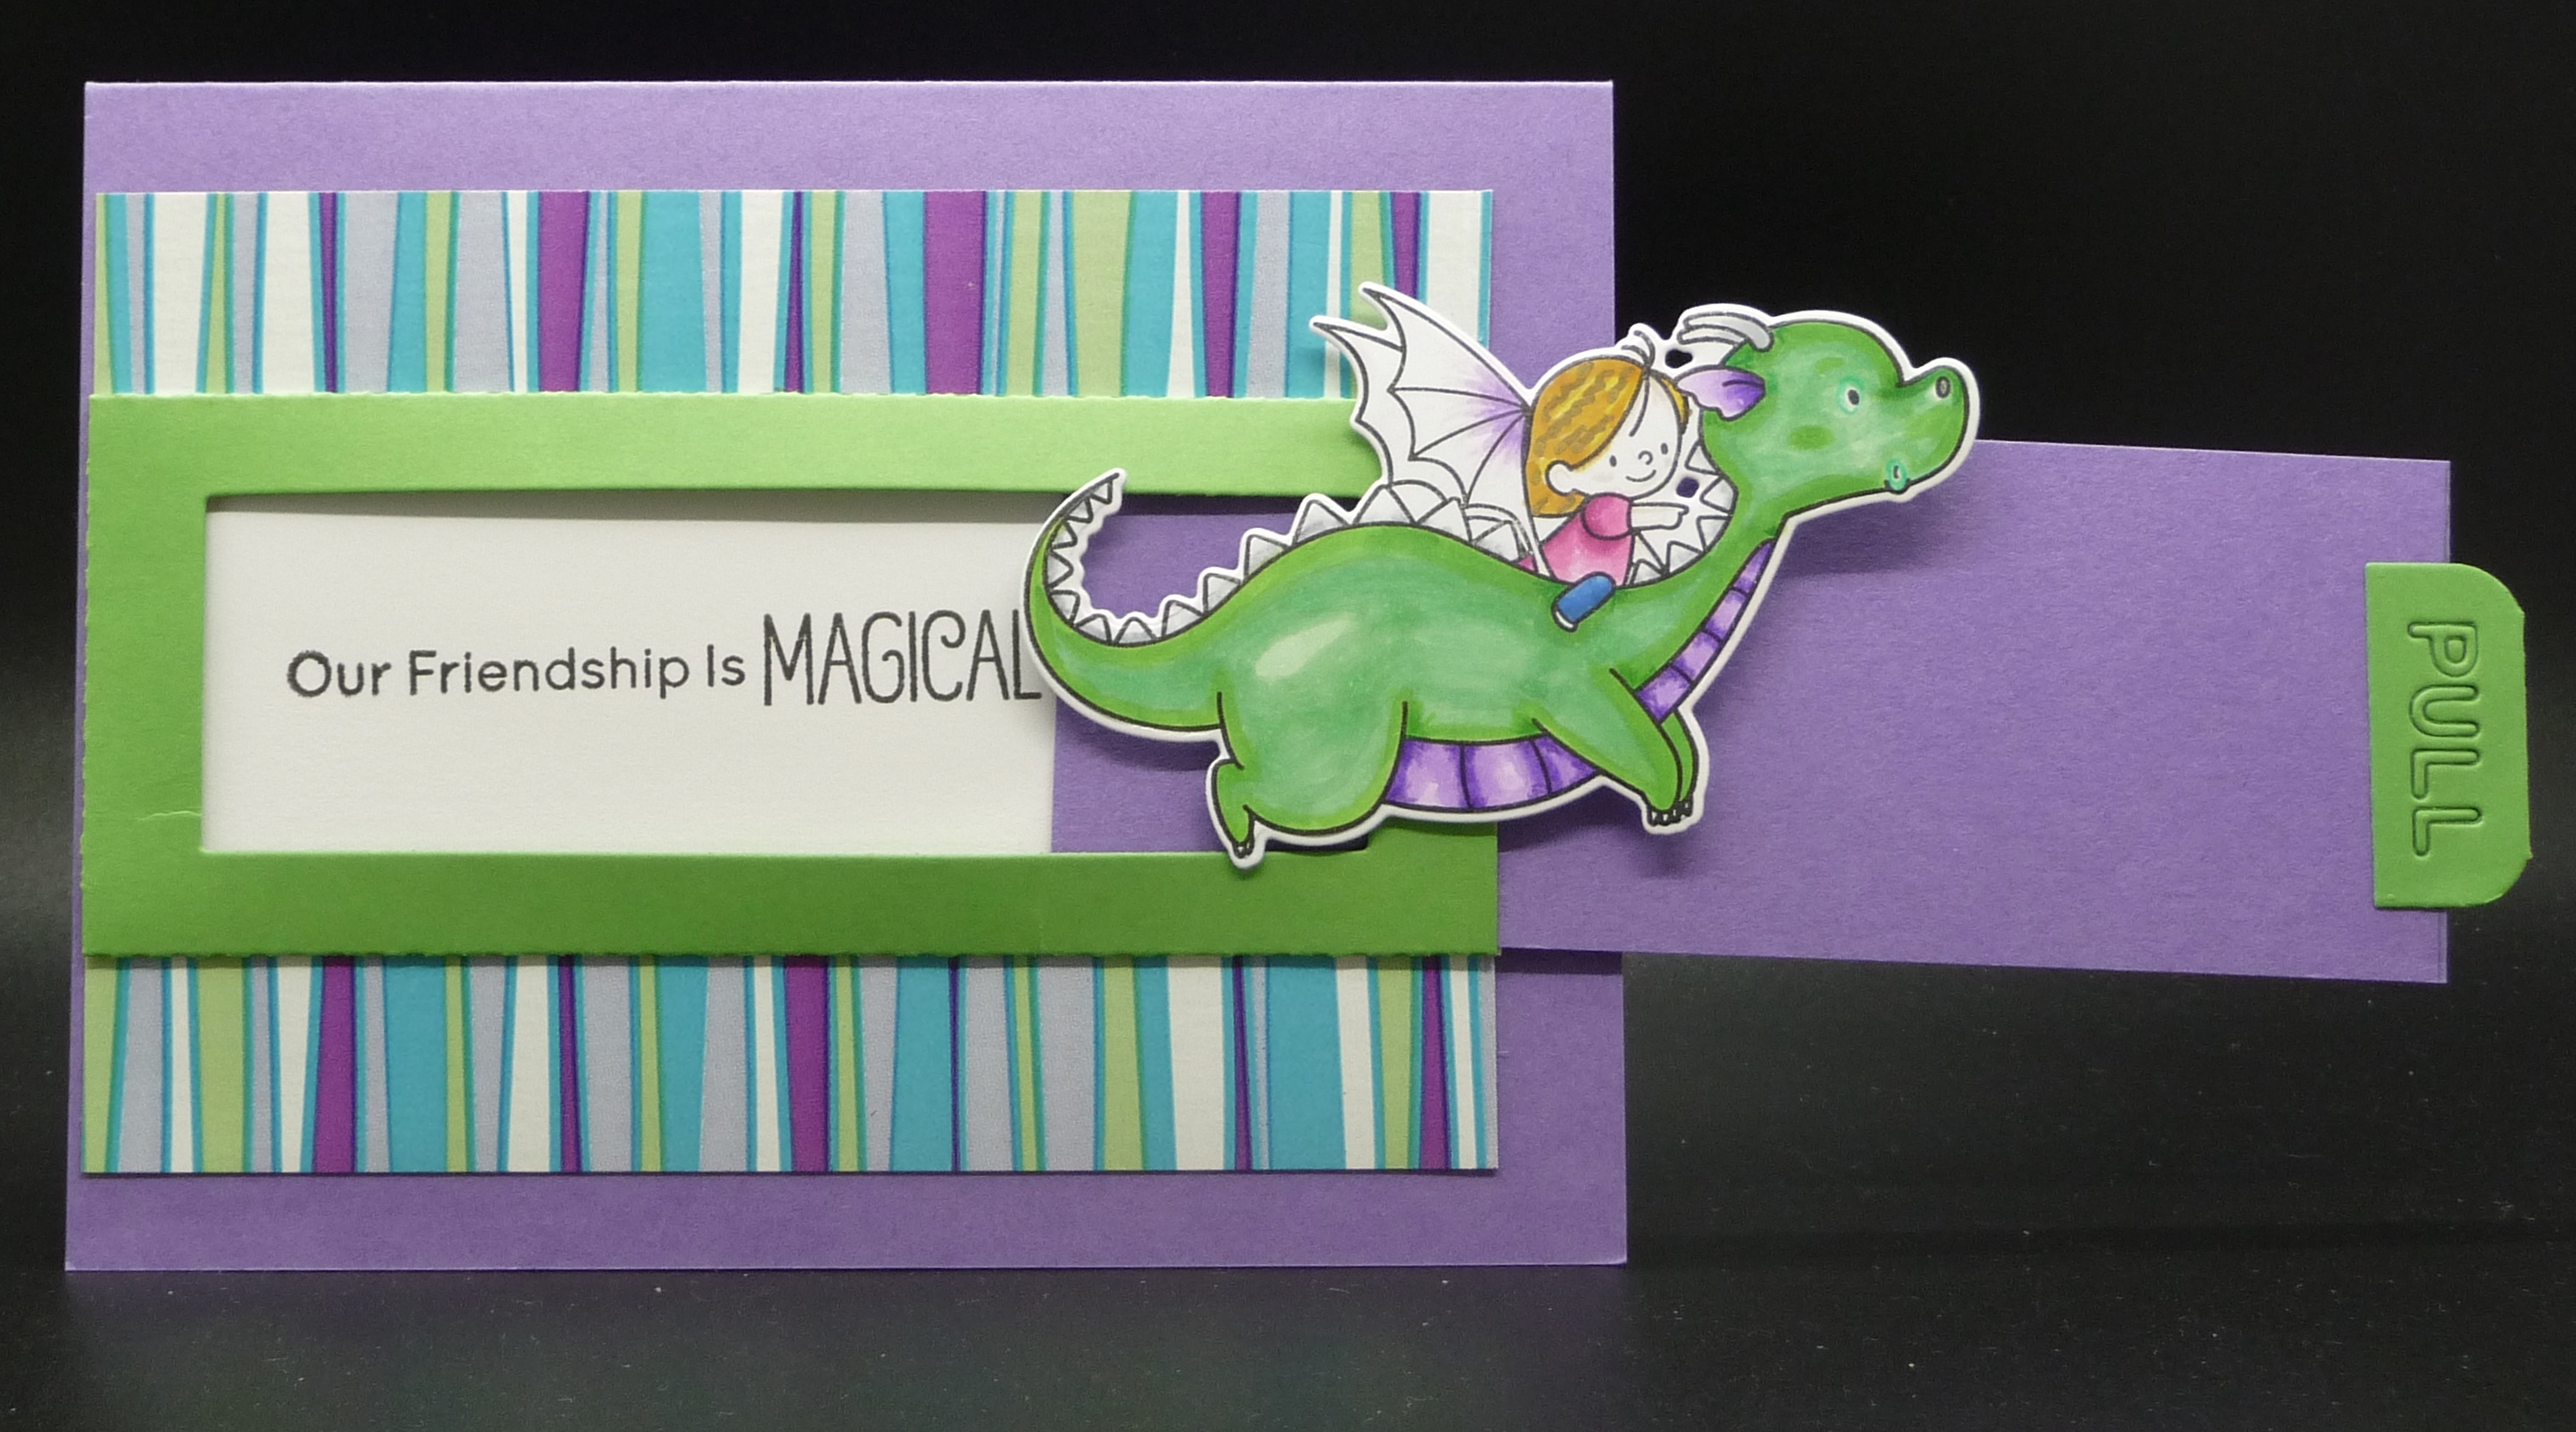
Phase 5 Pull Tab/Movement

5-10-20 Phase 5 Pull Tab

Here it is open

5-10-20 Phase 5 Pull Tab Open

I really like this one.

Phase 6 Leftovers (use those pieces you have laying around from other things you’ve made)

5-10-20 Phase 6 Leftovers

As a lot of my pieces were from MFT, I used their Sketch Challenge for this week to base this on.

Phase 7 Upcycle

Made 2 for this, both using pieces of tissue boxes.

5-10-20 Phase 7 Upcycle 2

Used more of those leftovers for this, too.  I wasn’t too thrilled with it, so made the next one.

5-10-20 Phase 7 Upcycle 1

Whew.  I’ll try and make the rest of the phases this week, but want to get most of these sent out in tomorrow’s mail, so need to get writing and addressing.

Thanks for spending some of your valuable time with me today.  Have a great rest of your day and week.

Card Camp 2, several days

I am posting several days of cards. I posted each on Split Coast and to the class from there. They were many new concepts for me and enjoyable to create.

Birthday Wishes fish

The fishy one is Day 1. I had trouble making an initial like Kristina Werner showed in the video, so I finally went with a circle. I used a few Gina K Design ink colors and ink blended. Then when the ink was dry, I added fish from The Stamps of Life Under the Sea set. The word birthday and the Wishes die came from the Elegant Asters Card Kit from Gina K Designs.

You are Amazing

This was Day 2, Make you own Stripes. I followed fell Buddy, Judy’s advice, in making sure to cover each inked stripe before moving on to the next one. I used a combination of painter’s tape and very low tack, purple tape. I managed to leave a few white stripes I liked it, so I made a few more white by not butting my tape exactly next to the one inked. The stamps are from Maymay Made It, called New Creation and Positive Vibes. I did add a few stripes of glitter pen. I enjoyed this once I began creating it .

Lifetime of Love

This is for Day 5, Stencil Shading. The idea is to give a vintage look to your stenciling. This is a new concept for me, but was quite easy once I began. I used Memento inks and a Hero Arts ink pad, along with my blender brushes. The instructor began with Warm Glow ink by GKD, but I do not own that ink so I used Desert Sand as that is my lightest brown ink. Then I added the pink from Hero Arts and the green from Memento. I used the sentiment from Wreath of Wishes, thinking this will be a good anniversary or wedding card.

Stencil Shading

Spring Card Camp 2 – This incorporates Day 3 (Dry Embossing with Stencils) with Day 5 (Stencil Shading). I had trouble getting the Daisy Bouquet stencil by Simon Says Stamp embossed. It doesn’t show in the picture but you can feel it. I first sponged Warm Glow ink over the entire stencil. Then I colored with Distress Oxides with some shading with Prismas. The colors I used were Bundled Sage, PC1096, Kelly Green & PC911 Olive Green, Ripe Persimmon, PC921 Pale Vermillion, Wilted Violet PC995 Mulberry. I found a copper Permapaque pen that I used for the dots – I have no idea where I got it, but there’s also one in gold and one in silver in my stash. The sentiment from Simply the Best by Gina K Designs was stamped in Dark Sage, also by GKD.  I cut the Wild Lilac border a wee bit small and it really doesn’t show well, then matted it with Fresh Asparagus on a Heavy Weight White card base.  After I assembled it, I noticed that the dots in the center flower make a smiley face.

Phases 1-4

I’m getting ready to host a challenge on WeCraftCards.com on May 18.  We decided to do the challenges for May and June based on games.  I chose Phase 10 for my game, so I’ll wind up doing 10 cards as examples for the 10 phases.  Wanted to share what I’ve been working on.

Phase 1 is Monochromatic.

As Double D challenges has a purple challenge going, and ModSquad has a “Mother” challenge going, decided to make this one work for those.
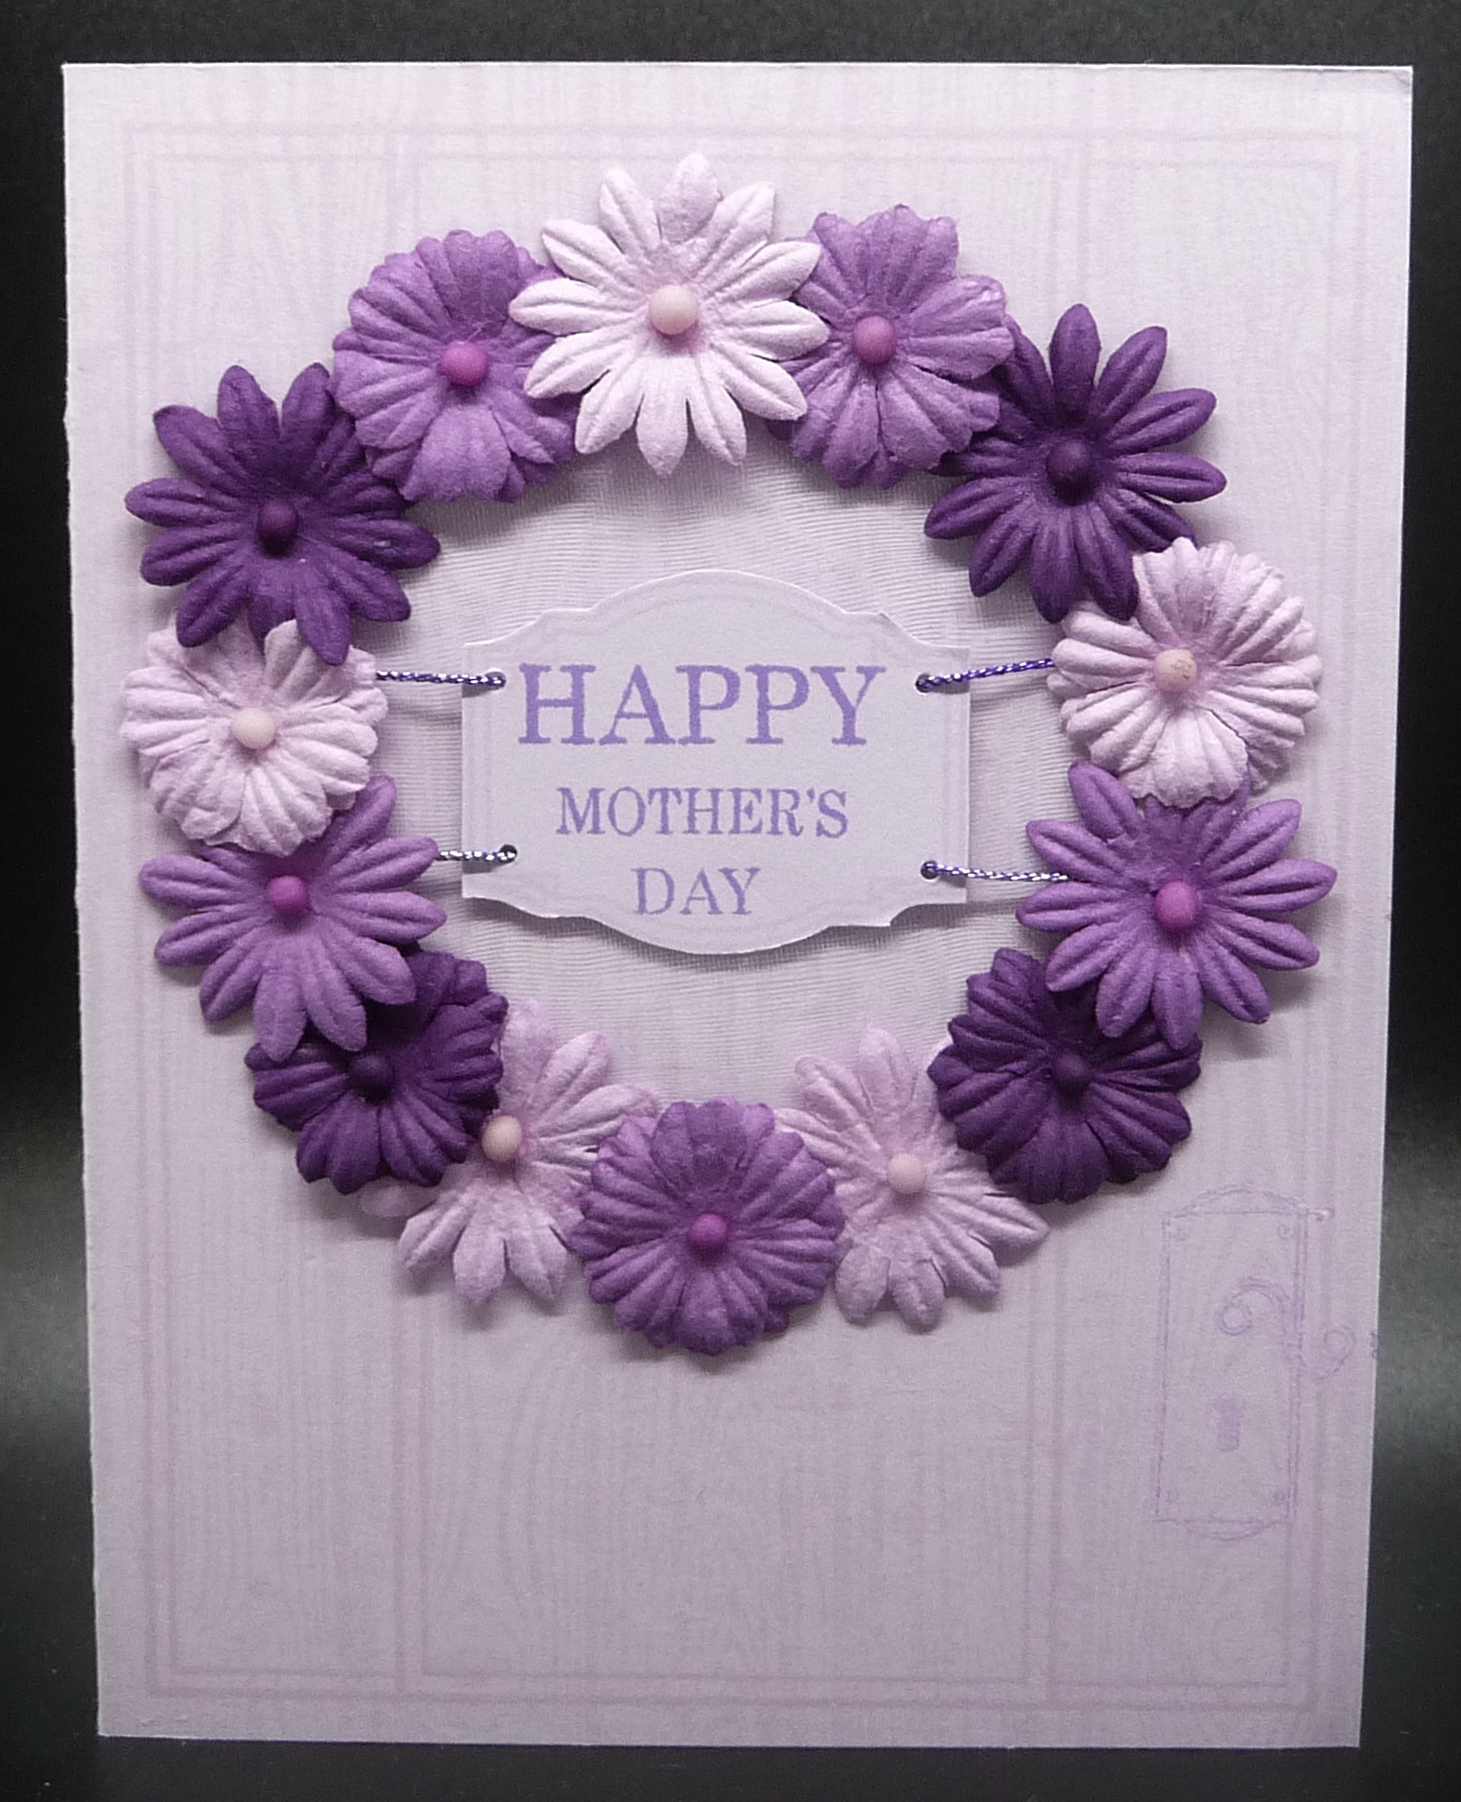
5-9-20 Phase 1 Monocromatic

When I do monochromatic, I only use shades of 1 color, no neutrals.  For this, I used:

  • My Favorite Things Wood Plank Background stamp
  • Gina K Designs Lovely Lavender card and ink
  • Gina K Designs Holiday Frame Set and Holiday Frame Fillers Set by Melanie Muenchinger
  • Gina K Designs Wild Lilac ink
  • Ranger Distress Ink in Picket Fence
  • Recollections Floral Embellishments

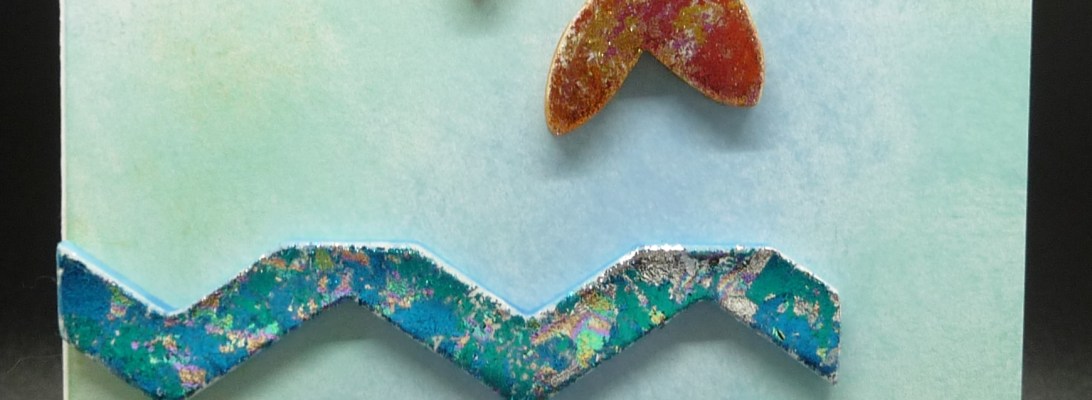
Phase 2 is to use Foil

5-9-20 Phase 2 Foil

I had so much fun with this one.  I used Queen & Company foam pieces.  These are the pieces you punch out, when you use one of their foam frames.  The fish is made from the mermaid tail punch out and the “waves” are from a chevron punch out.  I used the top and bottom’s, so they were flat on top as I was looking more for a river than ocean waves.  Used foil on the sticky parts of the foam pieces.

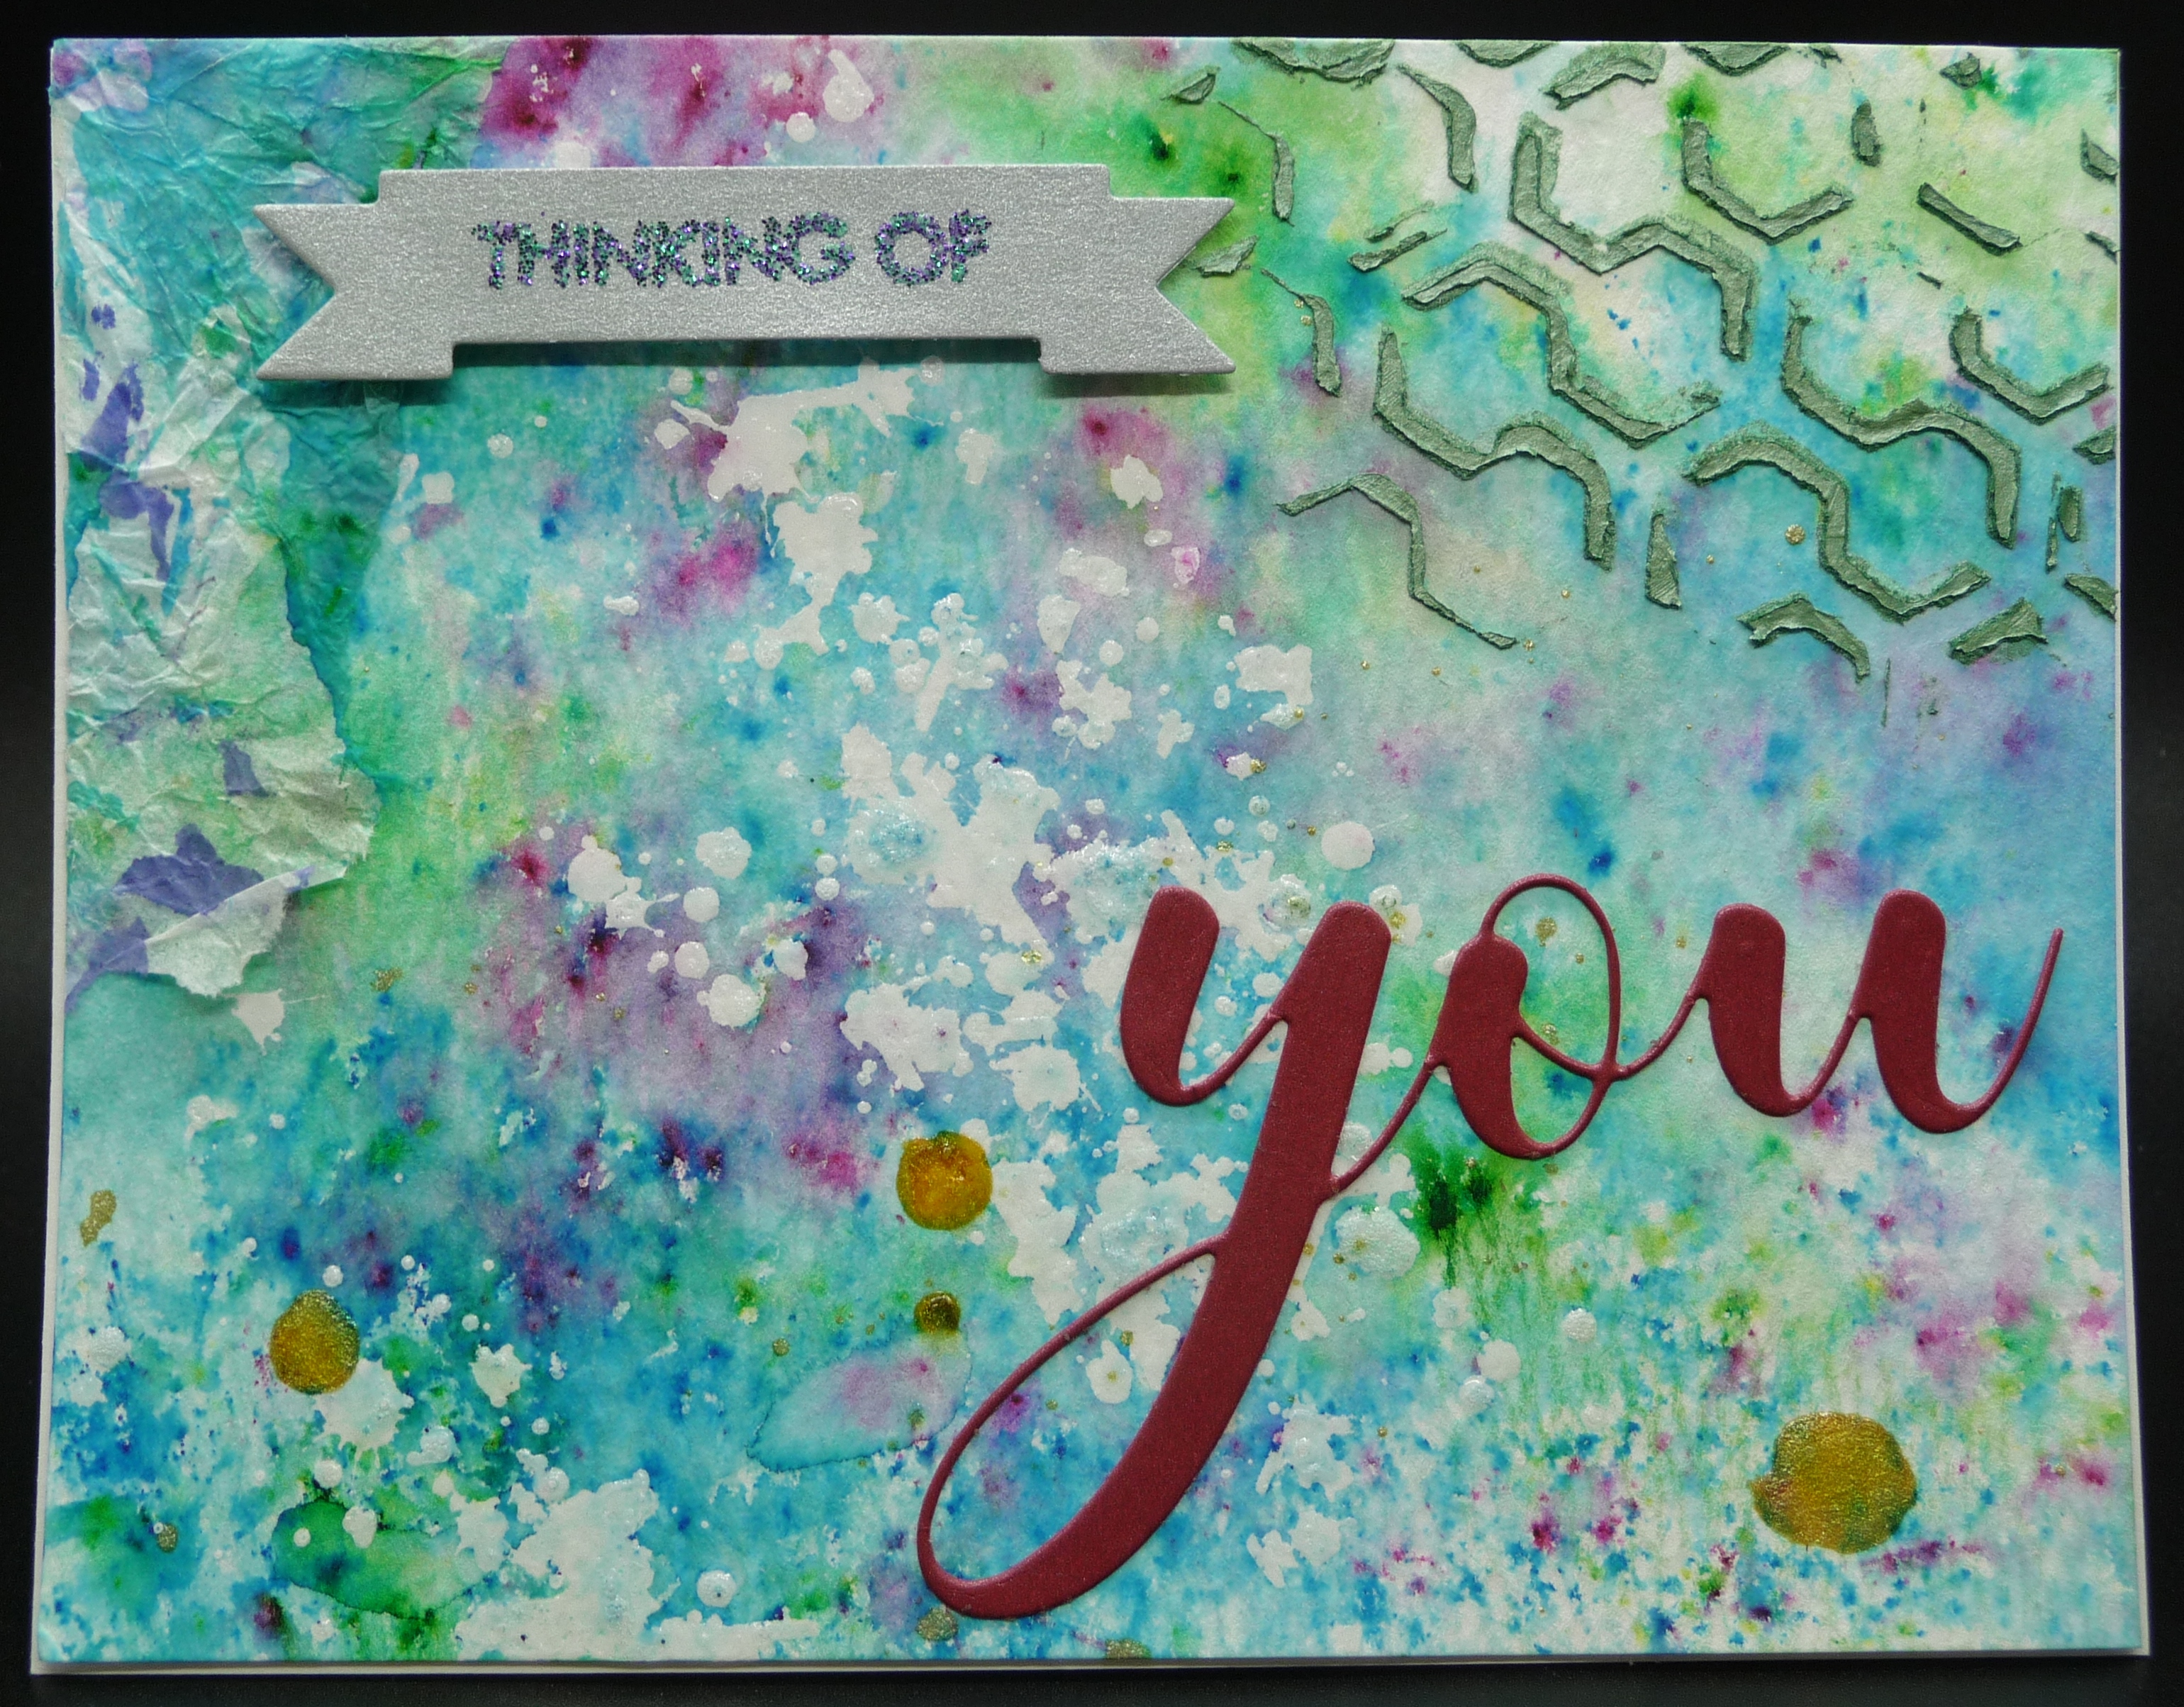
Phase 3 is Texture
5-9-20 Phase 3 Texture

My friend Bonnie always has so much texture on her cards, I tried to do as she does.  Mine is not so pretty, but it’s a fun mess.  For some reason, spray bottles do NOT like me.  I went to use my Ranger Distress Spray and it wouldn’t spray.  I had a stencil down, but as I had to pull the sprayer out (tried cleaning it out with hot water, which didn’t work) and just fling it over the stencil.  You can see the white splotches, which are texture.  I used different water color powders on the card and sprayed.  Mopped up the extra with some tissue paper I’ve had on my desk for this the past two times I’ve used watercolors.  There’s a piece of that tissue paper ripped and glued along the top left corner.  Sprinkled a bit of metallic watercolor on there (yellow dots).  Then, used another stencil and some Nuvo Embellishment Mousse (top right corner).  Yikes!  That was a mess, as my mousse has gotten too dry.  Was able to add enough water to make it work.  Cut the sentiment strip and the “you” out of shimmer paper and embossed the “thinking of” with glitter embossing powder.  There’s an unbelievable amount of texture in this and I really like it.  There’s a lot of shine, too.  Did, however, ruin my shorts, as the fan in the room was on when I used the watercolor powder.  Oops!  Good thing they’re my cleaning shorts.

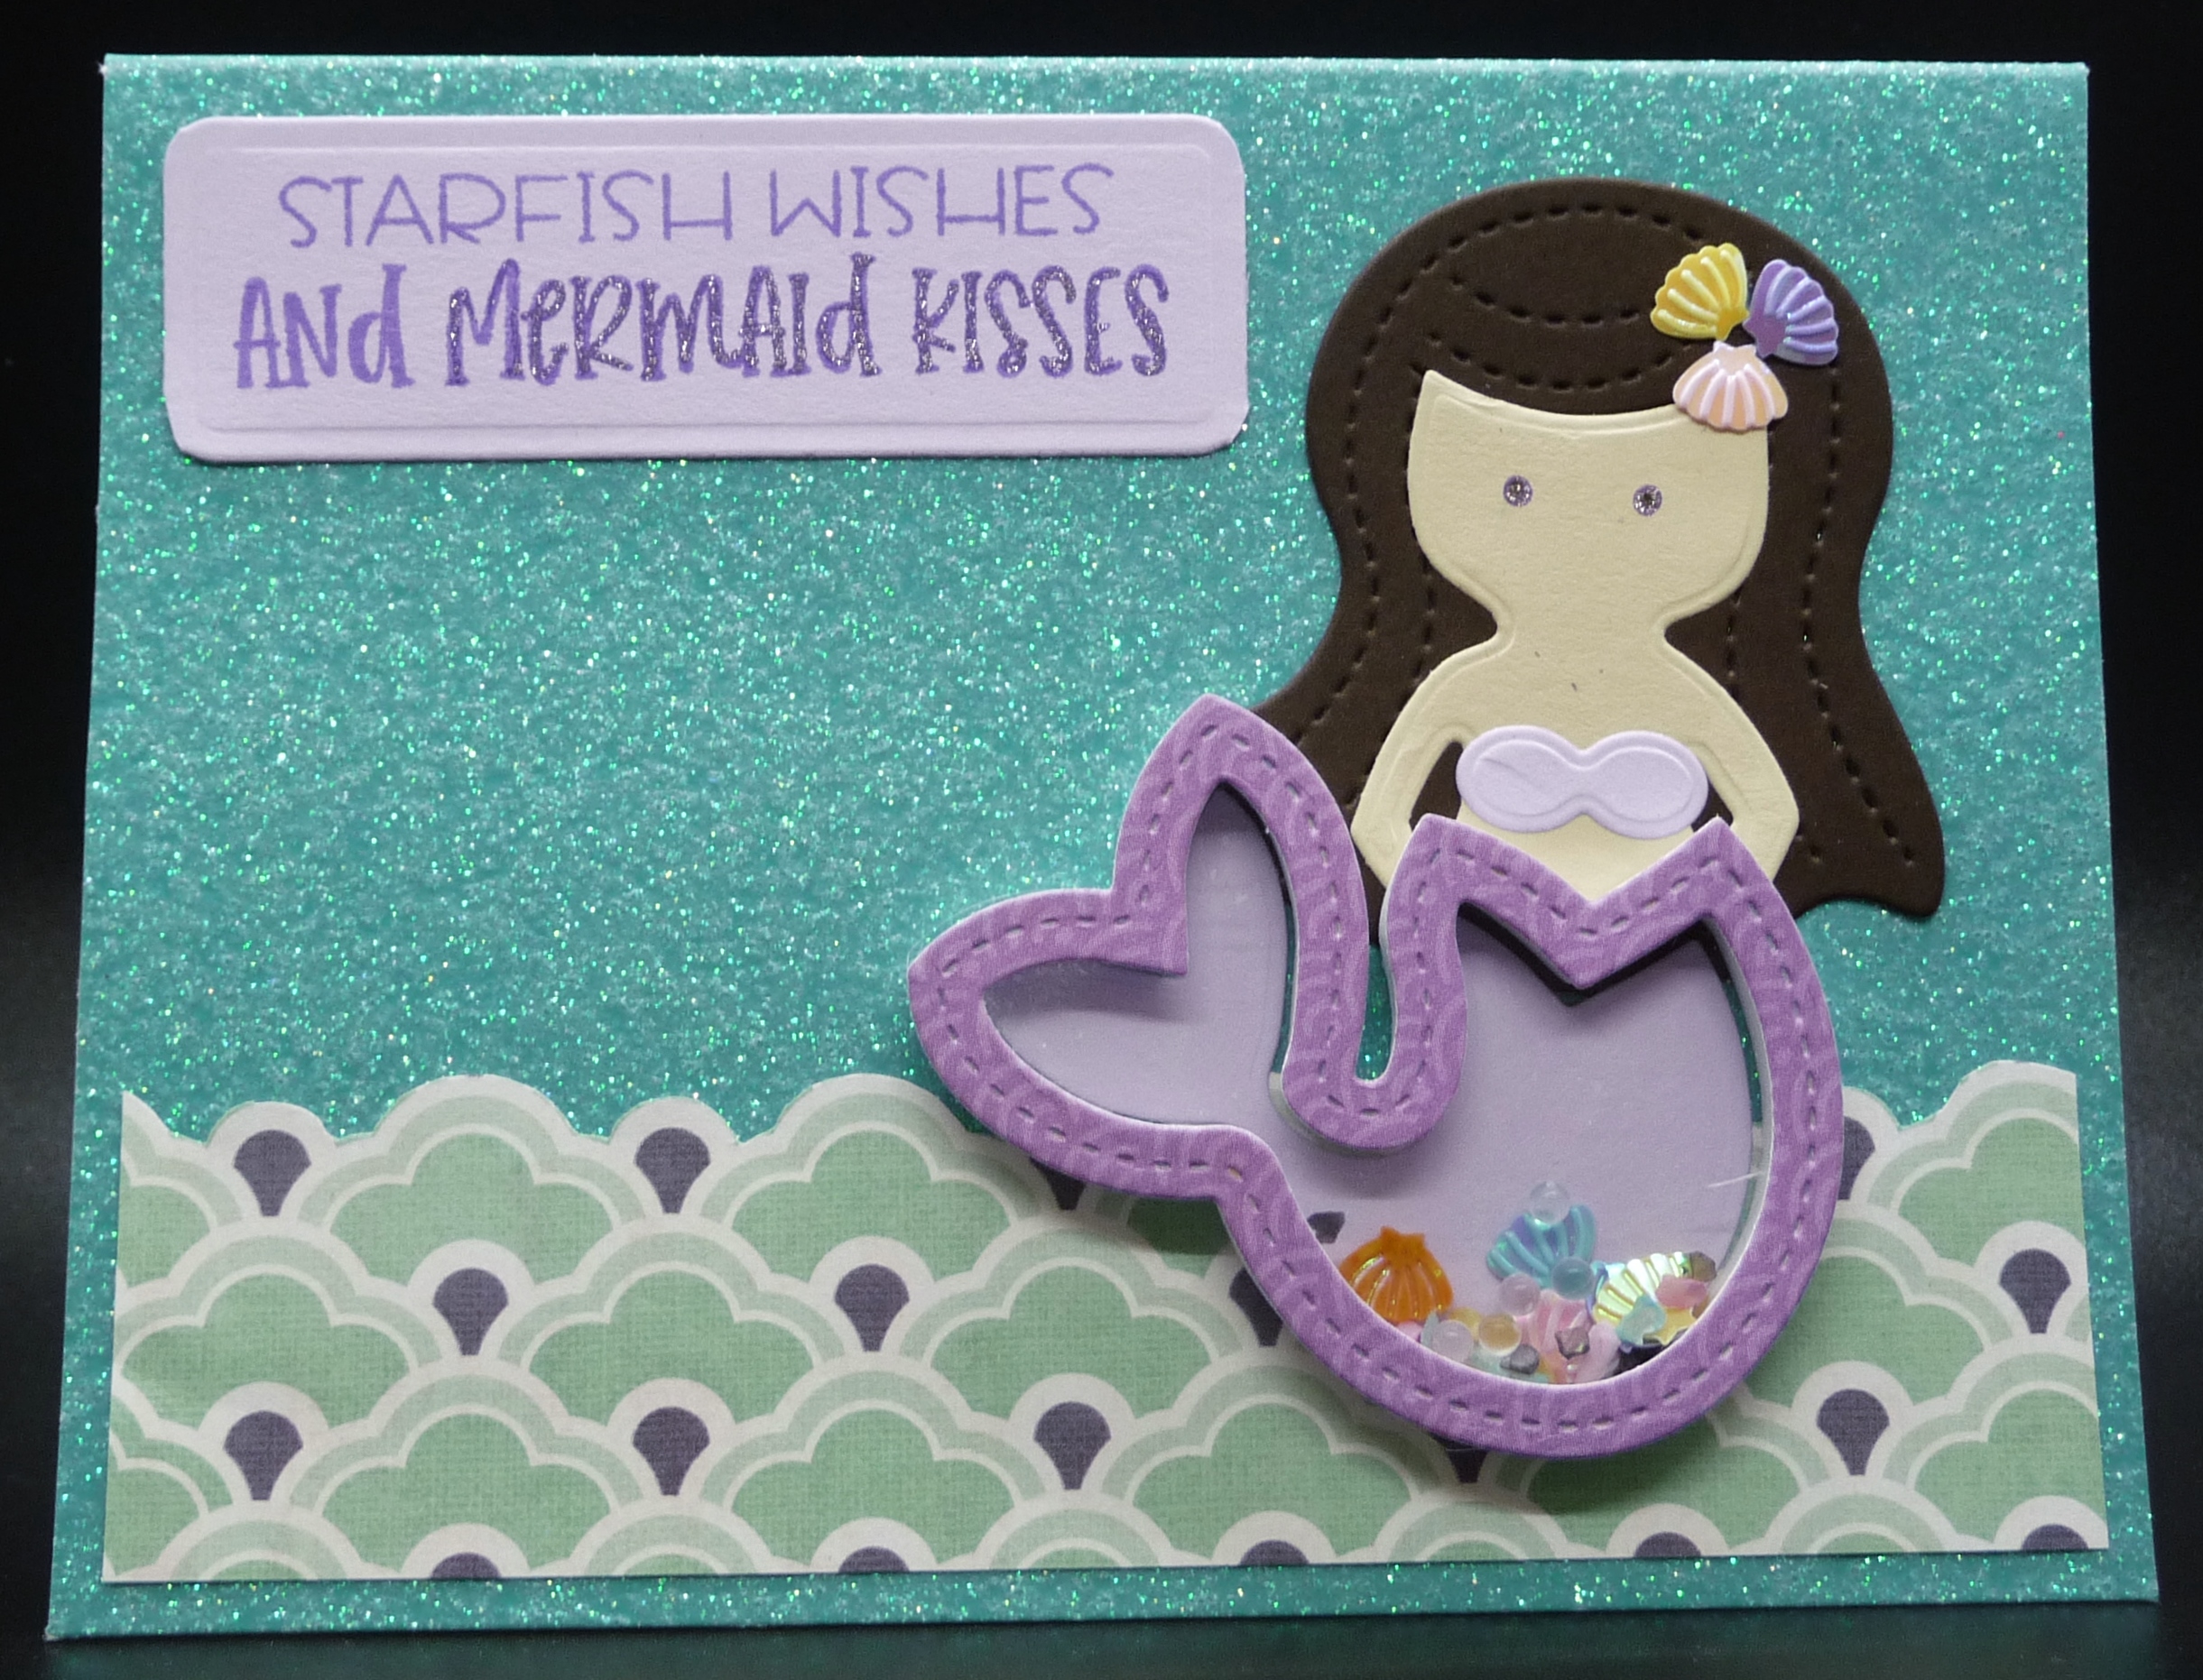
Phase 4 is a Shaker
5-9-20 Phase 4 Shaker

Used a Queen and Company kit for this one.  I had some other fun papers I had planned to use, but thought the family I’m sending this too would enjoy the glitter card, better.

I started Phase 5, but wanted to get these up.  Hopefully I’ll be able to work on that one tomorrow, as well as the rest of my phases.

Thanks for spending some of your valuable time with me today!  Have a wonderful Mother’s Day tomorrow.  (If you’re reading this afterwards, hope your day was special.)

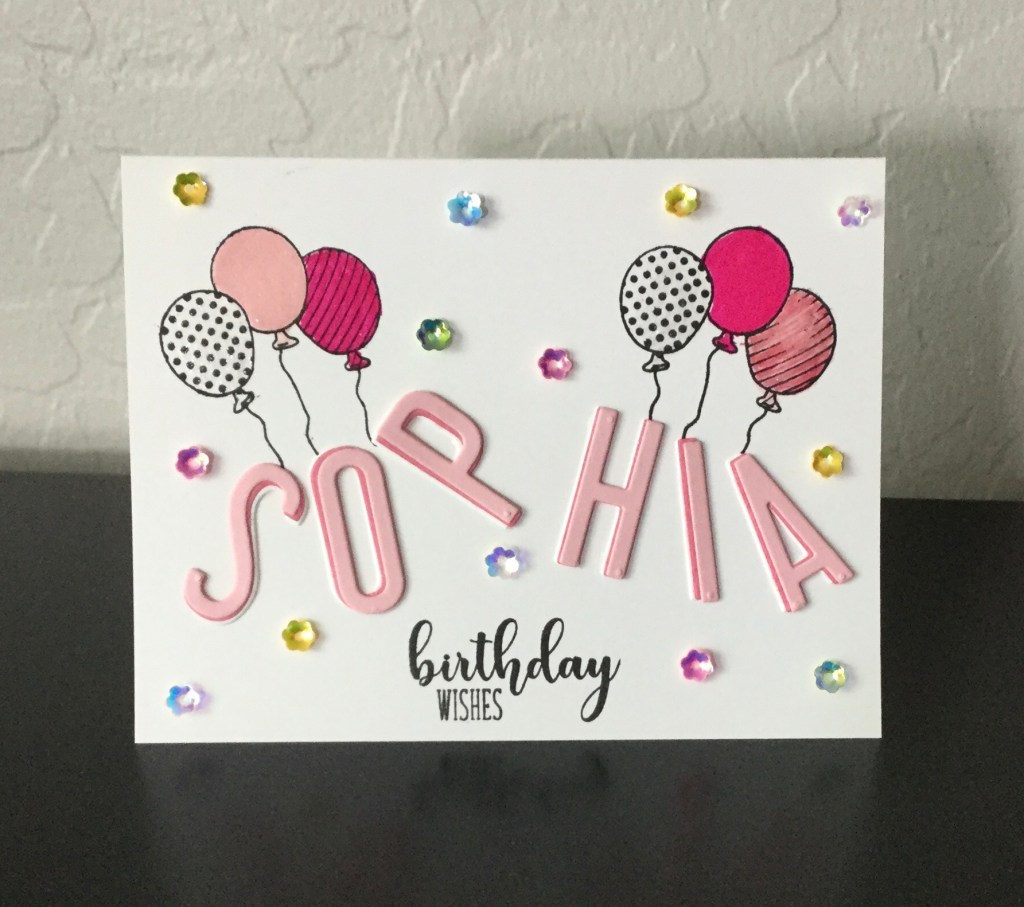
Birthday Card

Two cards in one day! This one is for my Granddaughter Sophia. I die cut her name from Altenew paper with the Altenew Fine Alphabetically Dies, 3 times, glued with Connect Glue to show colors. The balloons are from Technique Tuesday Umpteenth Birthday, stamped in Black and colored with SN Shimmer Markers. As she loves bling add quite a bit which is from Pink and Main kit.

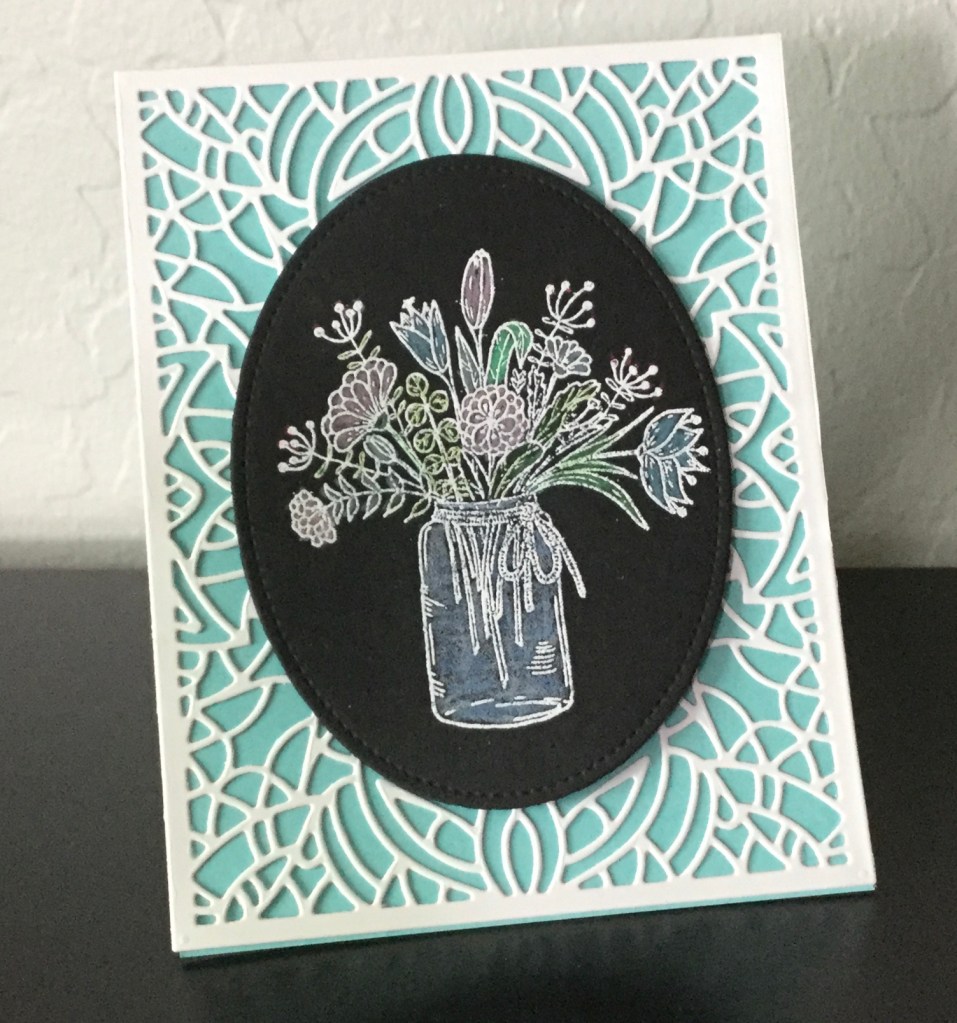
Birthday Card for Special Friend

I’m slowly getting back to card making! All paper is GK unless I specify something else. Most of the stamps are also, just starting to add others.

The die is Altenew Ornate Cover Die on Turquoise Sea card base. Image is GK I heat embossed in white sometime ago! Colored with Prisma pencils and Gamsol. Birthday Wish are on inside.

Birthday Card

Purple Striped Flowers

Challenges:
Double D Lavender Lilac Purple
Retro Rubber Spring Flowers

The homework for Spring Card Camp 2 Day 2 was to create a card with stripes. Using Jennifer McGuire’s tutorial I used purple tape to create stripes in various shades of purple ink. Then I stamped the large flower from Just a Little by Lisa Hetrick (released July 2018) for Gina K Designs. Jennifer suggested stamping the image first in very light gray ink using the MISTI so you knew where to place your stripes. I did that on my disaster card (I might be able to salvage the back), so I knew where the image was going to be placed. I wanted a large birthday sentiment and this one from Birthday Essentials (released March 2018) by Newton’s Nook  just filled the bill.