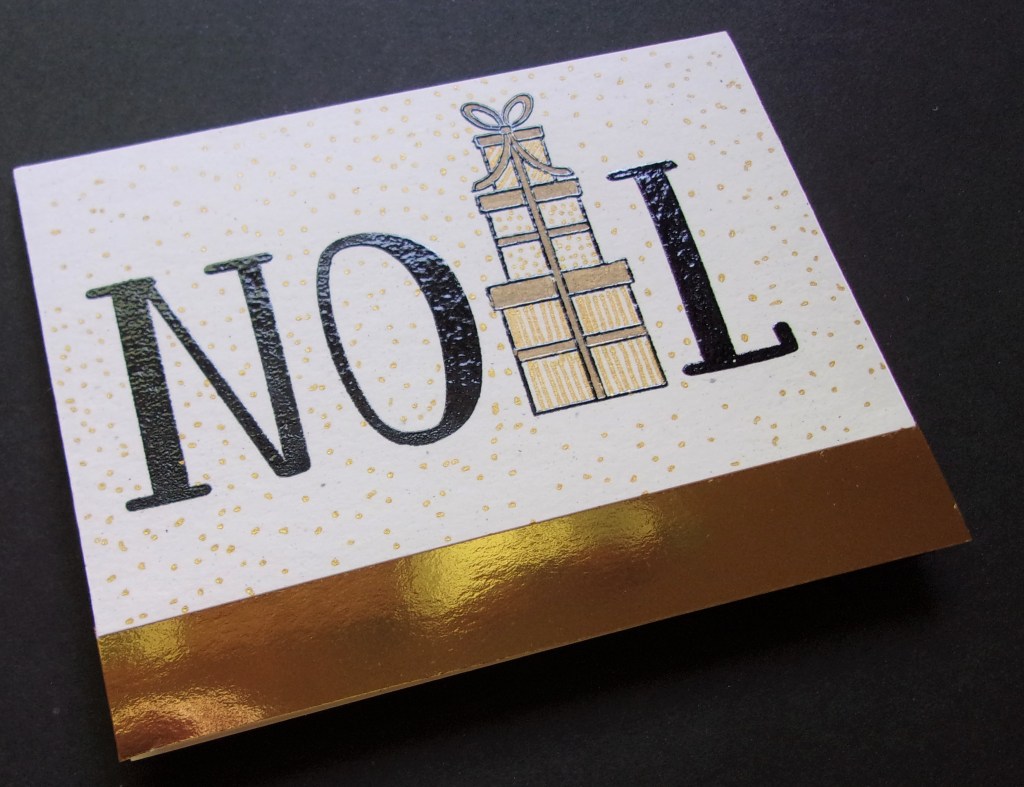
Day 10 is all about letter substitution. I have a stamp set by Maymay Made It called Noel. It is designed for letter substitution as it comes with Christmas images to substitute for the letter O or the E. I pulled out a stamp from The Stamps of Life penguins4Christmas, and used the gift for the letter E. To decorate the gift boxes I found a piece of patterned paper that had gold foil gifts all over it and I used it for inspiration. I used a gold Sharpie marker and a gold gel pen to decorate the boxes, like the patterned paper. I added dots all over the background with the gold gel pen, then added a strip of gold foil to the bottom of the card front.
I am slow posting the cards I have created as I go through the class. Today is Day 12, and this post will allow you to catch up with all I have created.
Day 3 Flourish Day 3 Roses
Day 3 was all about embossing with stencils. I watched the class video, tried getting my sandwich correct for my Big Shot and it wasn’t working. I finally went into the Gina K library and found a card she created a couple of years ago with the Cuttlebug. That was perfect for me, as I was able to get my sandwich correct. I embossed several pieces of cardstock, which are waiting to be used on a future date.
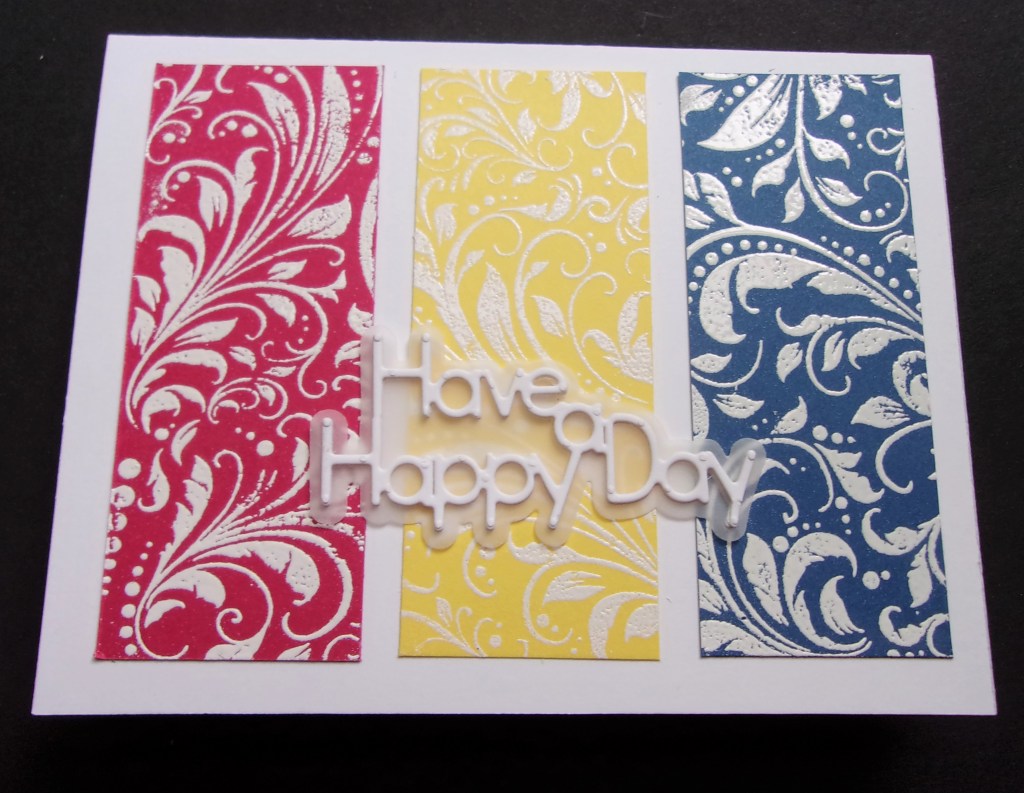
Day 6 Color Blocking
Day 6 was color blocking where the assignment was to either use embossing folders to create texture or use a stamp and heat emboss. I used the MFT Flourish background stamp on SU cardstock that is quickly retiring in color. These colors are Lovely Lipstick, Pineapple Punch, Blueberry Bushel and are heat embossed with Gina K Designs white embossing powder. The die is from Sizzix, part of a card die set. I enjoyed this class quite a bit and have pieces of this embossed paper left for other cards.
Day 7 Framed Vellum Day 7 Vellum Overlay
Day 7 was all about Vellum. For the first card I used the Flower Power die by Sizzix and Stephanie Bernard. I used a piece of scrapbook paper and tried laying the vellum on it, but it was too much lavender, so I finally decided it looked good on black. It needed the white behind the vellum and black to balance it, so I grabbed the Hello die, from Gina K Designs and cut the black Hello. By this time I had a large piece of black cardstock with adhesive on the back, so I keep cutting Hello dies from this cardstock, placing them on the card for a greeting.
The second card was fun to create. I placed the Friendship Blooms set in my MISTI and stamped it with black ink, followed by Versamark and used clear embossing powder. I simply do not like black embossing powder, so I usually use either regular black ink or a black pigment ink and clear embossing powder. The vellum overlay has a circle cut in the center for the flower to show through and a white frame added. I liked this card better then the one with lavender. The Hello die and the stamp set remained on my desk and MISTI for quite a while, so they both keep getting used.
Thanks for reading this post and sharing in my class creations.
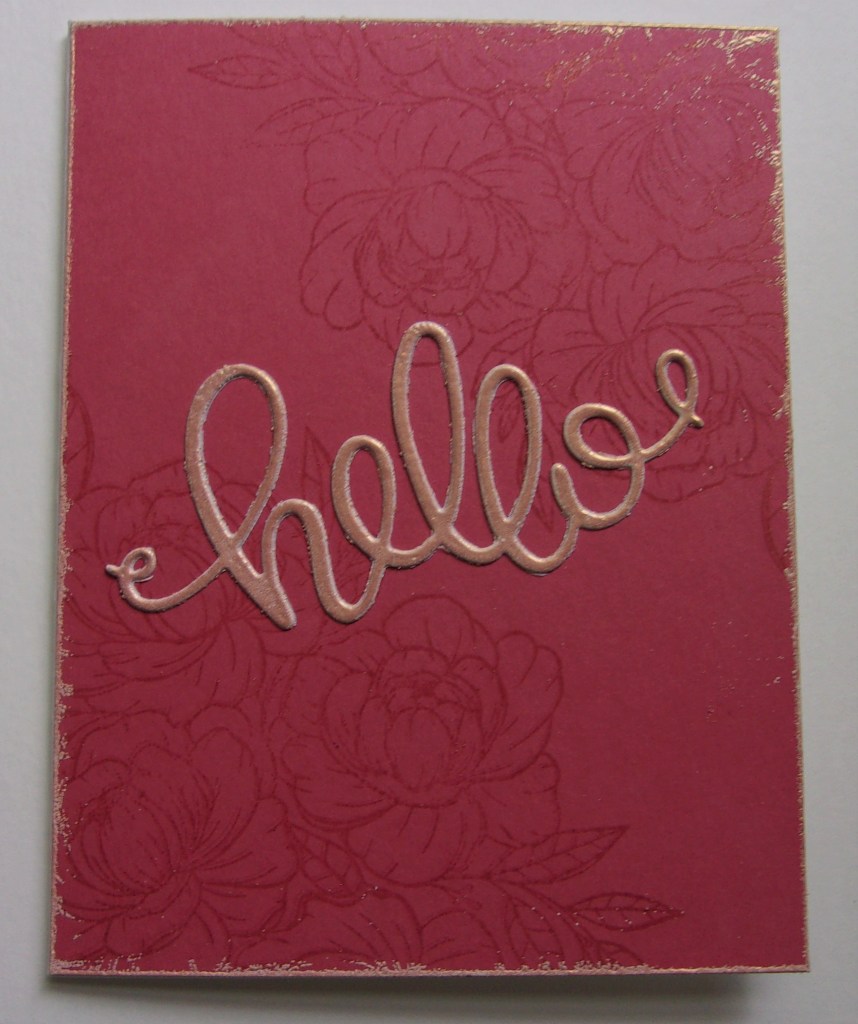
I used the Friendship Blooms set by Hero Arts/Gina K Designs, a collaboration for HA 45th Birthday. I stamped the floral image with Versamark Ink. Then added the greeting with a die from Gina K Designs. I embossed the die cut with Rose Gold embossing powder, then added it to the sides.
I love tone-on-tone and really enjoyed creating this card.
I am posting several days of cards. I posted each on Split Coast and to the class from there. They were many new concepts for me and enjoyable to create.
Birthday Wishes fish
The fishy one is Day 1. I had trouble making an initial like Kristina Werner showed in the video, so I finally went with a circle. I used a few Gina K Design ink colors and ink blended. Then when the ink was dry, I added fish from The Stamps of Life Under the Sea set. The word birthday and the Wishes die came from the Elegant Asters Card Kit from Gina K Designs.
You are Amazing
This was Day 2, Make you own Stripes. I followed fell Buddy, Judy’s advice, in making sure to cover each inked stripe before moving on to the next one. I used a combination of painter’s tape and very low tack, purple tape. I managed to leave a few white stripes I liked it, so I made a few more white by not butting my tape exactly next to the one inked. The stamps are from Maymay Made It, called New Creation and Positive Vibes. I did add a few stripes of glitter pen. I enjoyed this once I began creating it .
Lifetime of Love
This is for Day 5, Stencil Shading. The idea is to give a vintage look to your stenciling. This is a new concept for me, but was quite easy once I began. I used Memento inks and a Hero Arts ink pad, along with my blender brushes. The instructor began with Warm Glow ink by GKD, but I do not own that ink so I used Desert Sand as that is my lightest brown ink. Then I added the pink from Hero Arts and the green from Memento. I used the sentiment from Wreath of Wishes, thinking this will be a good anniversary or wedding card.
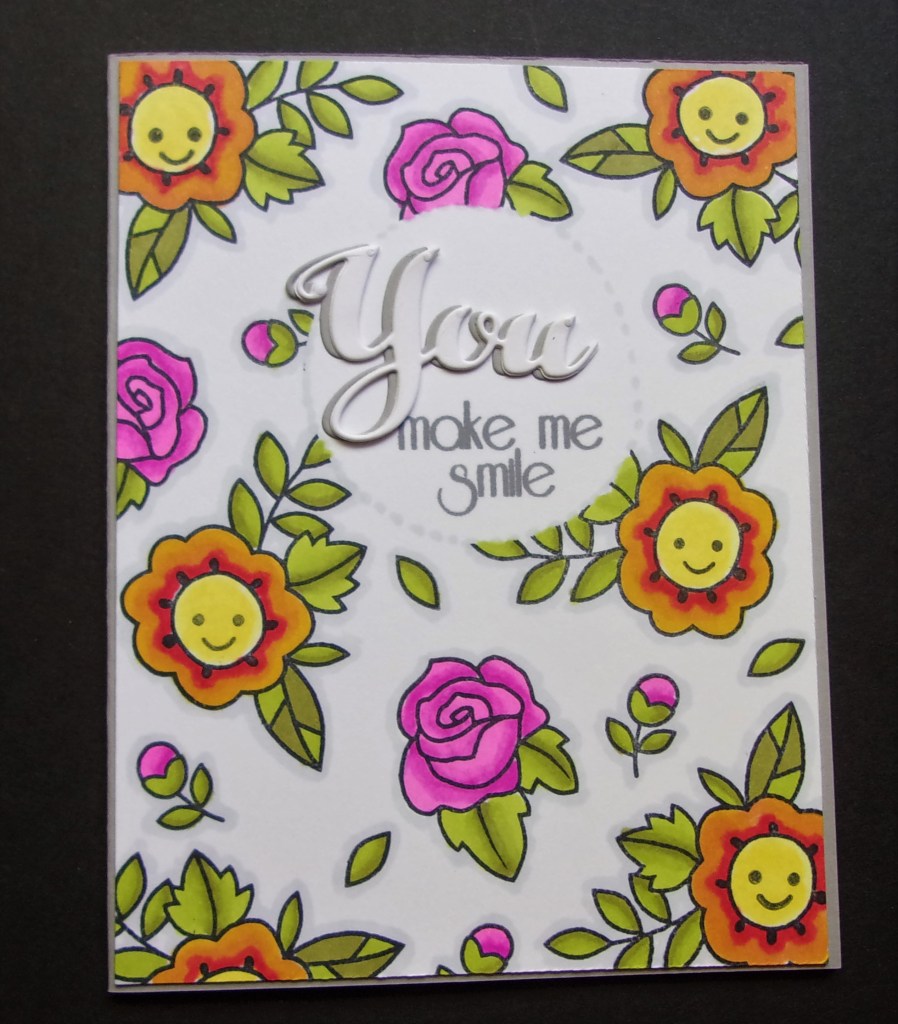
I used the Best Buds by Paper Smooches for the flowers and leaves. The sentiment is from All About You, a Stamp of Approval Cas-ual Friday set. I colored the images with Spectrum Noir markers.
Fun challenges. I am enjoying the lessons from the card camp.
It took a while to find a flower stamp that I thought I could create a card with in 10 minutes. It needed to be something that added color when stamping, as I am not fast at coloring anything, and was easy to stamp. I settled on the stamp set A Happy Hello by Gina K Designs. Since I am entering this in the Retro Rubber Challenge, I need to give the year. I can guess it was released in 2018. I have had it for over a year,but had trouble pinpointing the year it was released.
I decided on a color palette, mounted the stamps on blocks, opened my ink pads, then began the timer. I placed the sentiment in my MISTI, trying to get it straight, but not sure it is after looking at the photo. I stamped the sentiment first, then began stamping with the blocks. I needed the foam under it, so I quickly grabbed the foam to give the cushion needed. I stamped everything, checked the time, then began assembling. I stopped the timer and it read 2:26 seconds left, so it took around 7 and 1/2 minutes to finish this card.
I used Gina K Designs ink in Red Hot, Fresh Asparagus, and Black Onyx and Stampin Up Blushing Bride for the small flowers and the cardbase. The black cardstock is SU and the white is Hobby Lobby. The gems on the flowers are SU.
I enjoyed these challenges. Thanks for the fun challenges and inspiration.
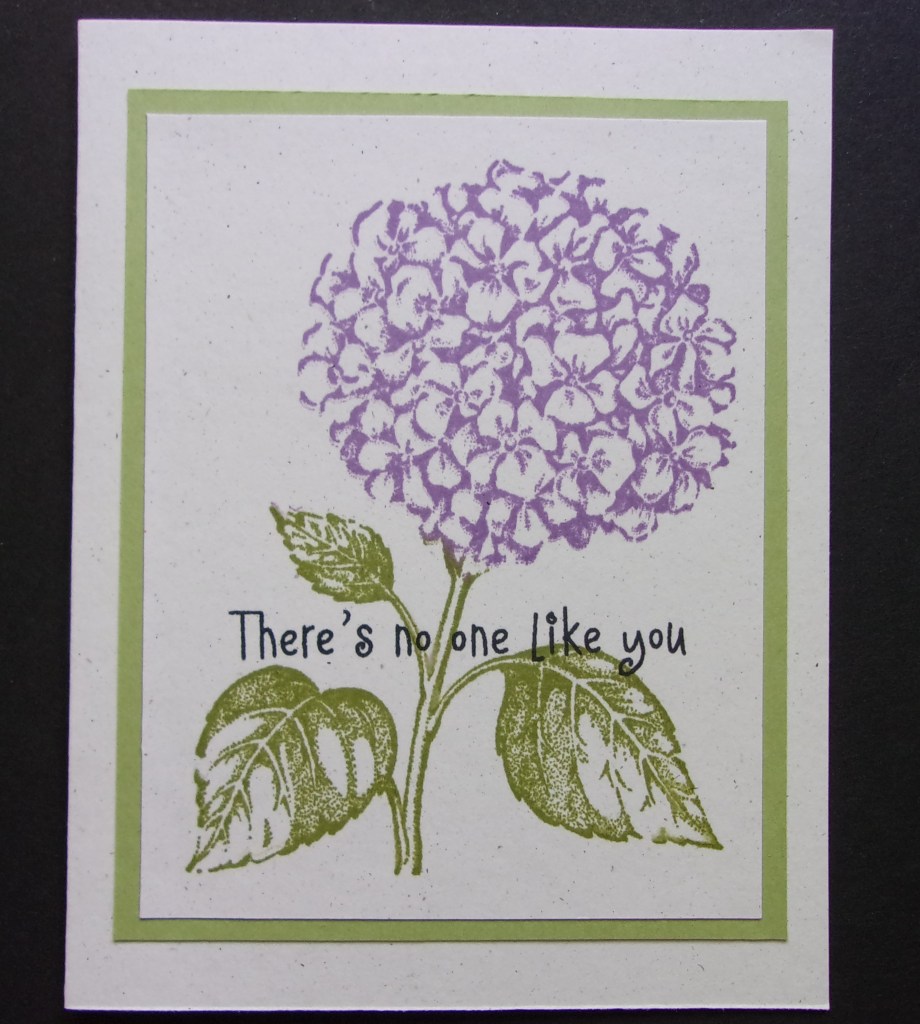
I used the SU Stipple Hydrangea, dated 2001; I found it retired in 2004. Mine is still on wood block, so I placed a corner from an old stamp positioner, into my MISTI and was able to keep the block steady when removing it, reinking and stamping again. I had messed up a couple of times before using this idea that I saw on Split Coast Stampers several month’s ago. I inked the flower portion in Highland Heather and the leaves in Pear Pizzazz. The paper is Pear Pizzazz and Naturals White, by Stampin Up. The sentiment is from Hero Arts, Happiness Messages. I have had this set for several years and really have no idea when I got it, but found the copyright of 2008 on the back of the package. Yes, I store it with the original package cardboard. The sentiment is stamped in Memento Tuxedo Black ink.
I enjoyed using this beloved stamp. It was a favorite of my MIL and she has been gone for 5 years and can’t remember stamping it for anyone else recently. Thanks for the fun challenge and the inspiration to look for an older flower stamp.
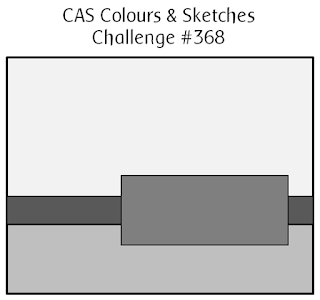
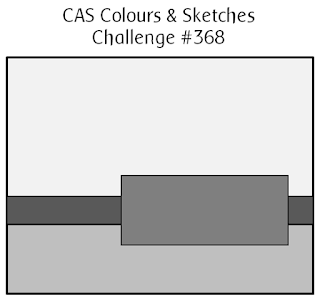
The patterned paper is from The Stamps of Life. The cardstock is My Favorite Things and The Stamps of Life. I used the Happy Hellos set from Paper Smooches for the kitty, and the hearts are from So Lovely, also PS. I enjoyed using this sketch. I always love the Anything Goes challenges which is the current theme for Paper Smooches.
I began this card with the CAS Sketch and Mod Squad Challenge in mind. I chose to use SU 2018-2020 In-Colors as I have cardstock and patterned paper to match.













 Stamp Buddies