Global Design Project

Global Design Project #213

This is the first time I’ve entered the Global Design Project Challenge. I used the closest colors I had to their pallet – Old Olive, Lovely Lipstick and Smoky Slate. The image from Holiday Greetings Mix 1 by Simon Says was stamped in Fresh Asparagus (the closest to Old Olive) on a white panel cut 2¾” x 4½”. I colored the berries with Copic R85. The leaves were colored with Prisma Pencil 911, heavy on one side of the leaves, lighter on the other for contrast. The Wishing You A and Christmas from the same set were stamped in Soft Stone.  The focal panel was matted with a piece of Dusty Rose cut 3 x 4¾” placed on a Soft Stone card base. This is probably not a combination I would have used, especially for a Christmas card, but I like how it turned out.

Snowflake Stencils by Bonnie

Snowflake Stencil #1
Snowflakes #2
Snowflakes #3

Three cards made using the snowflake stencils by Bonnie. First card was made on navy cardstock, sponged on light blue ink and then sprayed with Glitter Dust for some shine. I added some die cut snowflakes and sentiment in glitter cardstock and gemstones.

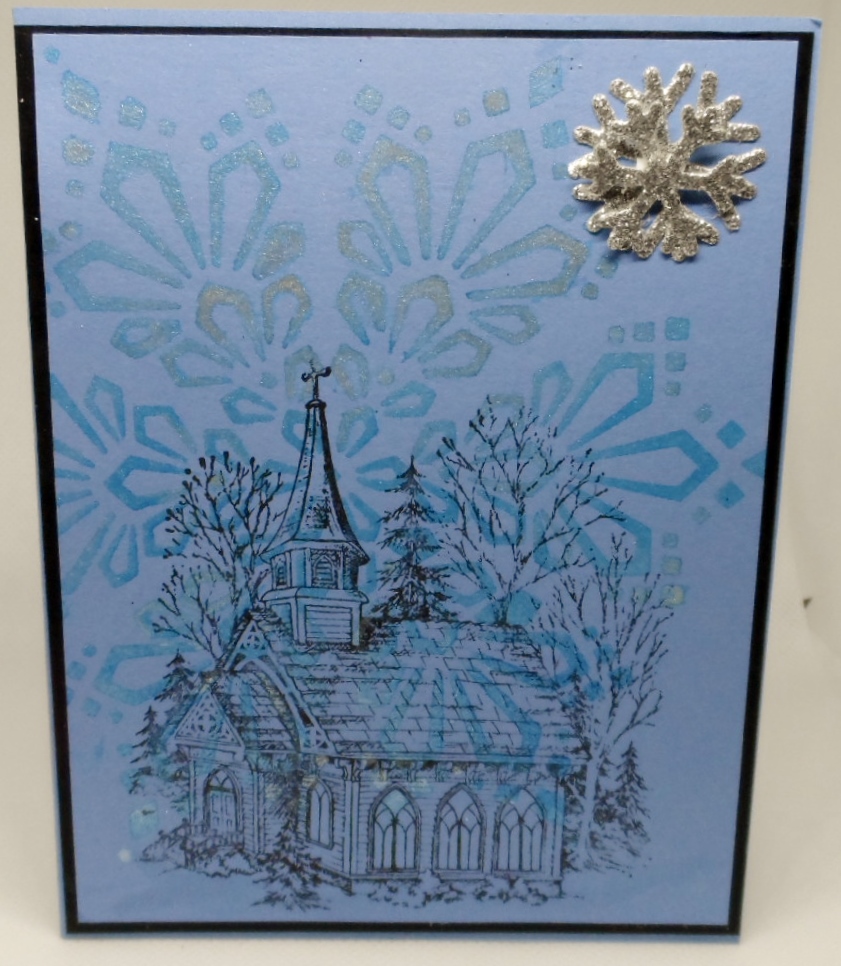
2nd card is again in blue but a lighter blue, ink stenciled, added some sparkle and then stamped the church scene on top in black ink.

3rd card was stenciled in Distress ink topped with Nuvo glitter paste, ran two rows of double adhesive tape and added glitter (what a mess), die cut some snowflakes and sentiment in sparkle cardstock , added some ribbon.

Thanks so much for your generosity, Bonnie.

Global Design Project #GDP213

This is the first time creating a card for this challenge. I was inspired by Johanna and Bonnie when they created their entry. I saw an idea, made a sketch, and began creating.

http://www.global-design-project.com/2019/10/global-design-project-213-color.html

I used stamps and dies from The Stamps of Life: Snowflake Background Die Set, Merry Christmas, and elves2stamp. The paper is Lovely Lipstick, Smokey Slate, both from SU, and the green is Fresh Asparagus from Gina K Design. I added sparkle to the card with a Crafter’s Companion Sparkle pen, though it does not photograph well. The ribbon is SU, but I couldn’t find the color on the ribbon role. I added a piece of sparkly ribbon that kind of matched the glittery paper I used for die cutting the Merry Christmas. I like the sparkle as it adds something special to a Christmas card.

Halloween Tags

Happy Halloween

Treat bags for B&C (grandchildren) filled with some goodies. Bags were from SSS included in the Halloween Stamptember kit, Mr. Skull-head is a Tim Holtz Sizzix framelits w/stamps and embossing folder. Ha-llama-ween Llama is a Reconciliations Halloween stamp set with 4 different llamas and a sentiment. Both on clearance at my Michael’s.

Have a BOO-tiful day!

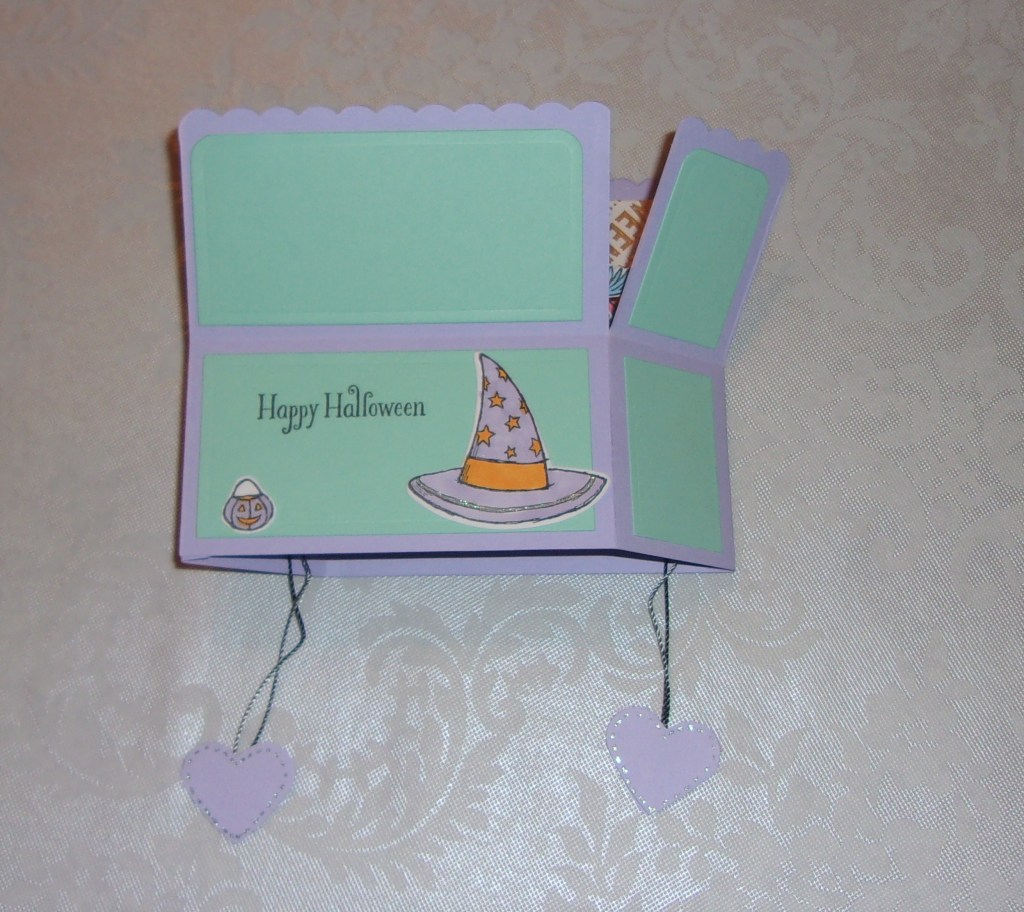
Halloween Box Card

My daughter, H, designed, stamped, die cut and anything else in the making of this card. I am sharing it for the joy it brought to my eyes to see her work. Enjoy!

Box card closed
Box Card opened
Pop-ups displaying

The story behind this: My DH always has creative ideas. He saw a box card I made a few years ago, sitting in our dining room, and said I should make a card with a witch that would pop-up if you pulled a string. I do not have the patience for this, but my daughter gave it a try. She has the witch and ghost on a string, in photo two,they are hiding. The recipient pulls the hearts and those to elements pop up. This is a fun card. Hopefully she will make more.

Sharing a few cards

This card was posted to the Mod Squad Challenge.

Merry Christmas

The stamps are from The Stamps of Life: Christmasgreetings2stamp and pinecones2stamp. The green inks are Lawn Fawn and the red berries are stamped in Gina K Designs Cherry Red ink. The white and red paper are both Stampin’Up, and the green is The Stamps of Life. The Merry Christmas greeting is embossed with Cherry Cobbler embossing powder from Stampin’Up. This was the first time trying this powder. It seems to emboss fairly quickly.

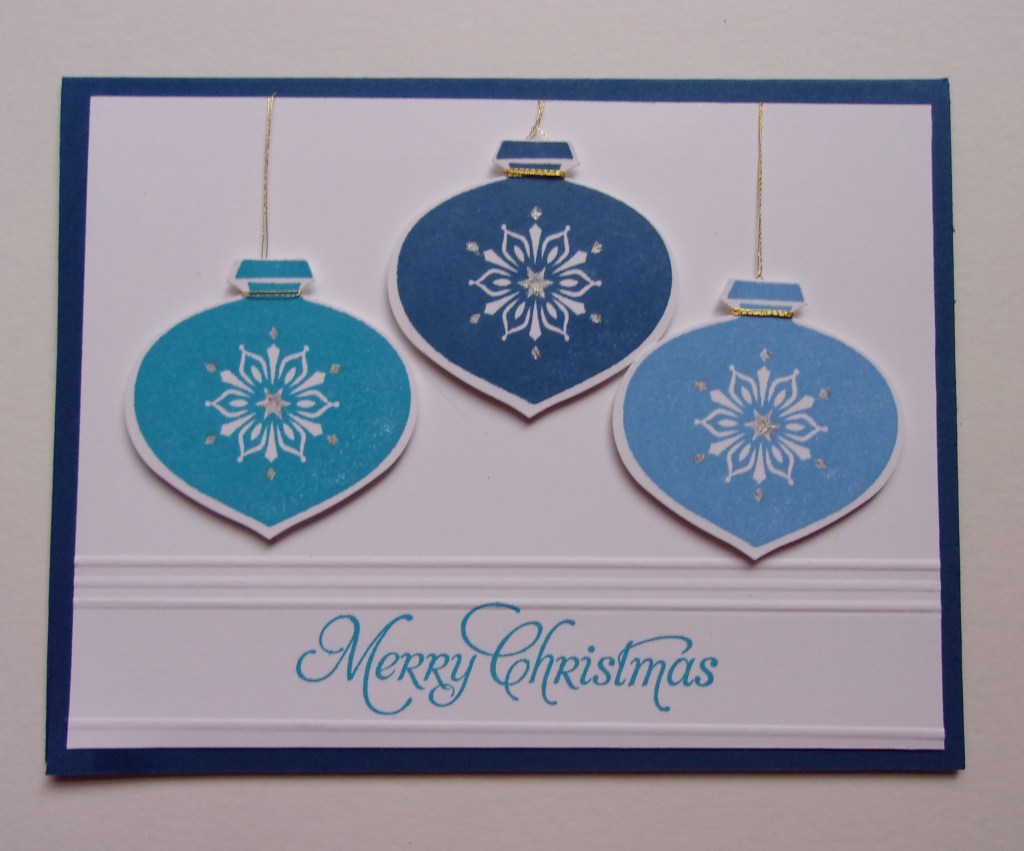
The next card is one that I began for the speed challenge in blues. If the ornaments were stamped, punched, and laying there, I think they would have worked for the challenge. I decided to take my time and finish a card using the ornaments.

Merry Christmas in blues

The blue inks used are Lawn Fawn. I added sparkle to the ornaments with a Sukura gel pen. The ornament hangers are gold thread. I scored the greeting to set it apart from the ornaments.

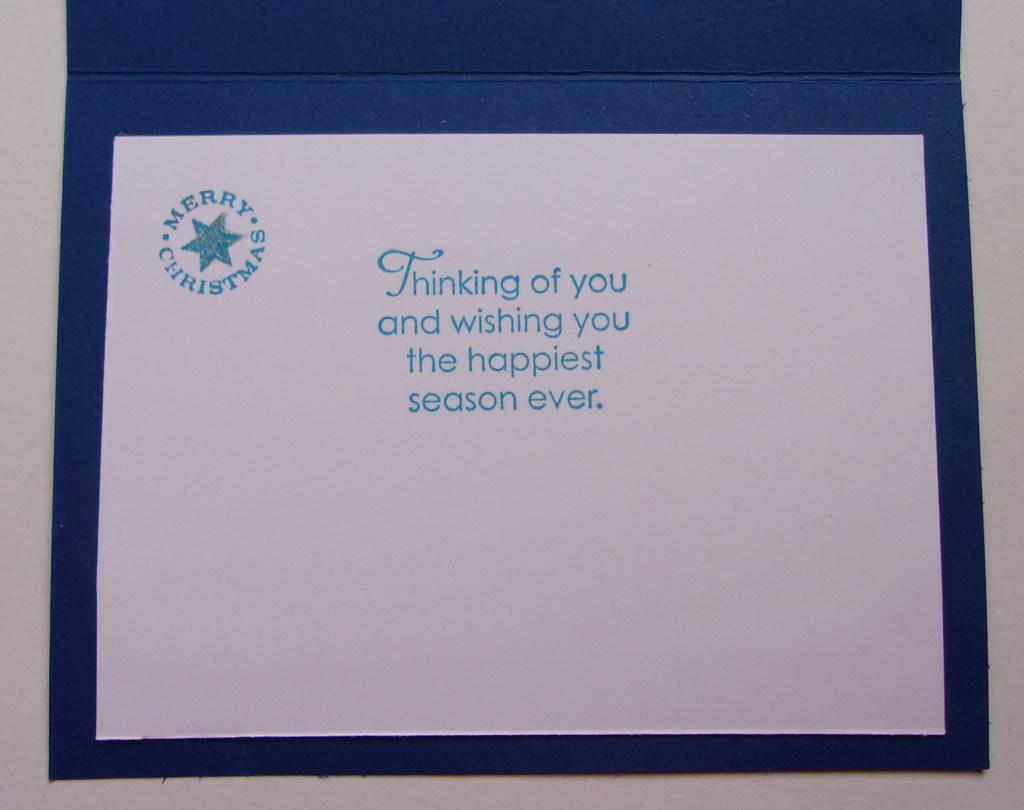
Merry Christmas in blues inside

I went ahead and finished the inside of the card. I like the sentiments in the set I used.

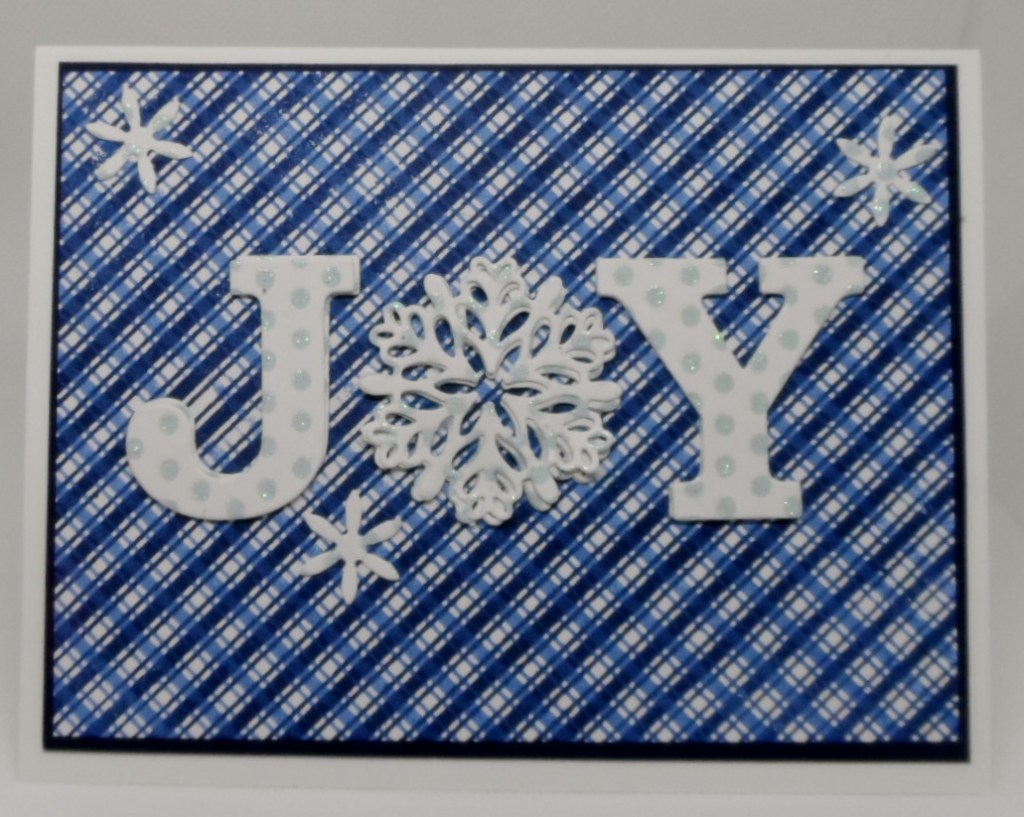
Blue at 9 minutes and 50 seconds

As You See It Challenge #212

The As You See It Challenge #212 was “I want you to color me – Quickly”. Blue and under 10 minutes. So I gathered up the GKD: Background Diagonal Stamp, Navy and White cardstock, navy and powder blue ink, Memory Box Snowflake Joy die, and some glitter dotted cardstock (unknown paper pad). Moved my Big Shot within reaching distance, the cardstock was ready so was the Misti….GO….Stamped the diagonal in navy — where’s the tidy towel pulling baby wipes turning the background stamp, inking with powder blue…done! Running the Joy die through the Big Shot not once, not twice but three times! (after the first time through the big shot discovered I had two pieces of cardstock — one went flying) Oh brother, all of those little pieces in the snowflake, found the pick and started pushing them out. I glued the J and Y in place layered three times leaving the snowflake for last in case I didn’t get three completed. I glued the middle snowflakes from the die to the card front too. If only I had a little more time, I would have added some bling to the little snowflakes and lined up that snowflake O a little better. My heart was racing but made it to the card front; my fingers are still blue but mission completed in 9 minutes and 50 seconds!

Love What you Do

http://www.asyouseeitchallenge.com/2019/10/challenge-212-i-want-you-to-colour-me.html

I worked on the As You See It speed challenge. It took a total of 7 minutes and 25 seconds. The cardbase was laying there scored, so I used it.

The stamp set used is SU Love What You Do. I used Lawn Fawn Blue Jay ink for the flower and greeting, Forget-me-Not for the background wash. Since this set had a stamp that was basically a wash of color, it made this challenge a lot easier. I tried using an ornament set with a punch. Stamping the ornament and punching it out took eight minutes, then there was a greeting, so I was out of time on that one. I will most likely finish it at a slower pace.

ModSquad Sentiment Says It All Challenge

ModSquadChallenge – Sentiment Says It All

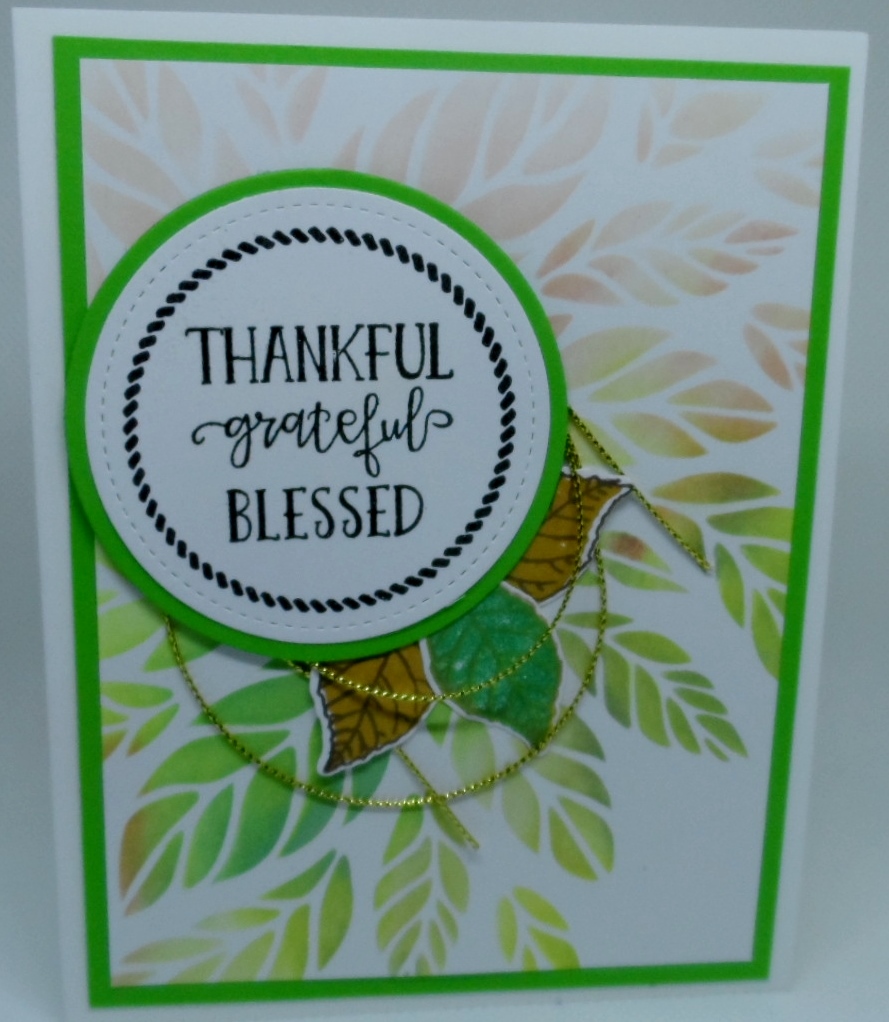
This card is for the 2 week ModSquadChallenge hosted by Joyce “Sentiment Says It All”. On my card I used GKD: Autumn Wreath Builder and StampnFoil Thankful Leaves, Lucky Clover layering cardstock and a combination of inks and distress oxides. The leaf stencil is from SimonSaysStamps. I added some gold thread as an accent. This is the softer version of my card and the one entered into the challenge.

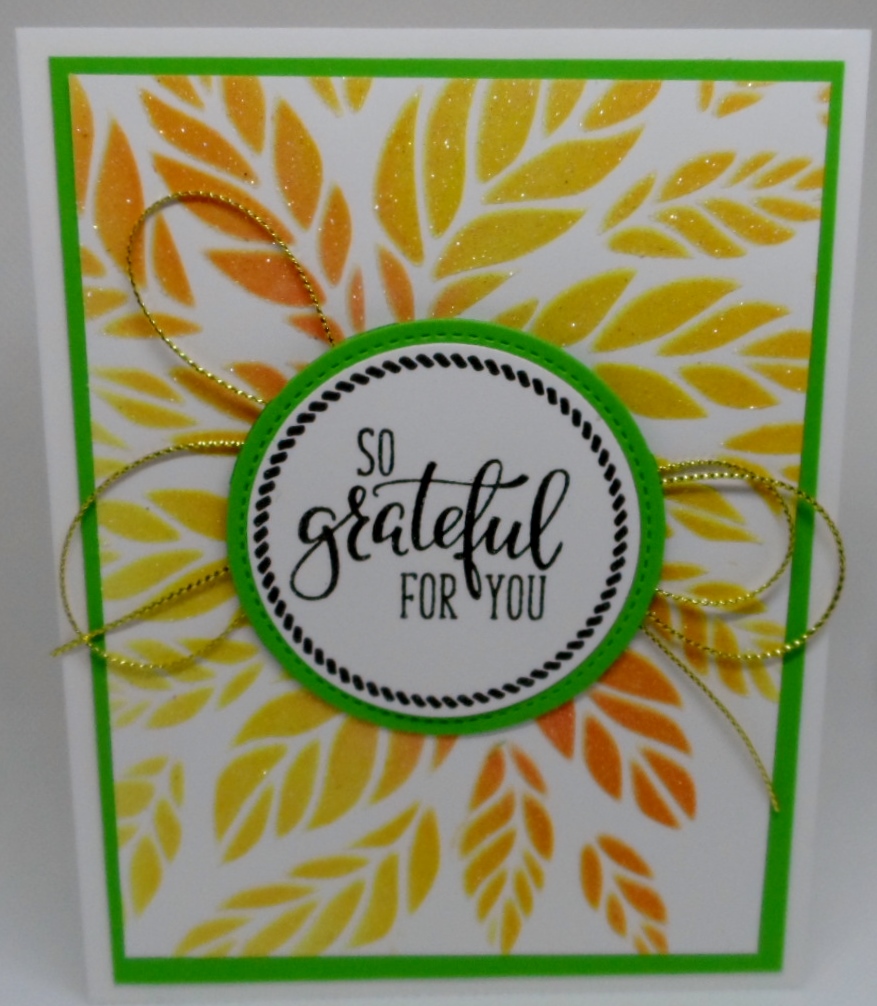
Here’s the second version of the card, I inked the stencil and then topped with Brutus Monroe Glitter Glaze (Glow in the Dark). I made more variations of this same card using kraft cardstock, brown, lucky clover cardstock. I added GKD Glitz Glitter Gel in gold to a few but it covers up the sponged inks so I think I like the glaze better.

Second version of the challenge card

Glitz or Soft??? Which one do you like better??