Winter Snow 2020

DRU Challenge #159 Winter Wonderland

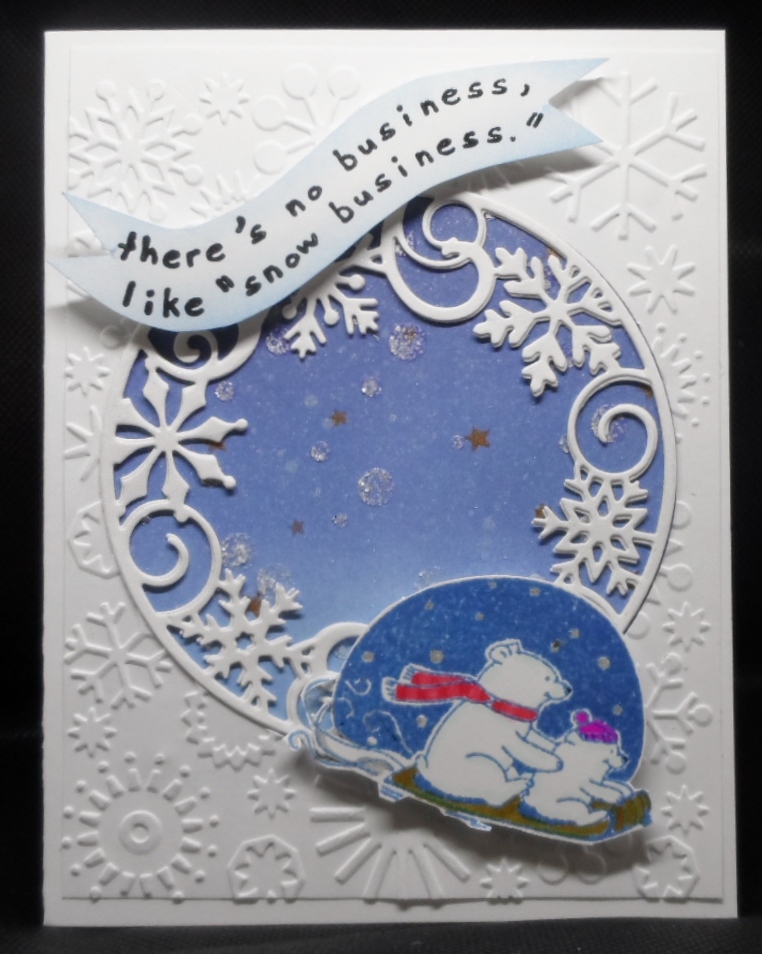
Not the first snow of the season but possibly the biggest snow storm in years is beginning in my neighborhood. So if I have to wait for the snow to begin and getting outside to begin shoveling, I may as play along with the Dies R Us Challenge: DRU Challenge #159 Winter Wonderland. Great theme and as with all DRU challenges you must include a metal die. My die is a new to me Hero Arts Snowflake Medallion Fancy Die. The die was cut from my layering sheet and then cut a second time to give it a little raised background. The background on the card base was created using some TH Distress Oxide inks as well as a SimonSaysStamp star and snow stencil. The snow was created using Brutus Monroe’s Alabaster Glitter Glaze and the stars Delicata celestial copper pigment ink. This panel was also embossed with Cuttlebug’s snowflake embossing folder. My image an sentiment is an oldie but goodie Inkadinkadoo Christmas Characters stamp set. I picked this set up a number of years ago on clearance for $3.99….how could I resist?

Thanks for checking out my winter wonderland.

Stay safe!
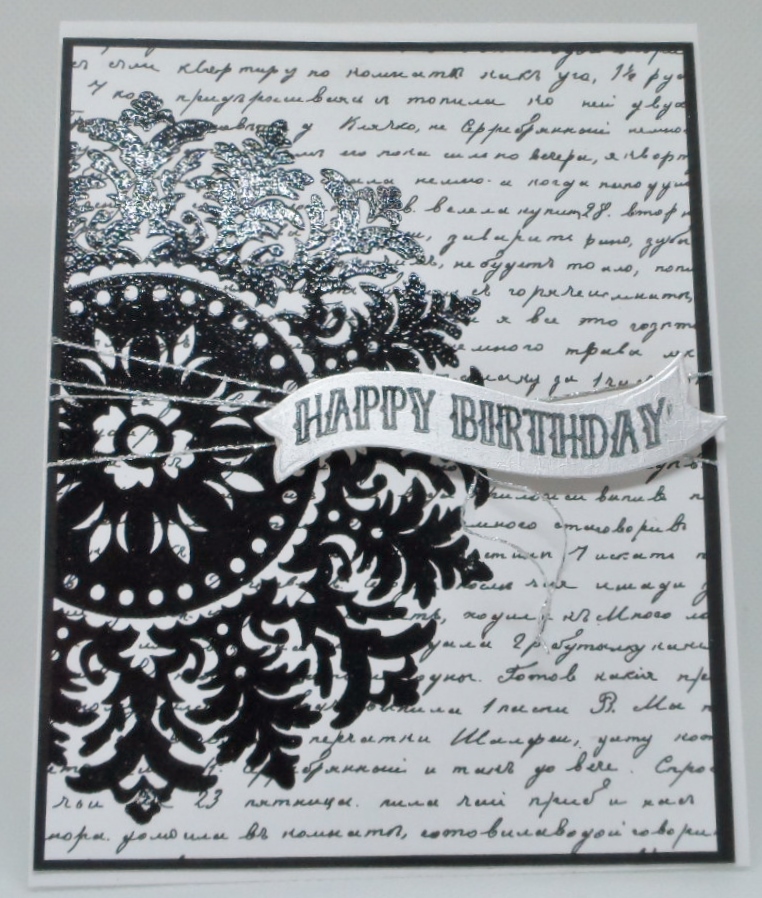
A Touch of Silver

The Paper Players Color Challenge: PP521

Just when I thought that I had all of my January birthdays covered, I realized that those closest to me also have January birthdays. My daughter in law the beginning of the month and son in law at the end of the month with our granddaughter squished in the middle of the month. Do you think this could be feminine or masculine??

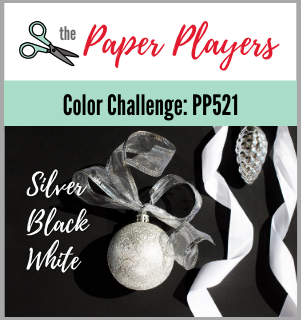
Claire from The Paper Players is challenging us to use the Color Challenge PP521 colors of Silver, Black and White.

So after googling some options, I cased my card off of Pinterest….sorry lost the original post but I used my Stampin Up “Medallion” large background stamp, Gina K Designs Petite Patterns patterned paper, Hero Arts Ribbon Messages Stamp & Cut and Recollections Foil cardstock paper. The patterned paper can also be foiled but opted to keep it natural because I wanted to stamp the medallion on top of the paper and didn’t think it would work on the foil. My image was stamped in Versamark black ink and clear embossed, mounted on a black layer, added some silver thread and the banner was die cut from the silver cardstock and stamped once again in the versamark black and clear heat embossed.

Feminine or Masculine that is the question???

To Edge’ables or not!

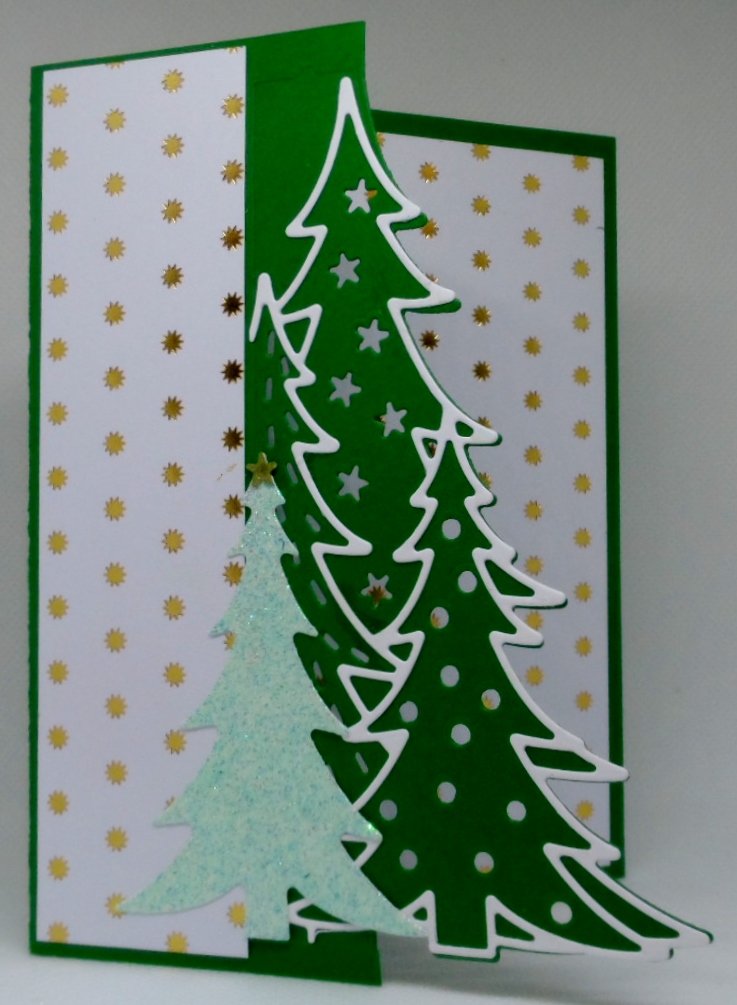
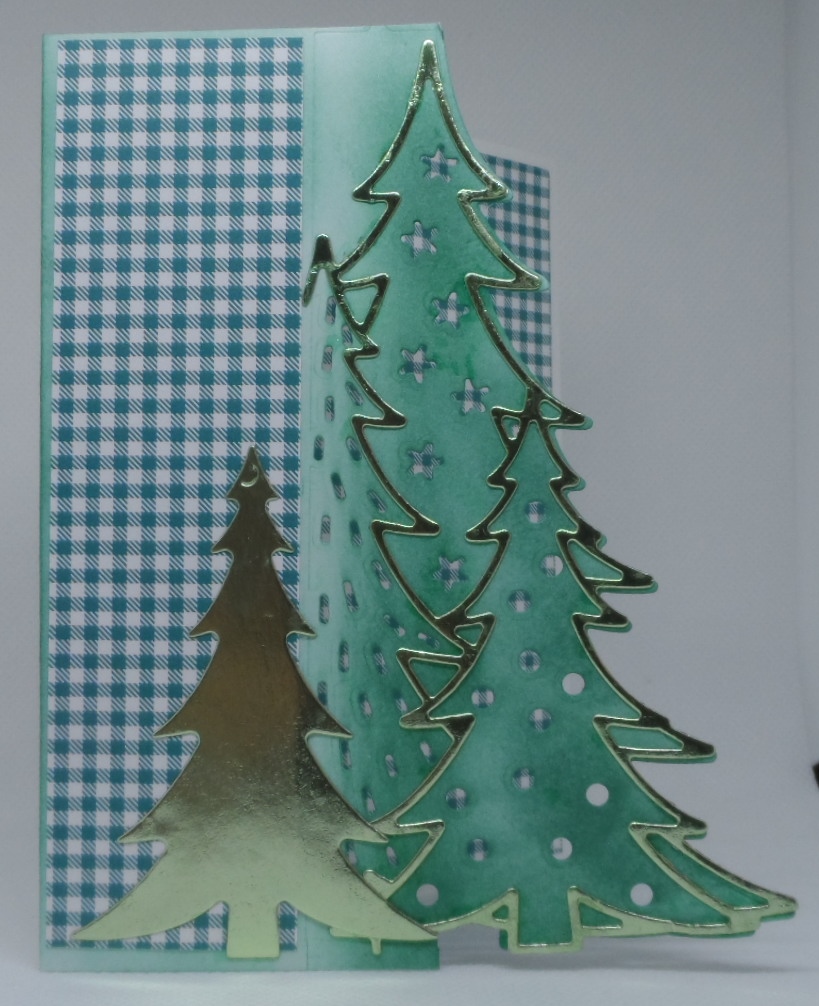
This past summer, I purchased a Crafter’s Companion bundle of double cut Edge’ables and I put them aside to attempt to figure out how to use them until yesterday. So the first issue I have is that I do not have a Gemini die cutting machine but rather use my Big Shot which has a smaller cutting plate than I believe the Gemini does. With that said I think these dies were made for not only their machine using special plates and for larger card sizes especially since these are double cut dies that will cut the image on one side of the die on the edge of your card to create the edgeable design and then you can use another color cardstock on the other side of the die and it will cut out both sides of the die with one pass. Well that’s pretty neat but until I figure out a suitable sandwich for my Big Shot I’ll will be using old cutting plates to cut the die twice. Sorry for babbling…hope you can figure out what I meant:) OK after saying all of that, I can use opinions on the top card which is a regular A2 size and the one below which was trimmed to a slightly smaller A2 size to match the die ends.

So this particular die cuts the edge, the single tree and an outline for the edge. Pretty cool. Which one would you prefer: the regular A2 size or the shortened version to match the die size?

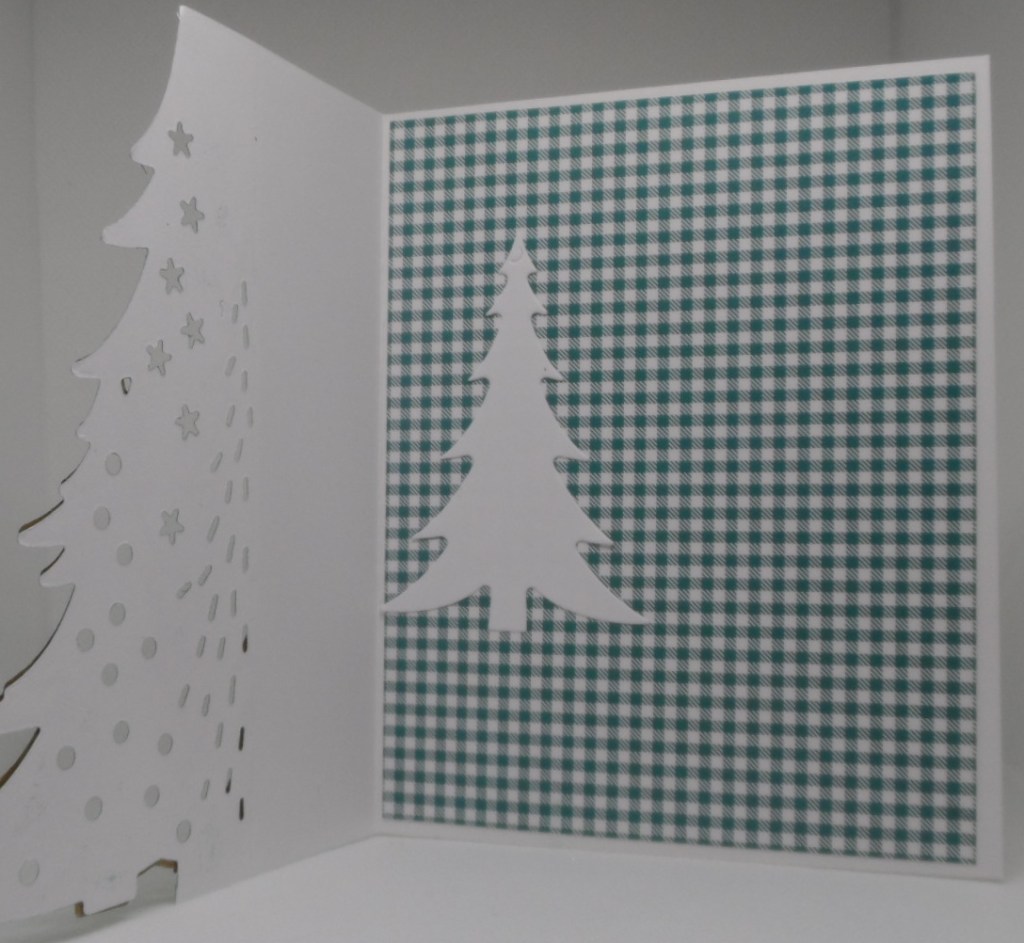
My next dilemma is where do I put my inside sentiment or message?

As you can see not a lot of room to write a personal message or include a stamped one. I would add a sentiment to the front and maybe use plain not patterned paper. So I am looking forward for all your advice and opinions.

Hugs from a snowy preview of what’s to come later this week in Pennsylvania.

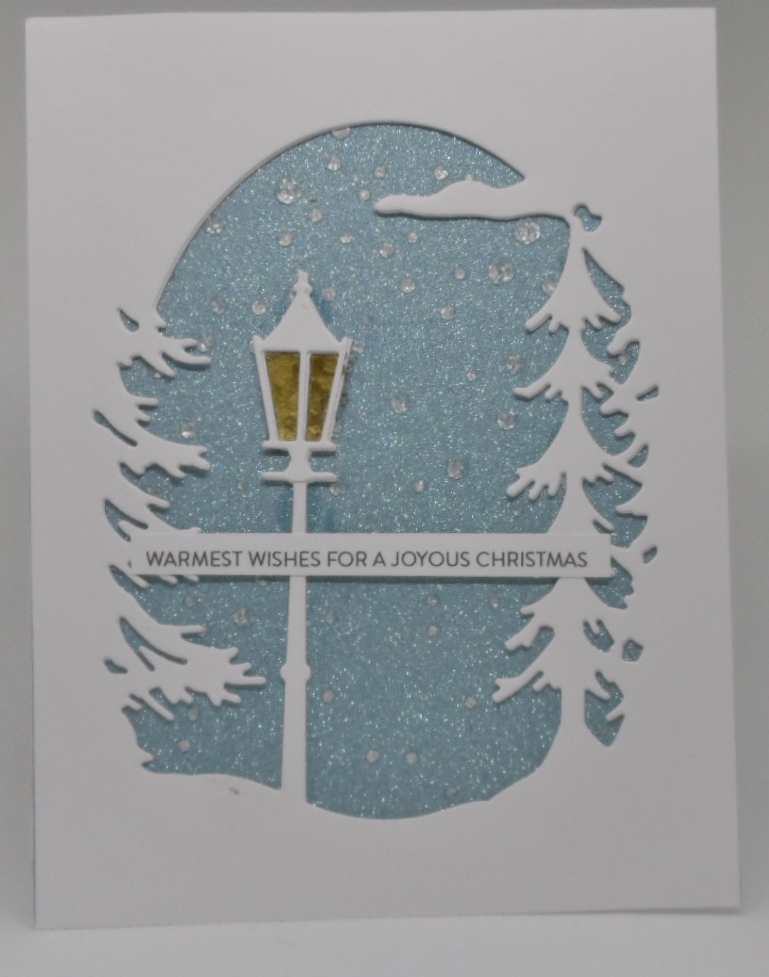
Lamplight Christmas

DRU Challenge #158 Christmas

One of my Christmas cards that didn’t make the mail this year but will definitely be kept for next holiday season. My background was a very subdued glitter that I added some GKD crystalline drops for snow and popped in some gold glitter cardstock to illuminate the lamplight. The die used is Memory Box Lamplight Tree Collage that I picked up from Dies R Us this season. The sentiment is one of SimonSaysStamp preprinted sentiment strips. I believe there other Memory Box dies that will coordinate with this one….maybe next year.

My card will be entered into the Dies R Us Challenge: Challenge #158 Christmas and to include a metal die.

Thanks for looking. We are possibly getting SNOW middle of next week. Yikes, I’m getting my snow shovel ready for duty. Have a great day everyone.

Birthday Recipe

As You See It Challenge #240

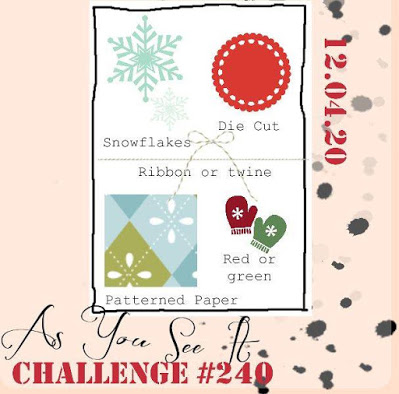
Sending my niece in Florida a winter birthday card this year for her Christmas Eve birthdate just in case she misses the cold and sometimes snowy weather in Pennsylvania. For my card today, I am also entering it into the fun As You See It Challenge: Challenge #240 Recipe for Winter Fun which must include the following:

as you see it challenge 240 1

My card base is a side fold card that creates a square focal point. I found a tutorial for this card on Splitcoaststampers and thought I’d give it a try. You cut a piece of cardstock 4-1/4 x 11″ and score at the 5-1/2″ mark and again at 6-3/4″ then fold in half and back on itself taping or gluing the scored sections together leaving the opening 4-1/4 x 4-1/4. It may be easier to check out the tutorial on Splitcoaststampers if you are interested in this fold.

To make my recipe, I included patterned paper (patterned paper check) from my stash mounted on red cardstock (red check), added some gold twine (twine or ribbon check) to the side sealed portion, die cut some snowflakes and layered them in the center of the card (snowflakes check), and die cut Happy Birthday (die cut check) to complete my recipe for this challenge and my card.

Thanks for stopping by today. Another fun challenge over at the As You See It Challenge blog.

Rejoice

Each month, I make a card based on a theme with the Crafter’s of Faith group on Splitcoast Stampers. December is based on Matthew 2:10 When they [the Wise Men] saw the star, they were overjoyed beyond measure. The challenge is to use stars on your card.

Rejoice

I used many items from The Stamps of Life. The nativity is from extras4snowglobe along with matching dies. The palm trees are from flamingo2stamp, which I stamped in Versamark ink, embossed with clear powder, then fussy cut out. The stars in the sky are from a star background die also The Stamps of Life. I needed a greeting for the front, so I found the word Rejoice in Christmas Sampler from Paper Smooches. I had gold foil paper which I had ran through my Xyron machine giving it self adhesive for the backing. It made it easy to create the background as well as the small nativity pieces.

I made another card on Friday with the same star theme. There was a challenge to use an older Christmas stamp set, so I searched through my mother’s stamps and found one I hadn’t really used and it was perfect for the star challenge.

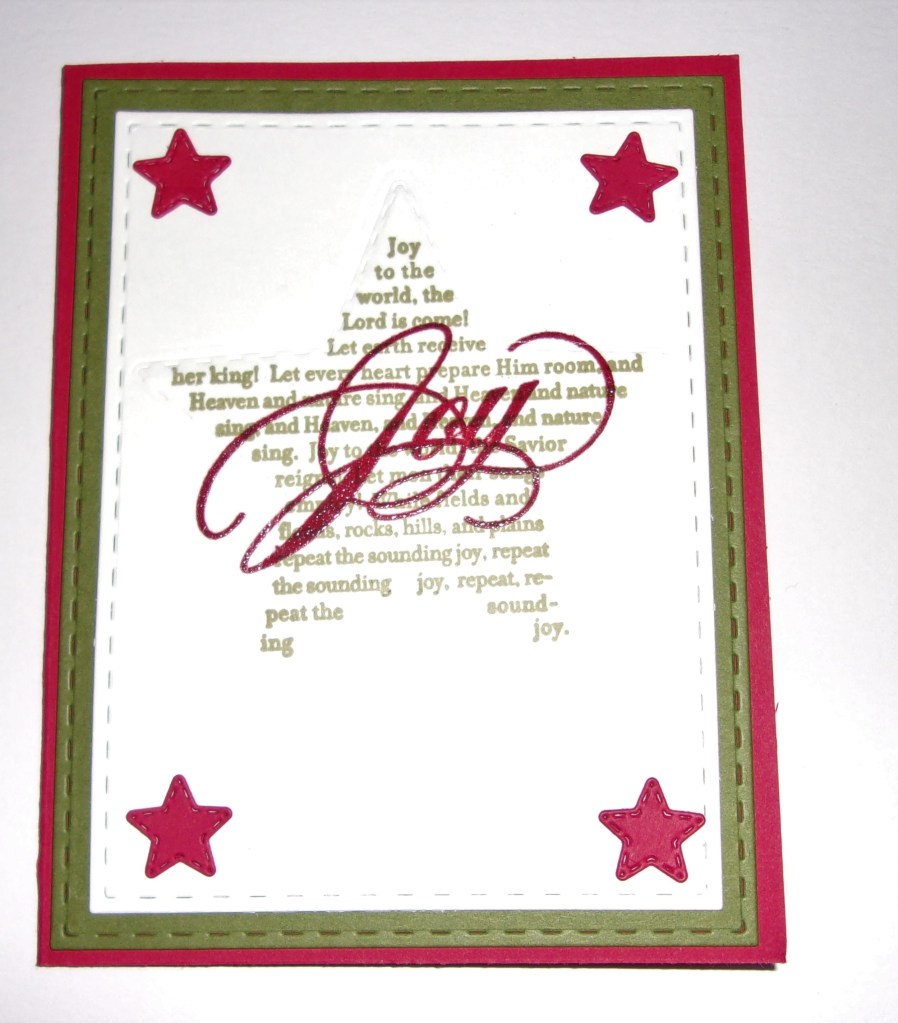
Joy to the World

The stamp set used is called The Sounding Joy from Stampin Up. I stamped the star with Memento Pistachio Ink, then the word Joy with GKD Cherry Red ink and Versamark Ink, clear embossed. I added a star around the star with a stitched star and only embossed rather than cut. I cut small stitched stars for the corners. The papers used are GKD Fresh Asparagus, SU Real Red for the stars and card base, and the white was layout out, so it could be any. I enjoyed creating this card as it is something different and I was using a beloved set of my mother’s.

Thanks for spending a bit of time with me!

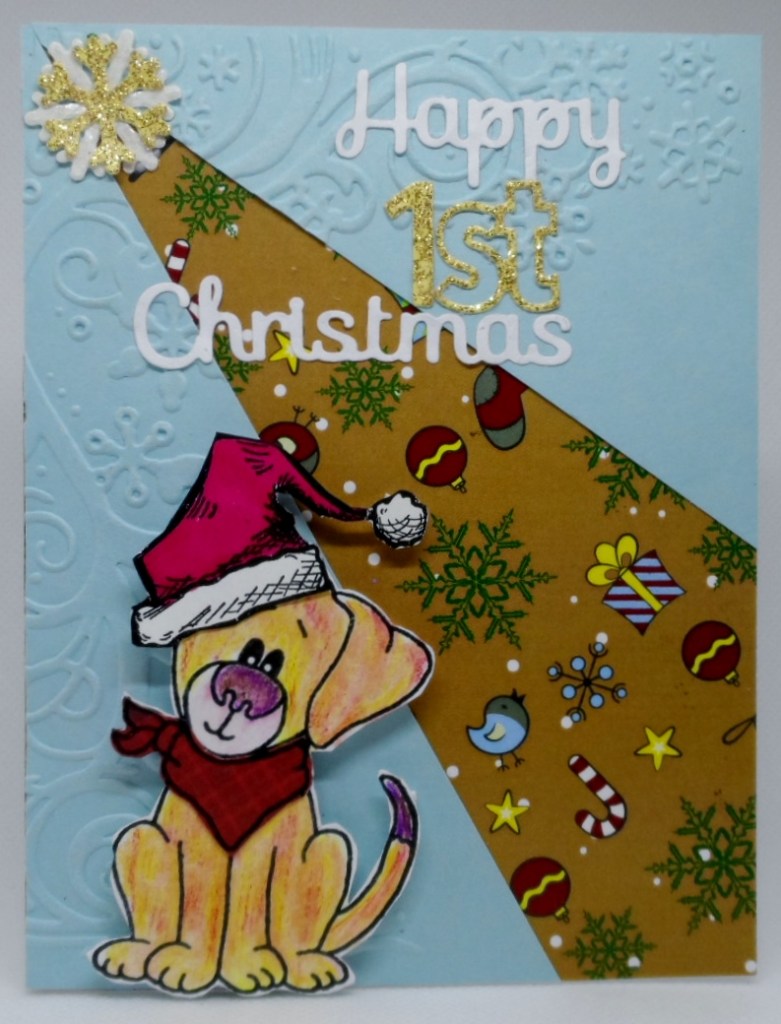
Bailey’s First Christmas

So I have two first Christmas cards to create and I chose the puppy card over the boy card to make. I’m not sure if my priorities were right in that decision but Baby Bill will get his card too and I think I’m going to use this same design. Thank you to our Buddy Johanna for sharing her recessed panel card and a link with instructions on how to create. I wasn’t able to add a link to Johanna’s card unfortunately but it’s one to take a peek at. So my card for today is for a dear girlfriend’s puppy Bailey.

The puppy was stamped using Sweet n Sassy’s Woof You stamp set, colored in with pencils. Note to self do not attempt to color in low lighting while watching a movie otherwise you may choose purple instead of brown for the nose and tail. Used some dies for the sentiments and the numbers as well as the snowflake and dry embossed the snowflake swirls. Bailey’s scarf was paper pieced and her hat was from Buddy Johanna.

Thanks for stopping in for a peek. TGIF! for those that need it for me it will be TGFW Thank Goodness for Wine tonight! LOL!!

This Way Santa

Double D Challenges: Santa’s Hats

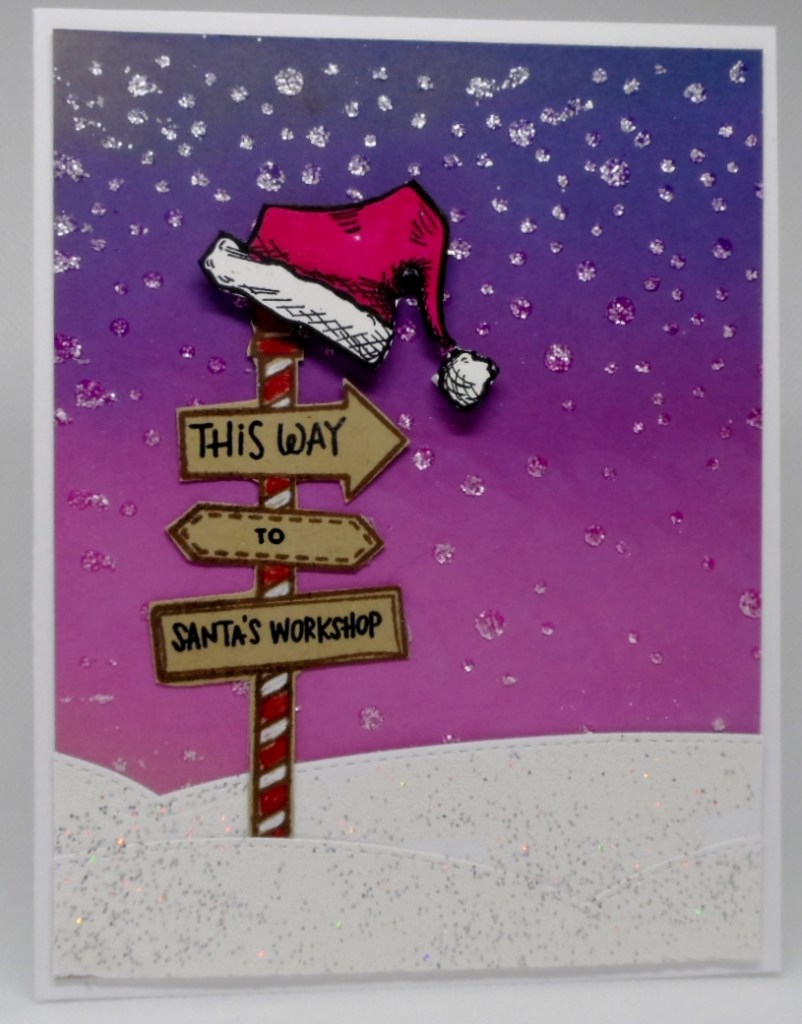
Today’s card is super fun and cute, if I must say so myself!! Using the SimonSayStamp Christmas Cheer stamp set, I stamped the directional sign on kraft cardstock, fussy cut and decided on the words for the signs, colored in with white and red pencils. My Santa hat was gifted to me from our Buddy Johanna. She was so kind to stamp a few hats and send them off to me. Thank you Johanna. The background sky was sponged on kraft cardstock using Tim Holtz Distress Inks, SSS snow stencil and Brutus Monroe Alabaster Glitter glaze completed my snowy sky. My snow mounds were created with Poppystamps Stitched Hills dies and used versamark and a snowflake embossing powder for my shiny snow.

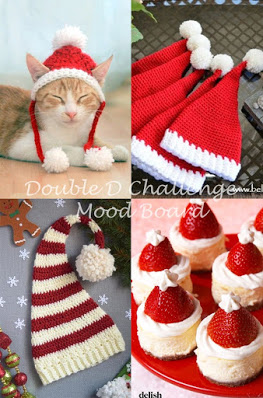
My card will be entered into the Double D Challenges Santa’s Hats Challenge. Here is their Inspiration Board:

Orange is not my Marmalade.

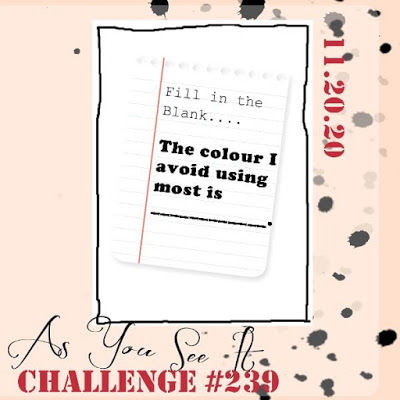
The theme for the As You See It Challenge 239 challenge is “The color I avoid using most is ____.” Orange is just not my jam. However I was inspired by a card Sandy Allnock made a couple of months ago. It is such fun to watch her create – her cards just come to life. I won a $25.00 gift card from Sunny Studio’s release in August. One of the sets I got was Bountiful Autumn which has some nice Thanksgiving images in addition to some cute turkeys. I made this card for my husband. I was surprised at how much orange I ended up using. In addition to the carrot and pumpkin, there was the table runner – I couldn’t decide on a different color for it. Then the white background was just too stark, so I toned it down by brushing on Dried Marigold Oxide ink. I tried several card bases, but the one that worked best was Tangerine Twist by Gina K Designs. This was fun to do.

challenge 239 not my jam 1