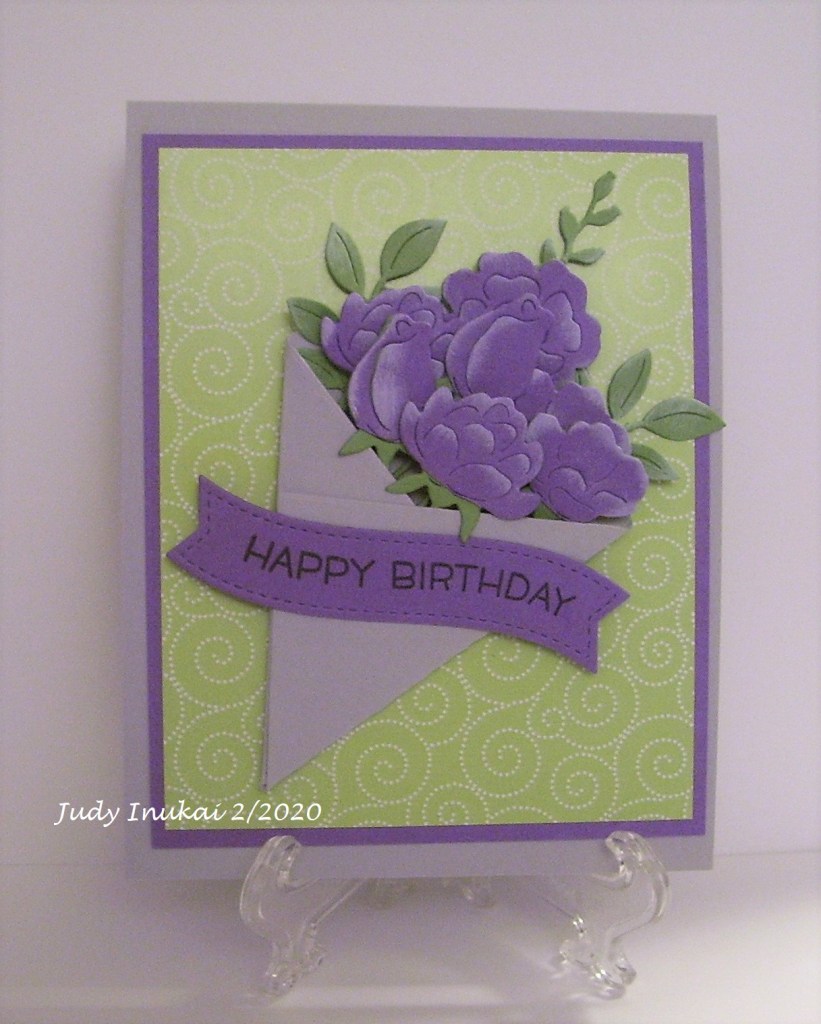
Card base – Soft Stone – Gina K Designs; Green Patterned Paper – Hello Sunshine – Gina K Designs; Mat – Wild Lilac Gina K Designs; Flowers and Wrap from Hero Arts January Kit of the Month; Banner and Sentiment by Lawn Fawn. This is for the following challenges:
I have been adding to the Simon Says Stamp Blog for their Stamptemer releases for a few vendors. First is the Gina K Designs card I created. It was made with the Split Coast Stampers MISTI challenge in mind, as that challenge is all about a silhouette image. Wetlands 2 is the perfect set for silhouette images. The background was created with Tiny Textures.
Wetlands 2
The next card was created for the Hero Arts link. I recently acquired the Joy Burst woodblock stamp and decided to do a bit of watercolor.
JOY
These were both enjoyable to create. I used the SU Top Note die for the main cut of the Joy, and the wanted to pop the center up, so I used the Spellbinders Labels 8 dies. I like this stamp set. Hopefully I will put my thinking cap on and find other ideas for it.
I used Lawn Fawn inks: Moonstone, Forget Me Not, and Fish Tank in blending the color onto the stencil.
The Frame was created with a Hero Arts Designer Woodgrain woodblock stamp. I have had it for well over 10 years and it worked perfect for the frame. The brads on the frame are Gina K Designs from my stash, and the ink is Warm Cocoa also GKD.
The fish and sea creatures are from The Stamps of Life, Under the Sea. It is from an online class, so it is not available to purchase.
I had fun making this card. It is a 6 X 6 inch card to accommodate the stencil size. I didn’t want to cut it down once I finished stenciling it. This is the first time using A Colorful Life stencils. I like them and they are good quality.
Update from Mod Squad…This card was selected as a Top 3 winner.
My husband’s aunt and uncle celebrated their 60th anniversary this week. My task was to make an anniversary card marking this milestone and celebrating their love. I found a card on Split Coast Stampers that gave me the needed inspiration: https://www.splitcoaststampers.com/gallery/photo/2662336?&si=diamond+anniversary
Following is my card. For the front, I used the bird builder punch, retired from Stampin Up, Stitched Season Framelits retired Stampin Up, silver foil and glitter paper from Hobby Lobby, a Spellbinder’s circle die, and a set from Maymay Made It called From All of Us. The Darice Floral Vines embossing folder was used for texture. The birds eyes are clear rhinestone embellishments that I used a black alcohol marker to give them color.
Diamond Anniversary Front
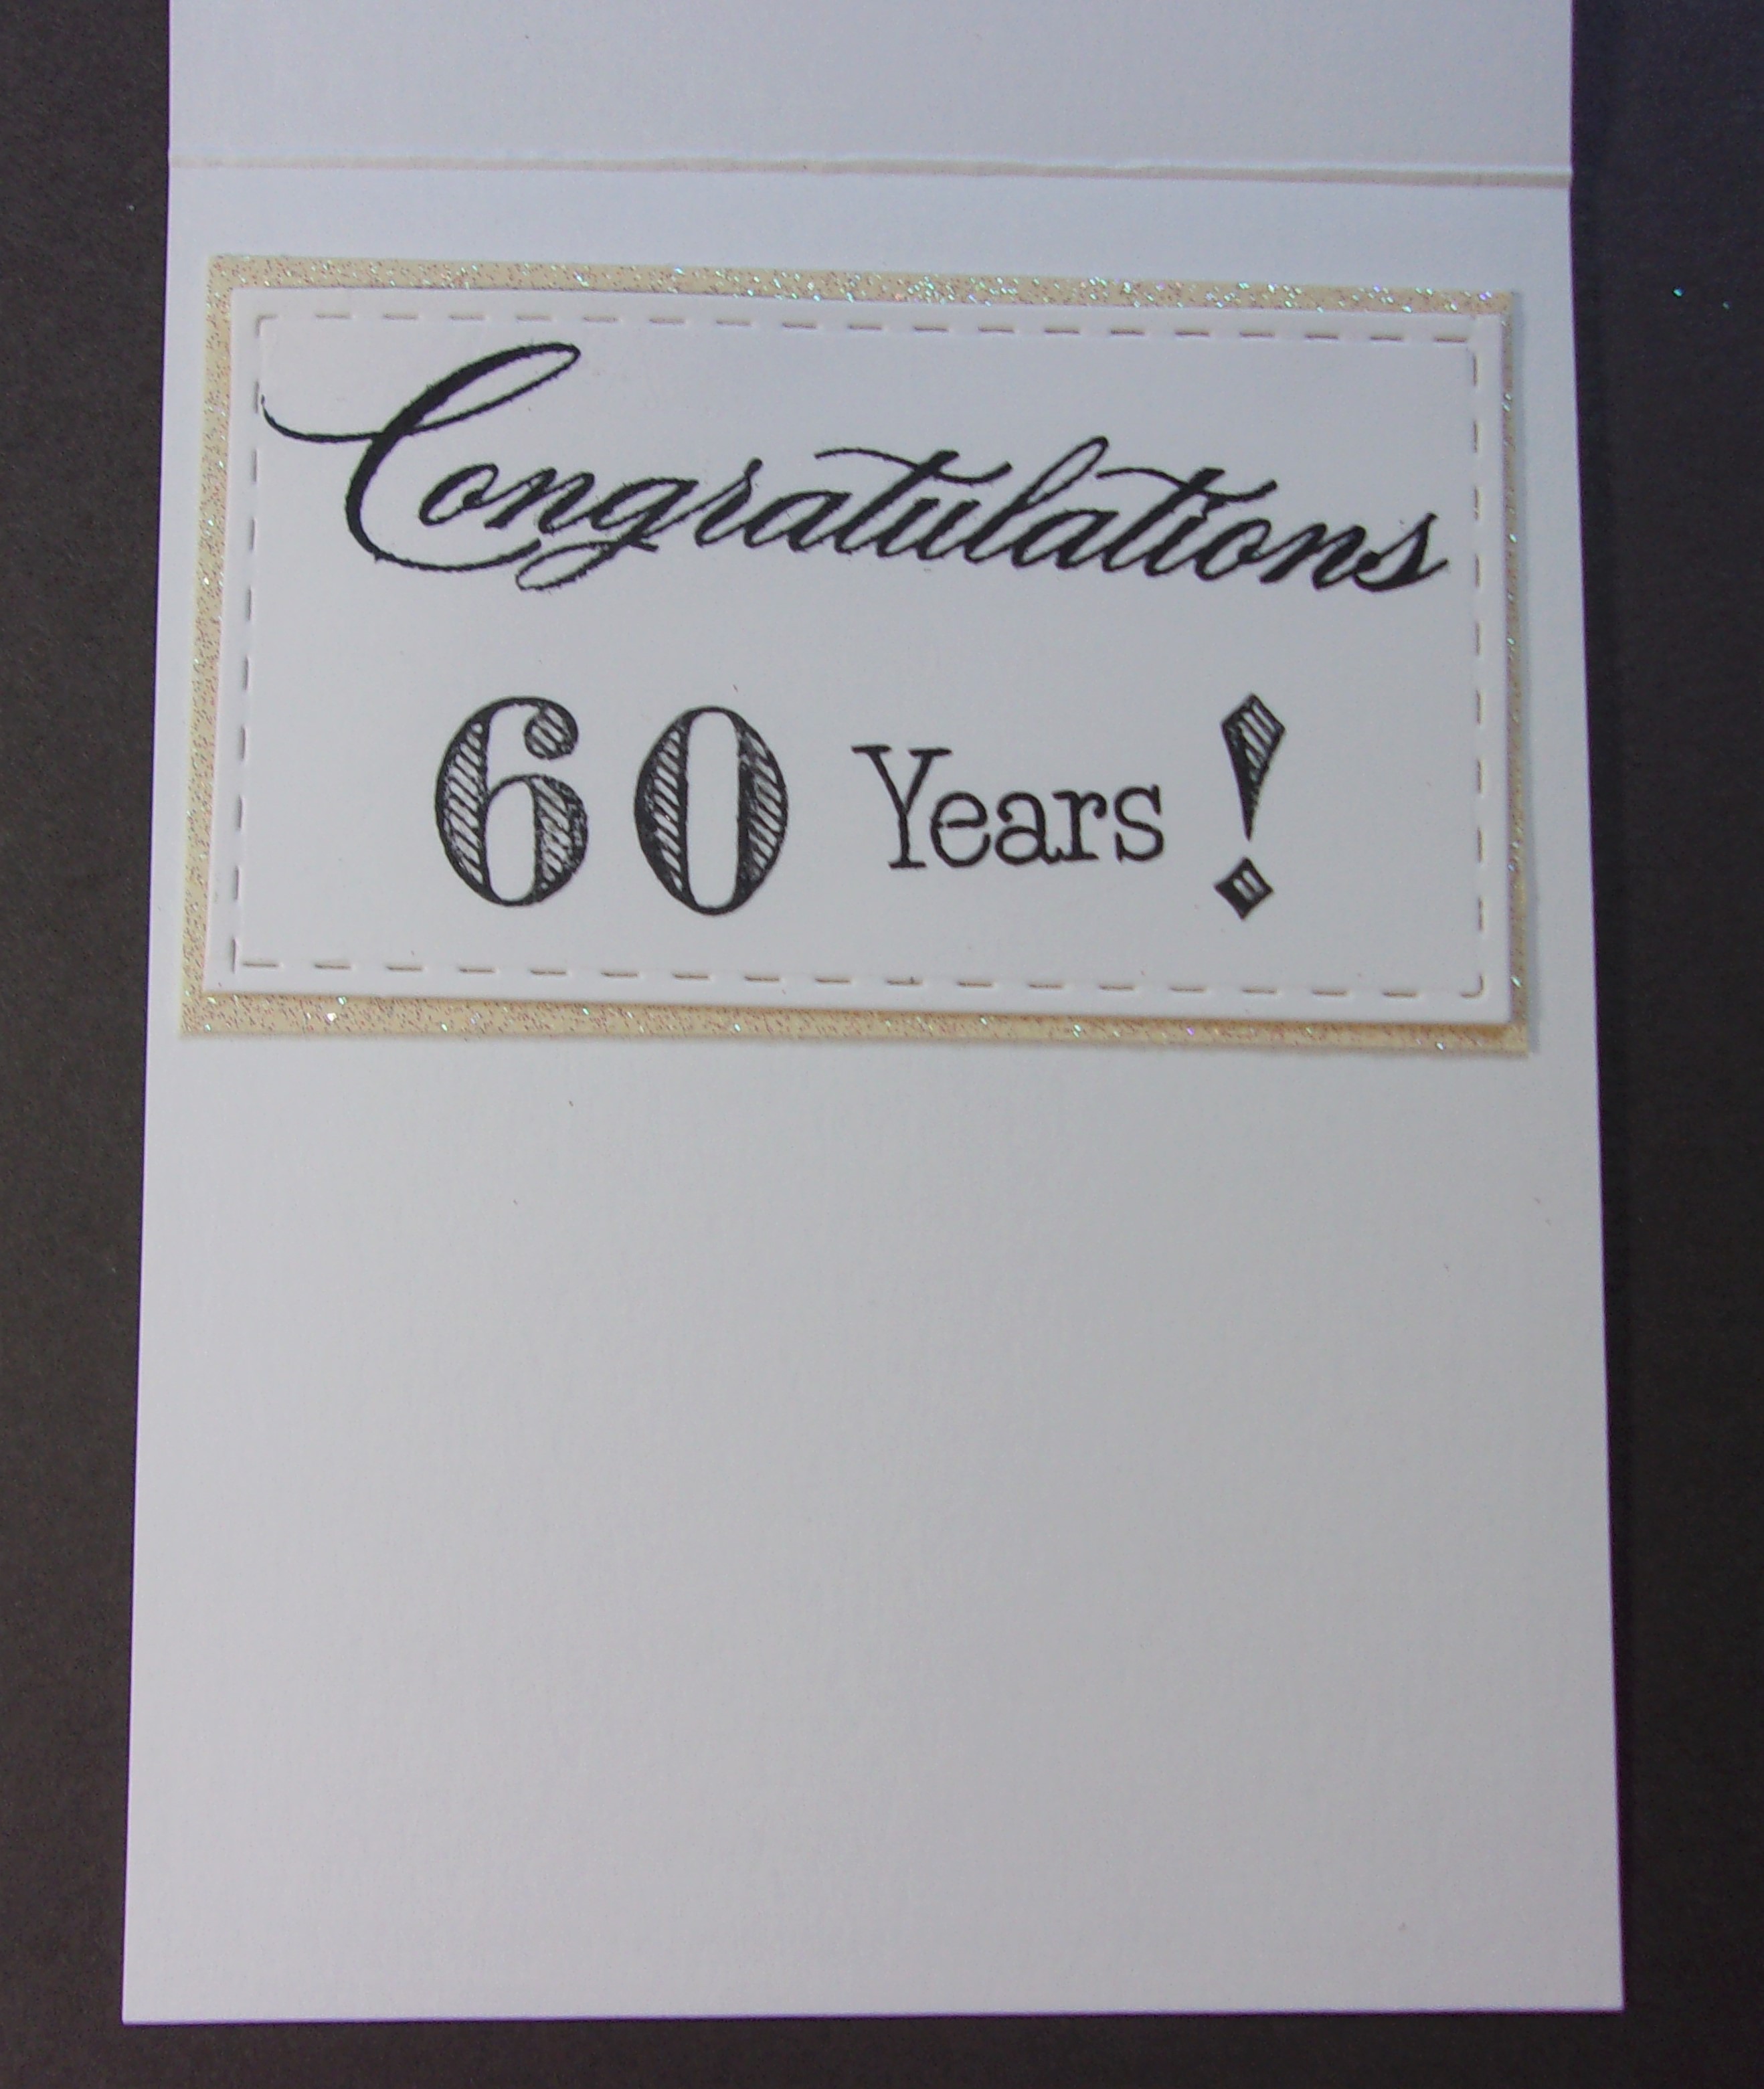
Following is the inside. I used How Many? from Maymay Made It, and Best Wishes from Hero Arts. The paper used for the card is Heavy Base and Layering Weight Ivory cardstock from Gina K Designs.
Diamond Anniversary Inside
You can’t tell it in the photo, but I added glitter to the number and exclamation point using a Glitter Gel Pen. Now we need to sign and mail the card.
Hero Arts is celebrating 45 years in business. I love Hero Arts stamps. I began stamping in 2000 and many of my stamps were Hero Arts. Hobby Lobby carried many Hero Arts stamps, both individual and in sets, and I purchased several. Here is a photo of a few stamps found in my collection from the 1990’s with colored stickers.
Day 3 is all about background stamps. I own one Hero Arts cling background stamps, so that is what I chose. I have had this stamp for many years and have no idea of its actual name, so I will call it Dotted Background Cling Stamp.
I followed Jennifer McGuire’s video and idea of shifting the background stamp to change it a bit, and also to place a floating image on the card. I have vellum, so that is what I floated the image on.
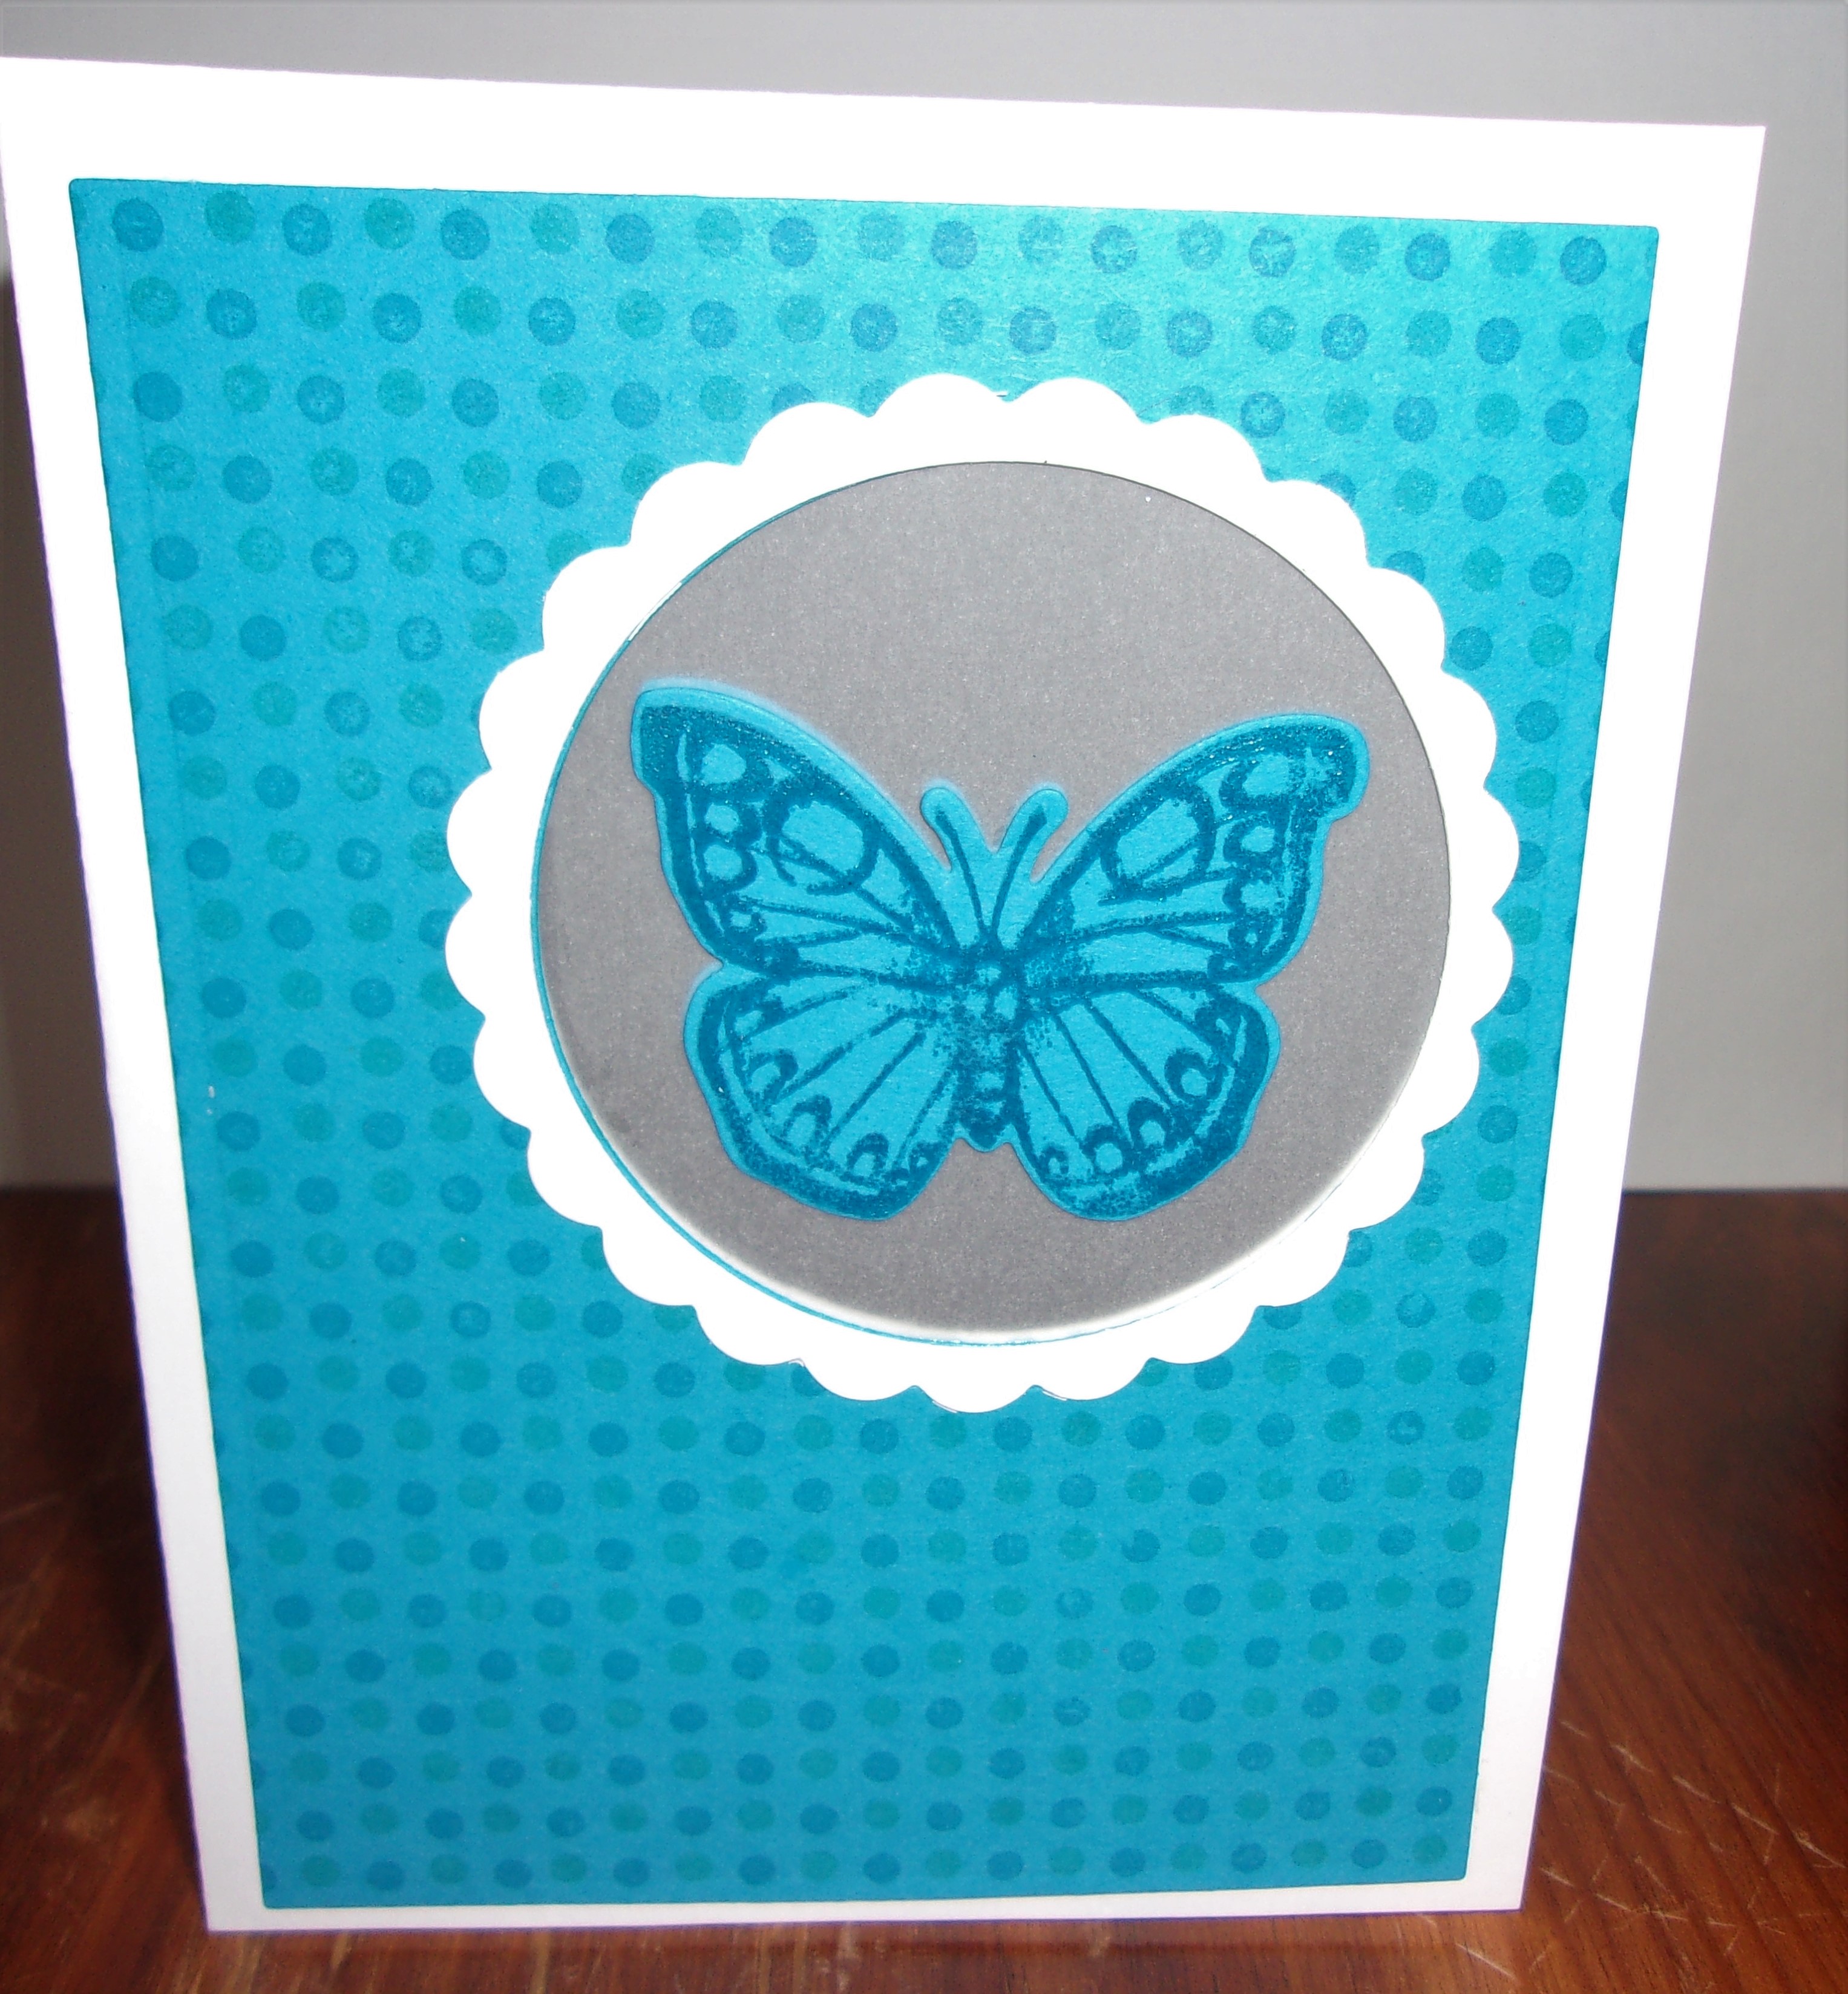
Day 3 background shift and floating image
I used two ink colors in the background: Lawn Fawn Peacock and Blue Jay. I made the template of the stamp by stamping it on vellum, so I could have a guide to shift my stamp. The butterfly is from a set that was created by Hero Arts along with Sizzix. The butterfly was stamped with Blue Jay ink, then Versamark and clear embossed. I used several dies on this card. First is the butterfly die that matches the stamped image, then I decided it needed a frame, so I used a Sizzix circle die and a scalloped circle die together. Since the butterfly is floating on vellum, the inside is covered with the same butterfly image to hide the adhesive. I did the same with the scallop frame.
I didn’t add a greeting. This way, it can be used for several occasions.
Some of Day Two was dedicated to color layering stamps. I own one color layering stamp, HA Color Layering Ice Cream, with ink pads that match.
Layered Ice Cream Cone
Ink details: Cone — HA Soft Brown, Cup O’ Joe; Ice Cream Yellow — Lawn Fawn Butter, Lemonade, HA Cantaloupe; Ice Cream Pink — Lawn Fawn Guava, Wild Rose, and HA Red Royal; Ice Cream Green — HA Mint Julep, Gina K Designs Sea Glass, HA Cup O’ Joe.
The sentiment is stamped in Cup O’ Joe. The gems are retired Hero Arts.
One sample in the class, the demonstrator layered a heart behind their stamped images. I chose a circle. I cut the circle from masking paper and used the negative portion to place on the top layer. I sponged the area with HA Tide Pool ink, using a blender brush.
This week’s Mod Squad Challenge is to have three items on your card. I have three scoops of ice cream, so I will be entering it in this challenge. http://modsquadchallenge.com/3s-company/
Day Two is focusing on Clear Stamps. One part of the class focused on alphabet stamps. I own one set, Hero Arts Happy Letters 6 X 4. I chose a name to stamp on an envelope.
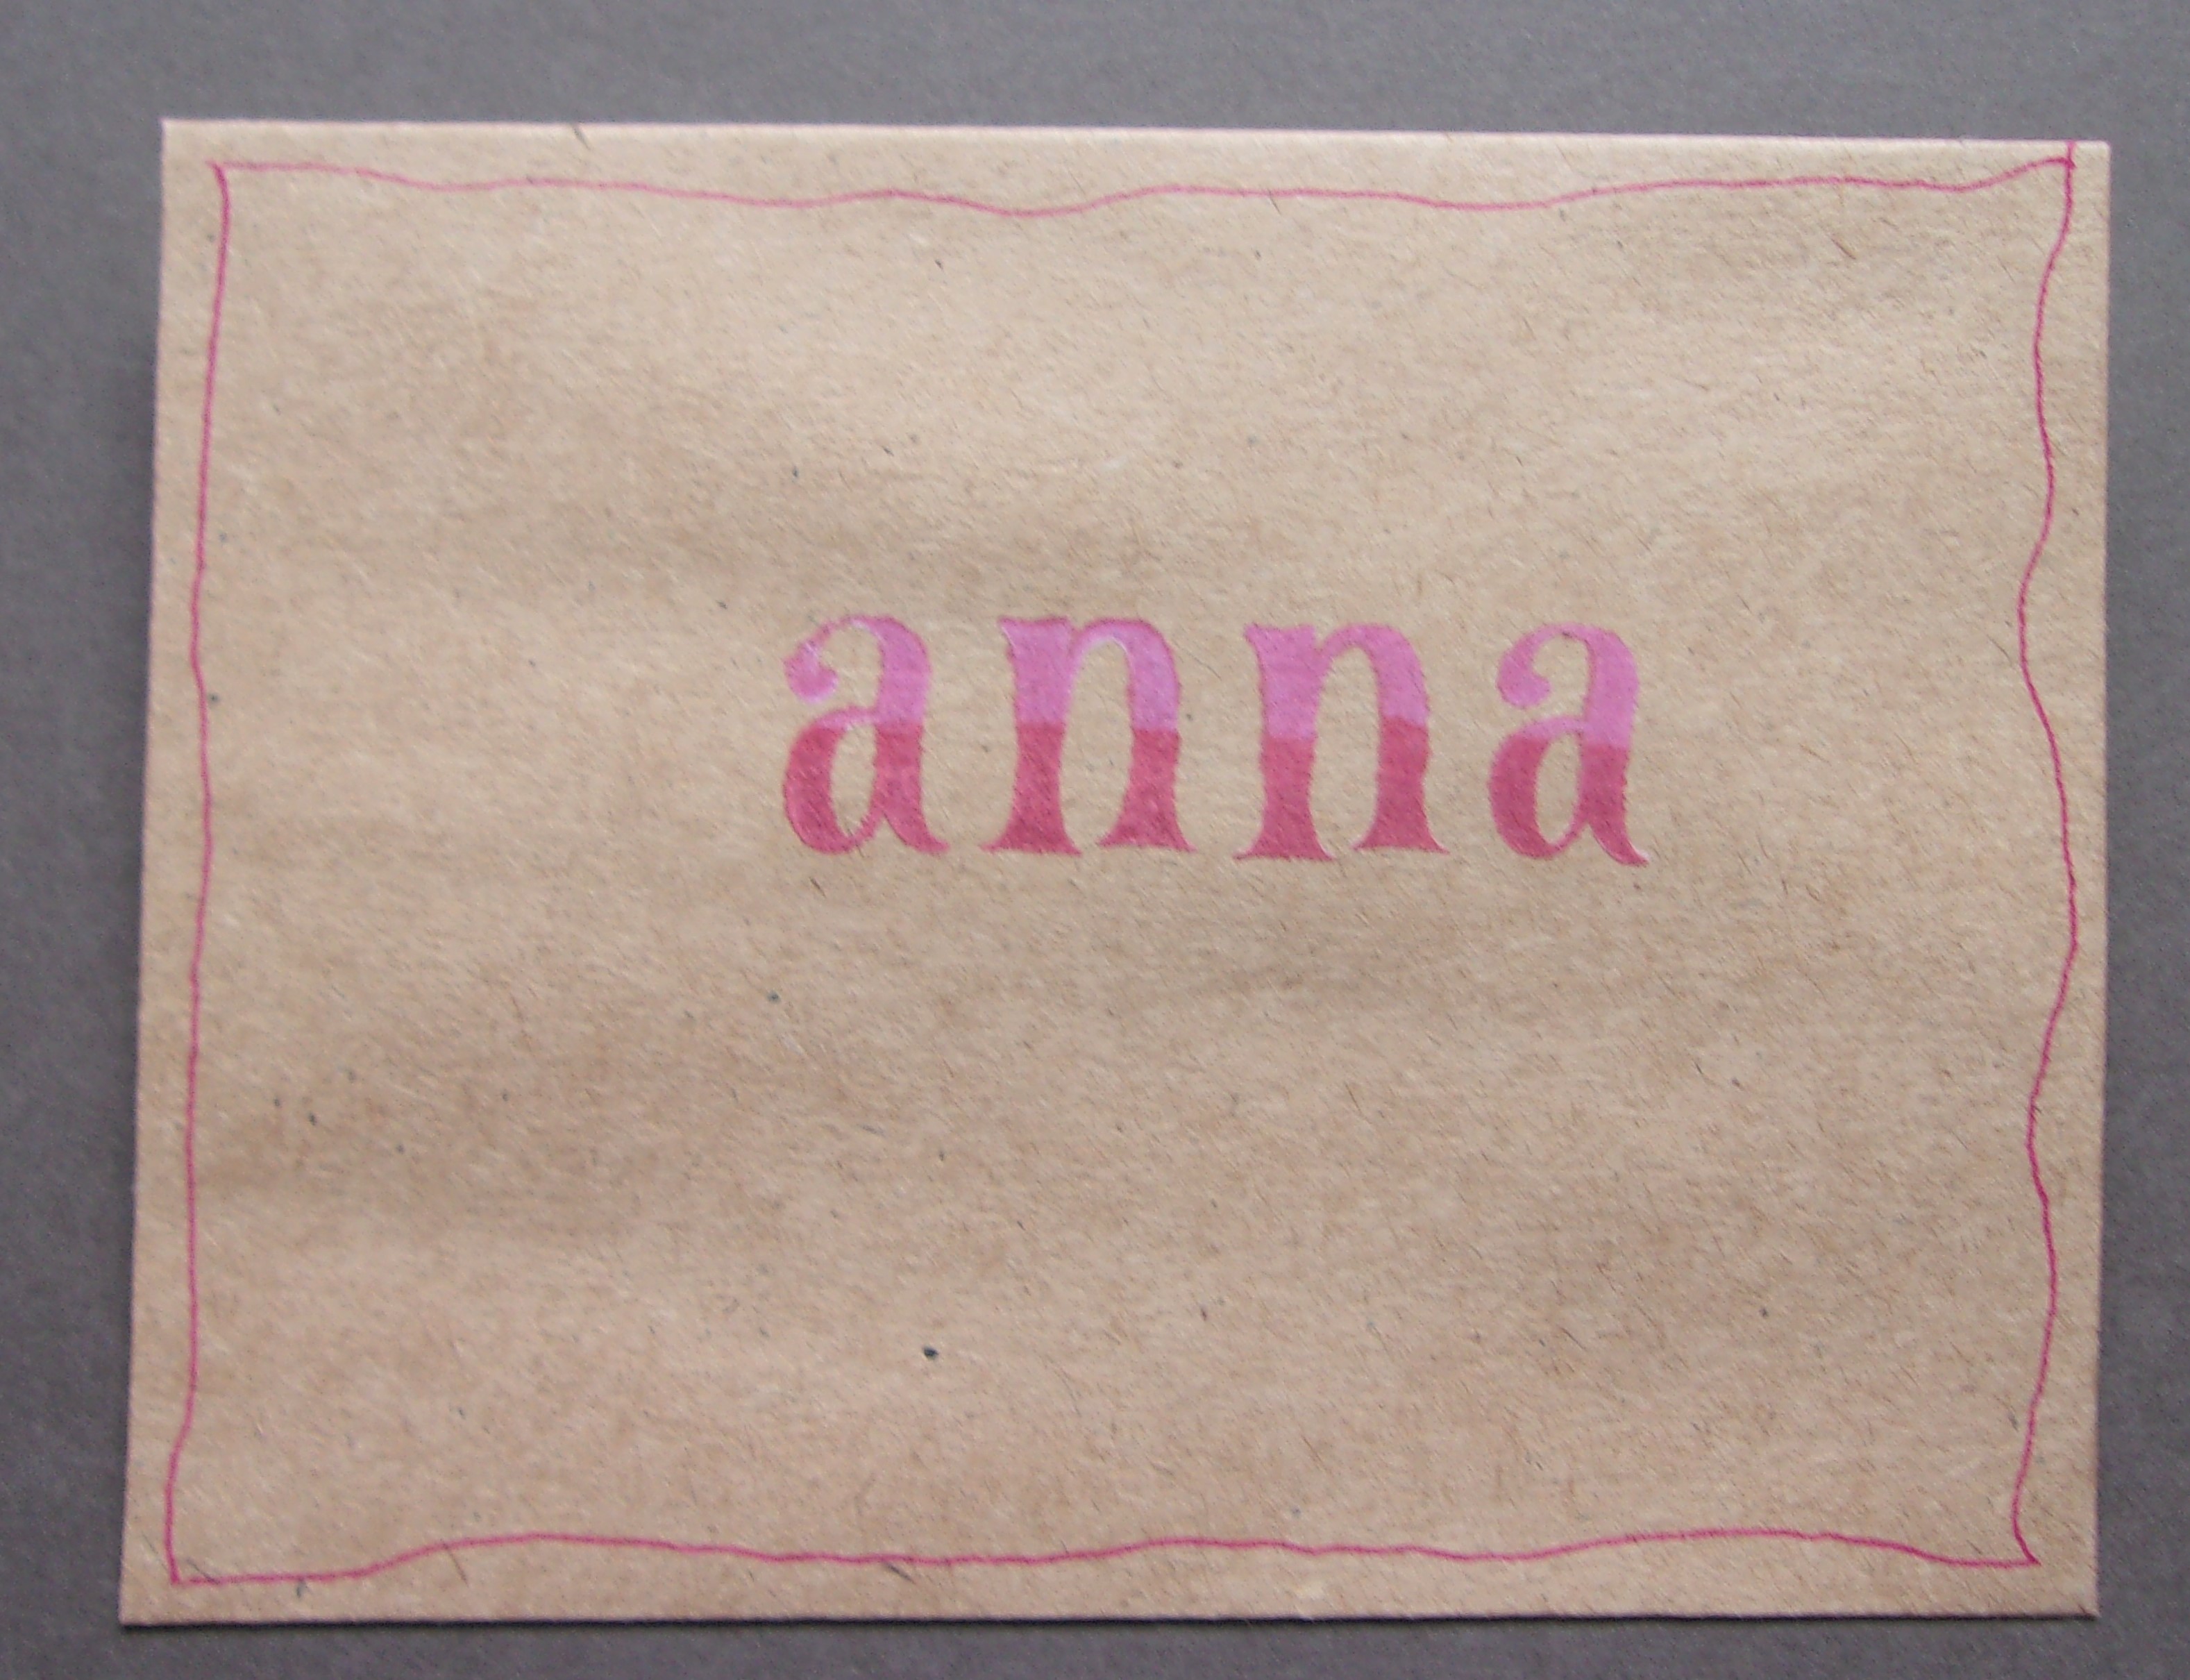
Layered alphabet
I used a Kraft envelope from Hobby Lobby. I used Hero Arts ink cubes, first stamping in Unicorn White Pigment ink. I was afraid the colored ink would not show well without the white first. They were not doing this step in class. The ink colors used are Red Royal and Ultra Pink. I stamped these with my Misi using the ruler from the Creative Corners to keep the letters straight. Next time I do this, I will choose a name with no matching letters. I drew a frame with a pink gel pen.
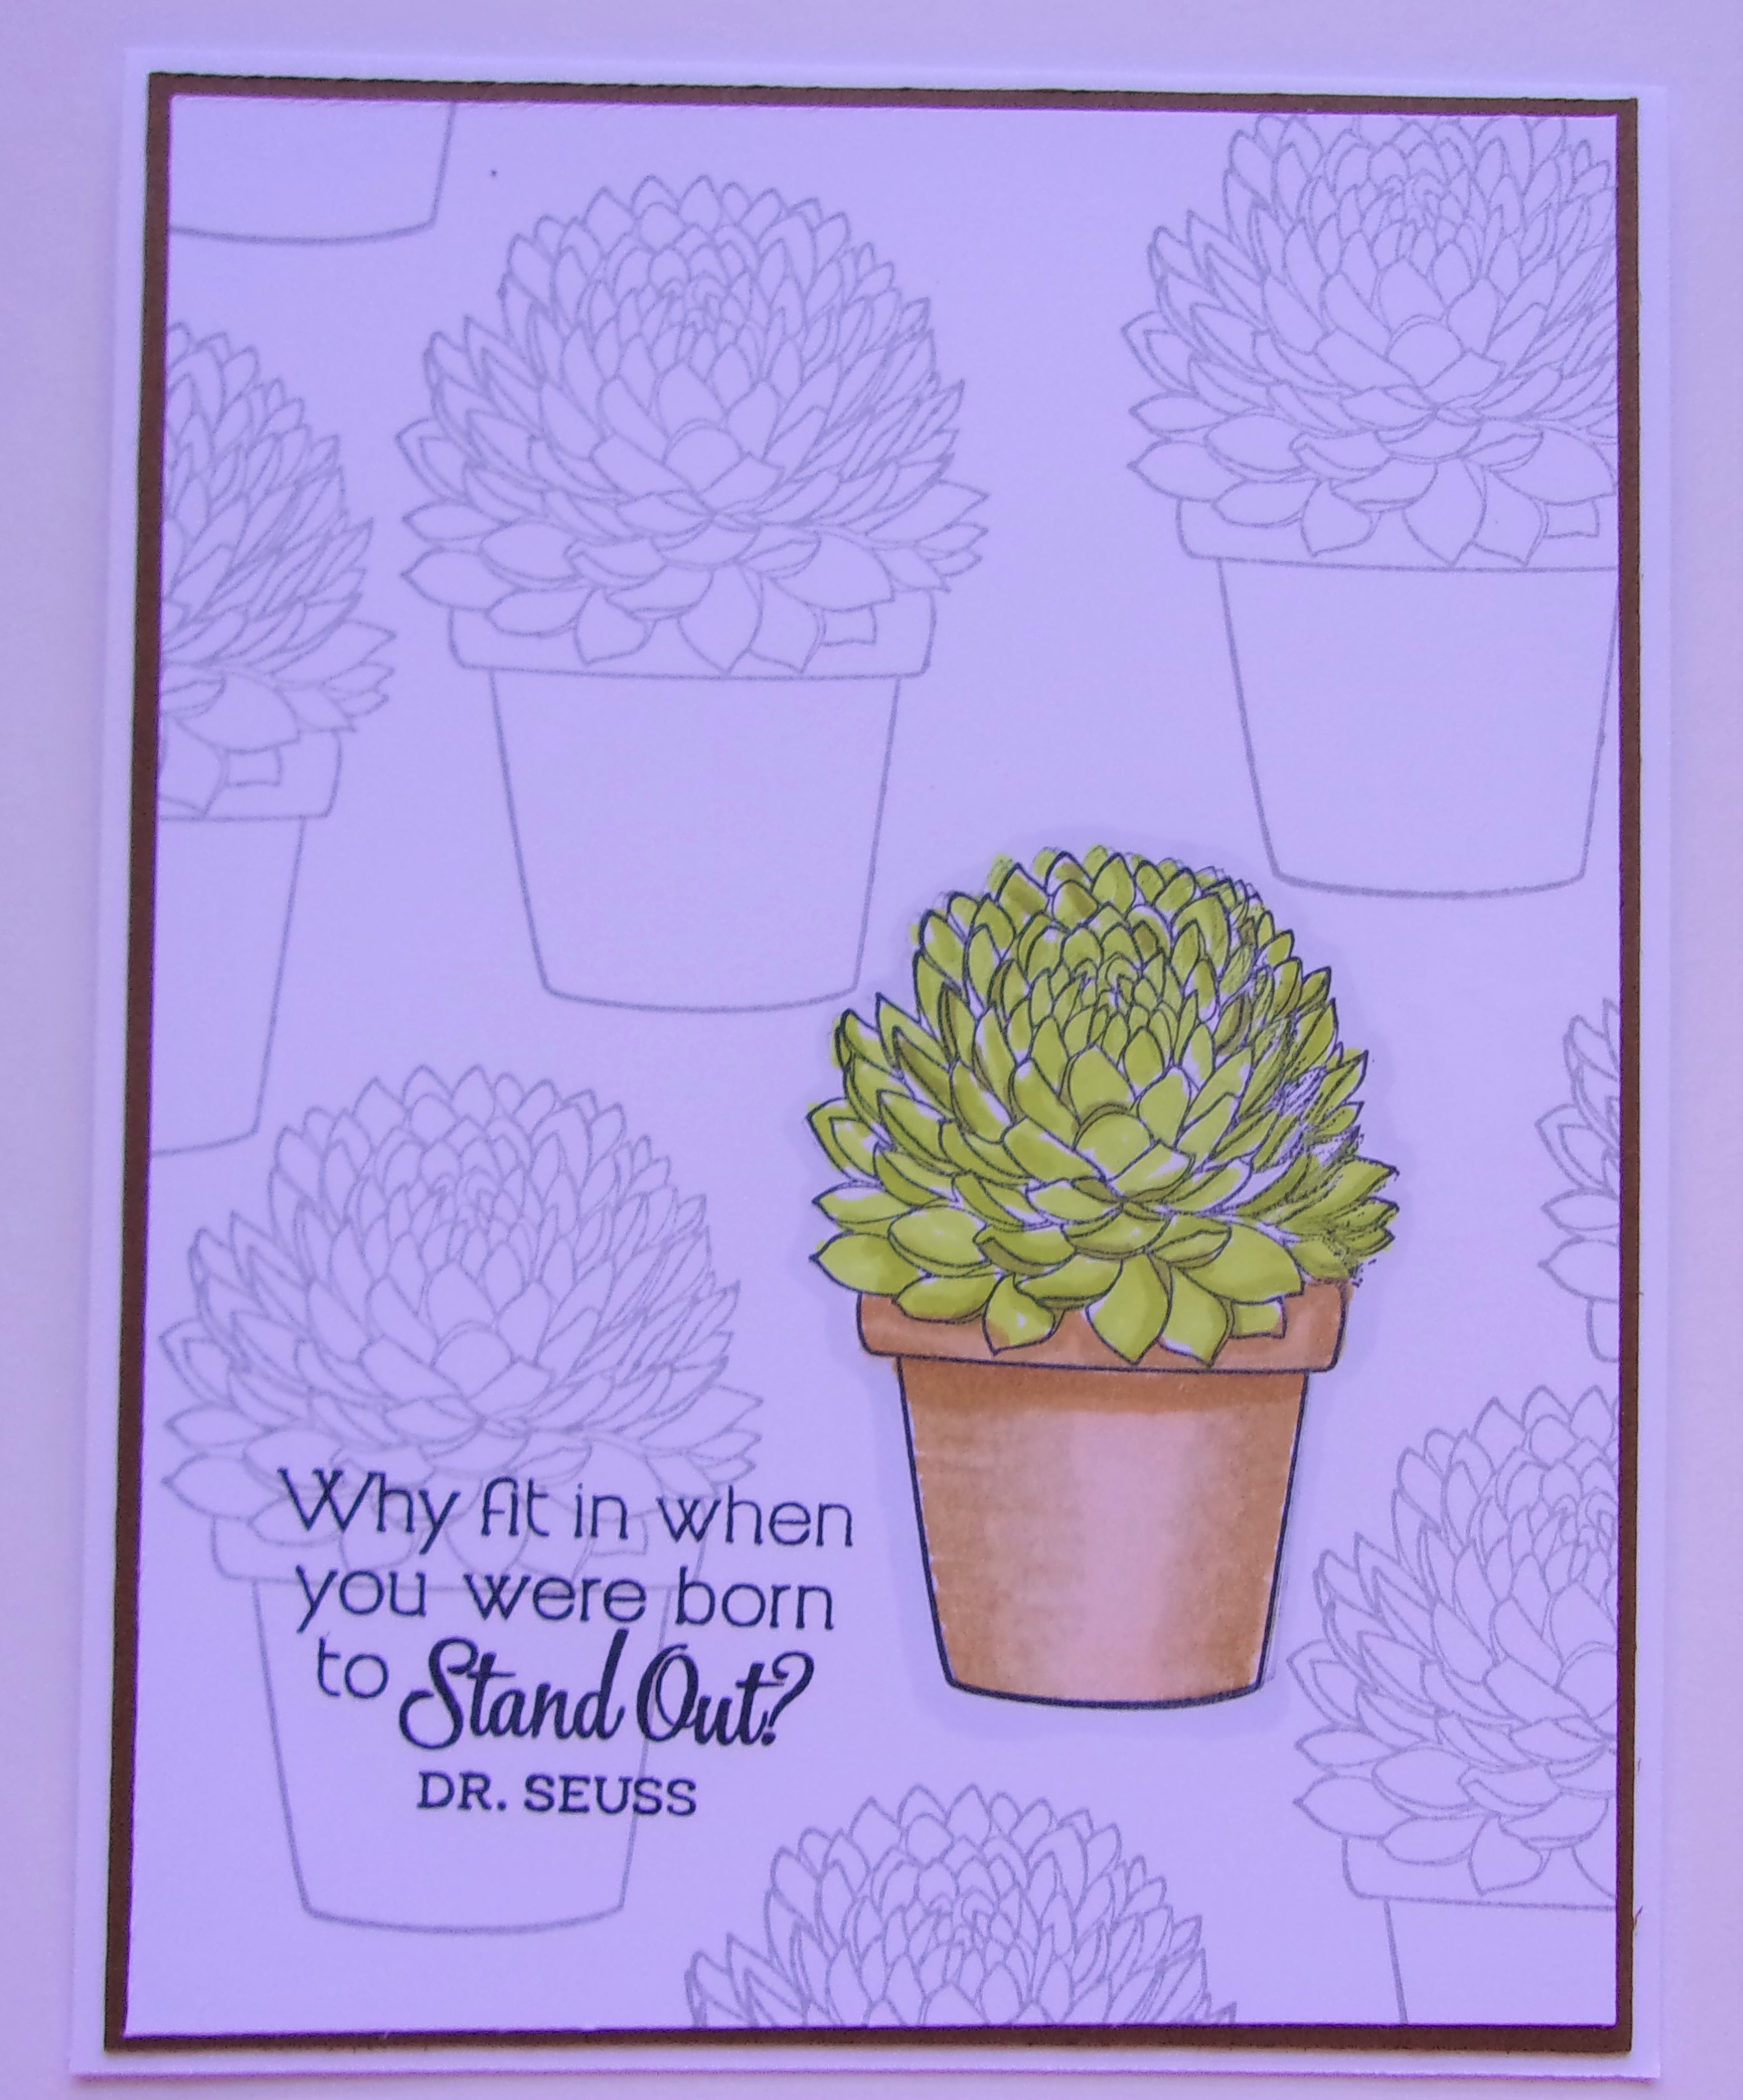
I am taking an Online Card Class, called Stamp Happy. This class is using Hero Arts stamps, dies, and other products. Hero Arts was my first love with stamping. It is enjoyable to get back to my stamping roots, so-to-speak. Day 1 class is all about wood mounted stamps. There are three demonstrators bringing ideas today. So far, I have made two cards, using the same stamps.
Popped Succulent
For the first card, I repeatedly stamped the Potted Succulent stamp, using my stamp positioner, in two colors. I began with Memento Tuxedo Black, then stamped all other succulent images with Memento Flannel Gray. The sentiment is from Power Poppy Sassy Succulents. I couldn’t find a Hero Arts sentiment in my stash that fit.
Potted Succulent Card Two
Card two uses the same stamps, same kind of ink, and same paper. This is the first time this stamp has been inked. I have had it for several months sitting on my desk. I kept looking and wasn’t coming up with anything to use it for, till today, It worked great for the class ideas.
Thanks for looking at my journey through this card class.