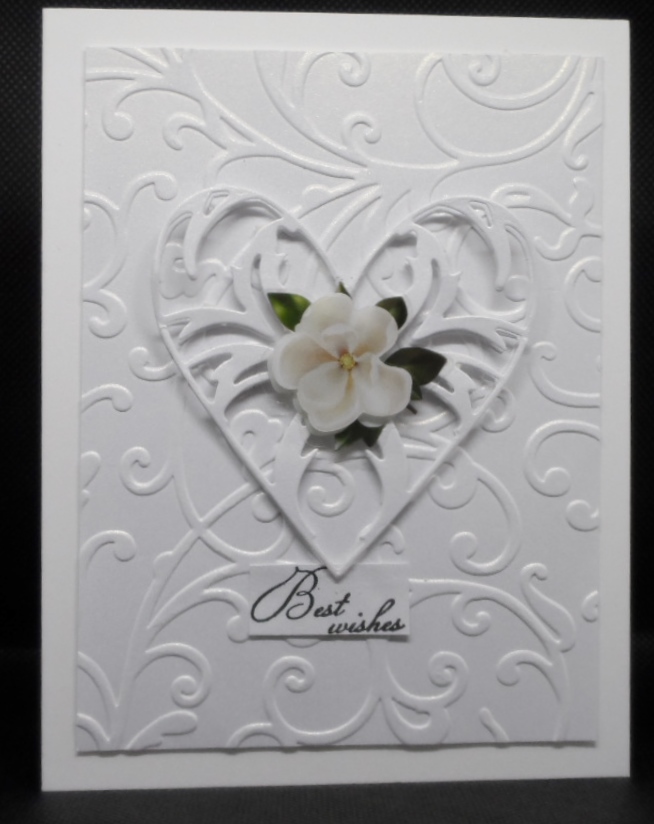
I’ve been working on cards for an upcoming bridal shower. Using Michael’s Shimmery white cardstock and a Sizzix embossing folder for my background panel, then die cut Memory Box’s Enchanted Heart twice for my focal image. I added teeny, tiny, little pieces of foam strips between the two die cut hearts for some dimension, added a tiny flower “layered sticker” to the center and adhered to my card. I wasn’t sure of a sentiment but decided on this red rubber stamp from a Gina K Designs stamp set.
Thanks for stopping in for a peek. I appreciate you and your time. It’s been quite a weather pattern lately with lots of rain/sun/rain/thunderstorms and repeat tomorrow and maybe Wednesday, too. Take care, be safe and stay cool.
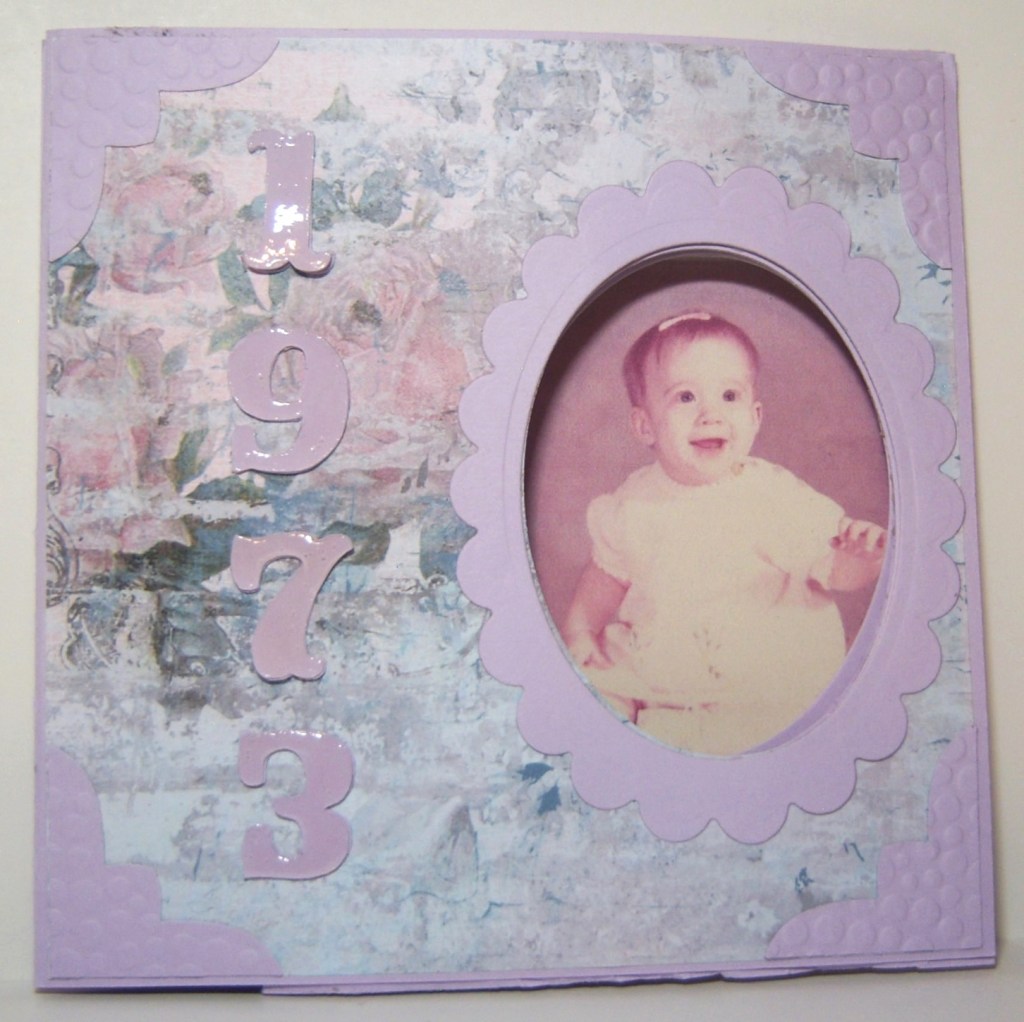
Hello and welcome. Today’s card is for our daughter’s 50th birthday. I had made one of these peek-a-boo cards for our son’s 50th so our daughter gets one too.
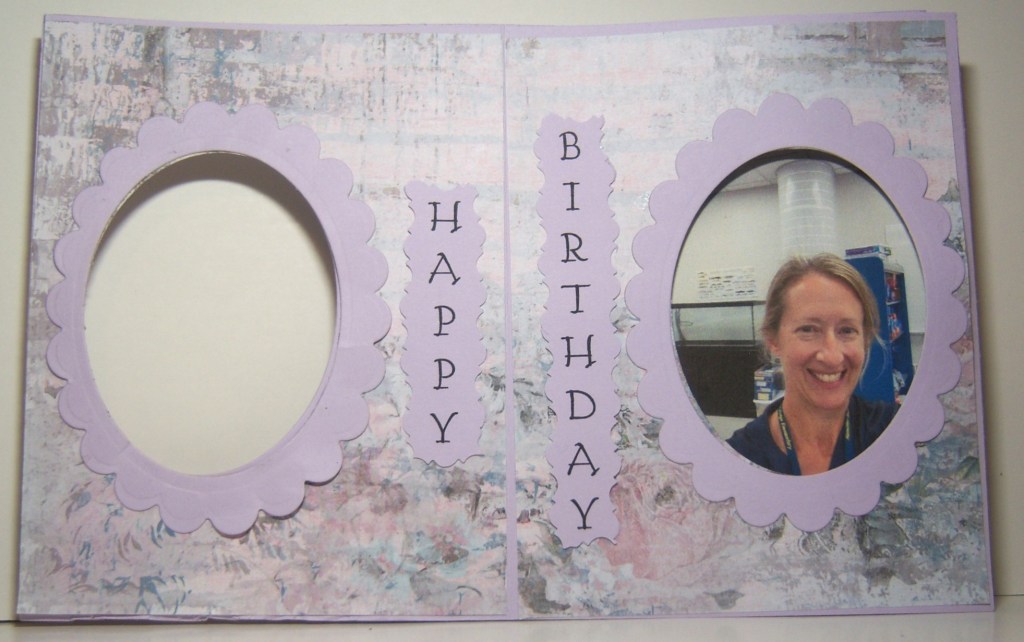
Papers are all The Paper Studio from Hobby Lobby, ovals are Spellbinders Scalloped and Classic ovals. Numbers are from the Silhouette, doubled with Glossy Accents on them. Photo corners are from a hand punch then I ran them through a dots embossing folder. Inside sentiment was printed on the computer then fussy cut with a decorative scissors. Her 50 year picture is a selfie.
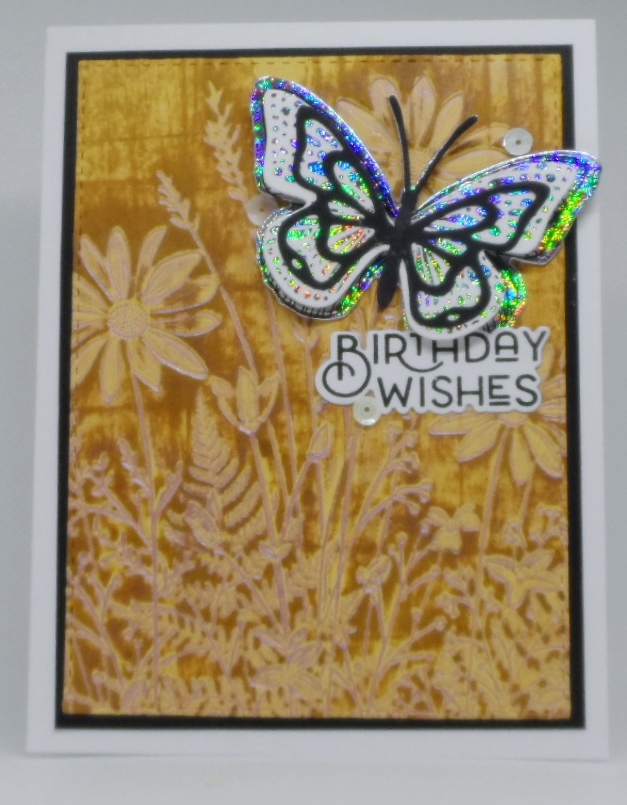
Another debossed background using Archival Brilliance Pearlescent Purple ink on the raised portion of the SimonSaysStamp Wildflower Field 3D embossing folder. While attempting this techinque, I, like another stamp buddy made several backgrounds trying to figure it out. The embossed panel is Gina K Designs LemonDrop and instead of adding the same color ink with a brayer I decided to swipe the ink pad in a deeper shade over the debossed panel to cover up the pearlescent purple ink. The butterfly is Taylored Expressions Beautiful Butterflies die & foil combo and sentiment is also a TE that was previously stamped and die cut. Butterflies seem to make everything better, don’t they?
The Father’s Day card for my son this year was made using Taylored Expressions Create in Quads Abstract layering stencils and their Foil It Panels. The Create in Quads makes four different design panels in one pass after using all 4 stencils. An add on item is the Foil It panels which I ran through my laminator with foil. My sentiment is an older wood mounted red rubber stamp from my stash. My son’s in law card was from a different panel but alas I forgot to take a photo of it before mailing.
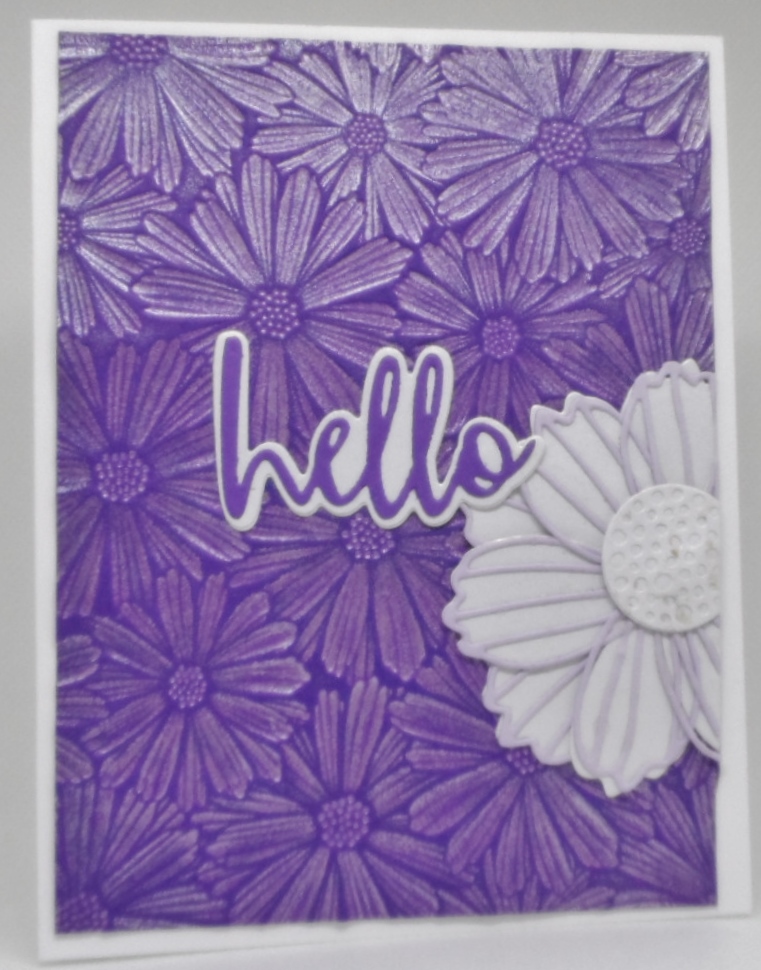
After watching Jennifer McGuire’s New Embossing Folder Technique on YouTube today, I decided to give it a try. The technique is to use a silver pigment ink on the raised side of the embossing folder, run through your machine and then brayer ink of the same color as your cardstock on top. I didn’t have any silver pigment ink so I tried Archival Brillance Pearlescent Purple ink which gave me some shine and lightness on the debossed sections of the panel. The 3D embossing folder is SimonSaysStamp’s Floral Field, SSS Cosmo Flower Petals and Script Hello dies and Gina K Designs Wild Lilac ink completed my card.
My card today will be entered into the Color Challenge with:
Hello and welcome. Since I’ve really enjoyed making trellis cards, I thought that design would could make a cool Halloween card. I found the patterned paper across the top panel online then saved it to my Halloween file. For this card I just resized it. I started thinking the “planks” would look pretty cool cut from distressed wood pp. So of course I Googled Distressed wood background paper and found just what I wanted. Skull is a sticker I found in my stash, bats, spiders, ghost are die cuts also found in my stash. I added red stickles to the bats, yellow to the spiders and black to the ghost’s eyes. Top of ghost is popped with double pop dots, other images just have single pop dots.
This card came about as a CASE from the Splitcoast Stampers Featured Stamper, Tammy. I chose a card of here that has masking, ink blending, and a stamped floral. I kept the masking, ink blending and floral but used different colors and stamps.
I ink blended Lovely Lavender, by Gina K Designs, into a rectangle in the center. I used Meadow by Inkadinkadoo for the floral. The greeting is a Stampin Up set called Expressions of Friendship. The Less is More Challenge is to use light purple and black on a card. I think my camera made the lavender look a bit pink, but it is lavender in real life.
It is a lovely sunny day here. I love the sunshine and hope to walk outside and enjoy a bit of it. Thanks for spending a little time with me looking at my card.
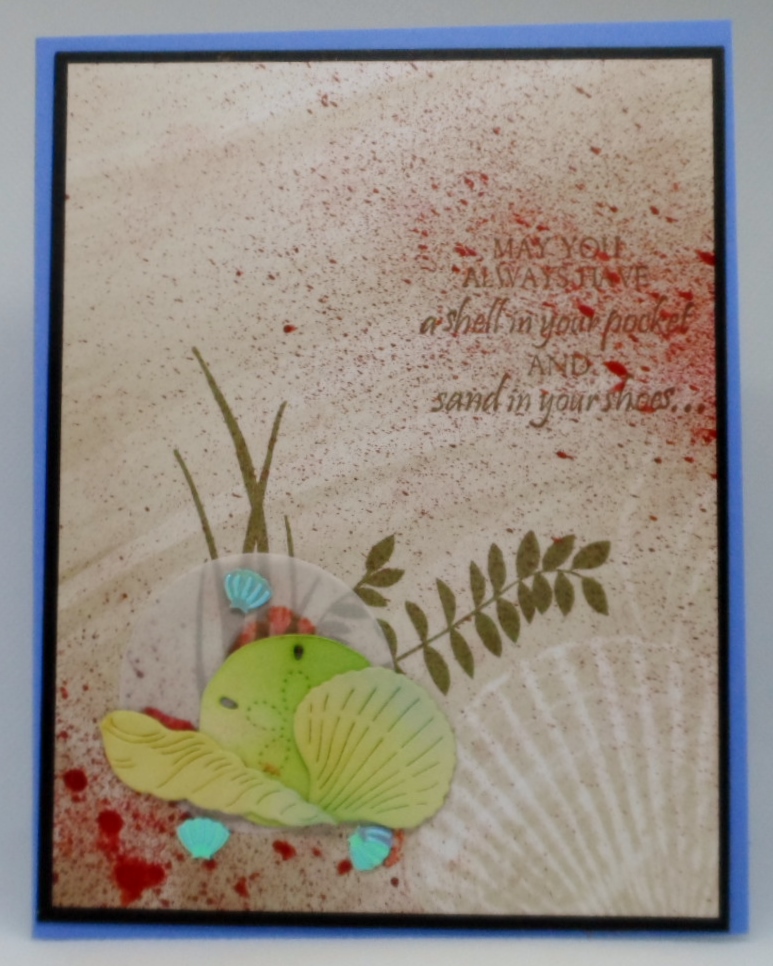
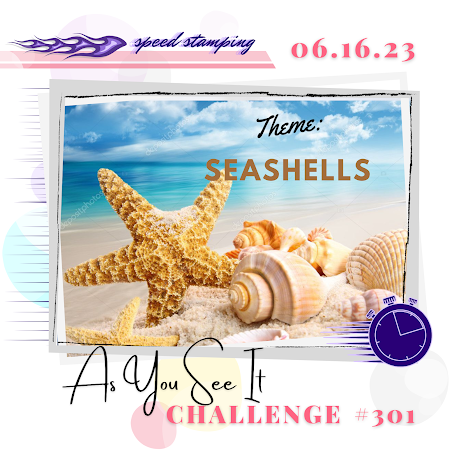
Ready, set, wait…..think, plan and then go! It’s speed stamping challenge time to create a card project under 10 minutes and this month’s theme with the As You Can See It Challenge group is Seashells.
I gathered a piece of Recollections designer paper from my stash, fern/foilage stamps from Taylored Expressions’ Simple Silhouettes and Gina K Designs Warm With Love stamp sets. Chose a sentiment from GKD’s Gifts from the Sea stamp set, Hero Arts Seashells fancy dies, Spellbinder’s Classic circles nestabilities die and a piece of vellum. Now Ready Set Go!
After stamping using my Misti and GKD Dark Sage ink, off to my die cutting machine to die cut the shells and vellum circle., back to my desk to use whatever inks were on some brushes for my shells and then decided the background needed something extra and picked up a spray…why oh why did I not take time to chose something different than Tart Cranberry Mica Stain. The first shot hit my sentiment and then decided to try again on the bottom left corner. Too late to do anything else as the clock was ticking. Added my seashells on the vellum circle, then decided I needed a black layer so cut down the focal layer much to my cutters dismay as it now has tart cranberry on it. Layered the focal on black then on card base and added three cute little turquoise shells from Recollections Mermaid Mix sequins mix. Completed the challenge in 9 minutes and 24 seconds and only took 30 minutes to clean everything up.
My card will be shared with the always fun timed challenge with:
Hello and welcome. I found the idea for today’s card on Pinterest.
Lemons are from an online coloring page colored with Copic’s and fussy cut. You’re the zest image was also found online then cut with Die-namics stitched circles die. Circle is popped up. Since my brain doesn’t do well with measurements and spacing this took me a couple tries but I’m very happy with the end result.