Using masking paper to create a side panel that was then ink blended in purple, I then added some clouds with a stencil and black onyx ink and Taylored Expressions Aflutter butterflies and sentiment to complete my clean and simple card design.
It definitely is sweater time in Pennsylvania…..well at least for the next few days that is!! My fall sweaters were made using Taylored Expressions Sweater Weather kit which included layering stencils, sweater die, clear stamps for the sweater trim, dinky decorations dies which are more of a Christmas/winter theme and will be perfect for Ugly Sweater day. Since I couldn’t wait to play I decided on fall leaves and TE’s Fall Garden Variety dies. The Cuttlebug Herringbone embossing folder reminded me of a sweater. Sentiment was a TE add on to the kit.
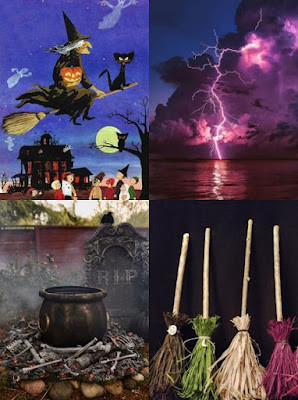
Taylored Expressions Halloween Create In Quads background as well as a gift with purchase embossing folder is the subject of my card today. I also used the coordinating die to die cut the witch cauldron.
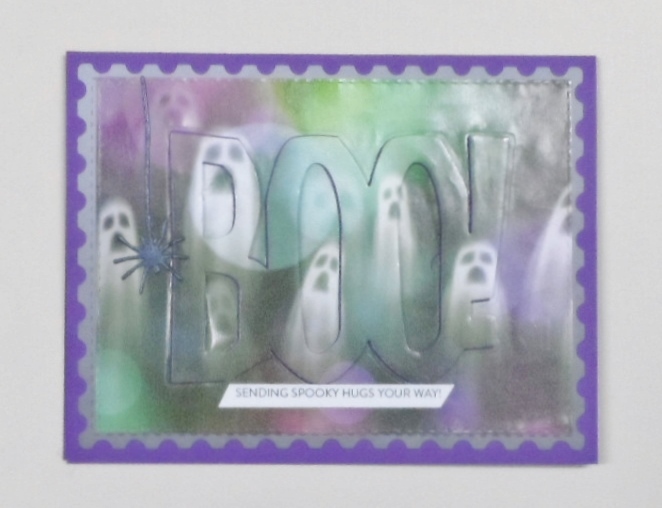
Whimsy Stamps patterned paper combined with a Tim Holtz Big Frights Boo! die and spider, layered on a purple card base with a Taylored Expressions postage stamp panel in grey for this card. The Boo! layered to create an eclipse effect for my background.
Hello and welcome. Even though my Halloween cards are done I just couldn’t pass up the CYHTP Monster challenge. Background paper was found online, and I embossed it with the Spider Web ef by The Paper Studio. Gates and monster are Tim Holtz dies, spider is from an old Provo Craft die. Yellow Stickles were added to the spider’s eyes and spider is popped up. The Happy Halloween washi tape was an afterthought when I found it in my stash.
Thanks for stopping by I really appreciate you taking the time. Comments are always appreciated. Have a great day and stay healthy & safe.
Hello and welcome. Time again for d-o-s’s chuckle of the month. The sentiment “If you had to choose between drinking wine every day or being skinny, which would you choose? Red or white?” was found online. D-o-s chose red. Pp was in my stash, die used is a no name I bought on Amazon, wine glasses are computer clip art.
Thanks for stopping by I really appreciate you taking the time. Have a great day and stay healthy & safe.
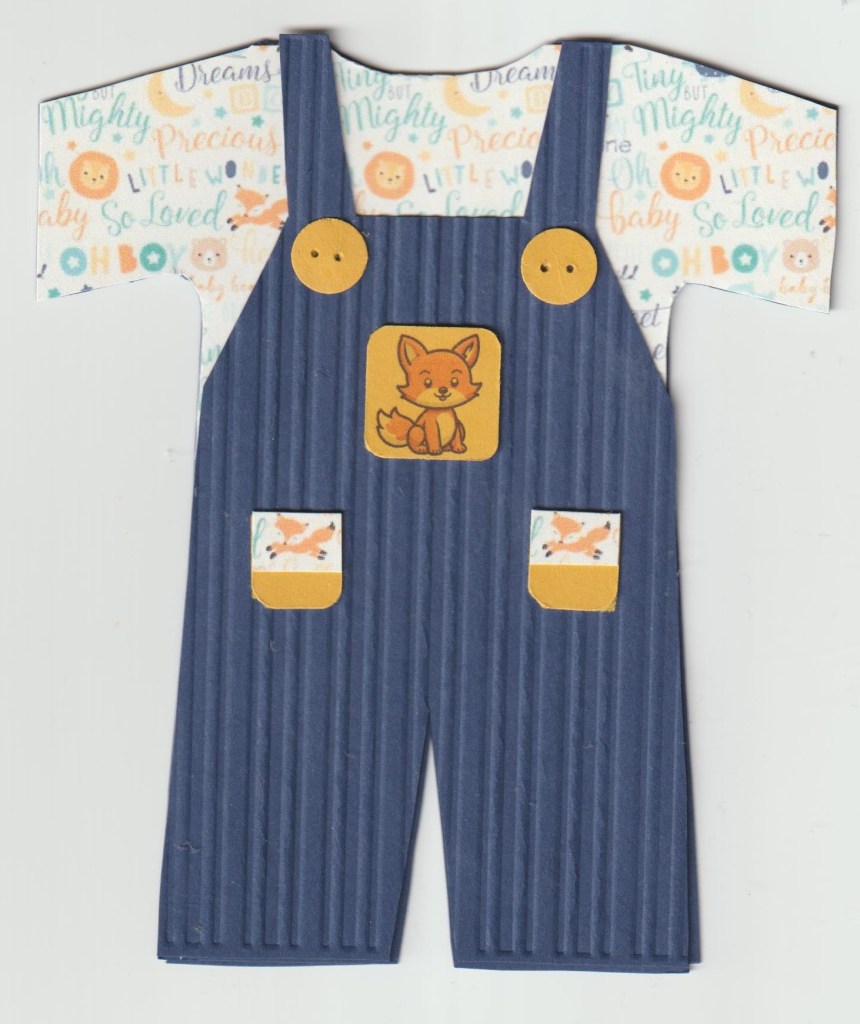
Hello and welcome. Today’s card is for our favorite breakfast server. She’s expecting her first baby and when she and her husband first got together, they were big fans of the X-Files series and decided if they ever had a boy his name would be Fox. The gift we’re giving them is a stuffed fox I had a friend crochet, so I wanted to bring the fox theme to the card.
Pp was found online, template for the boy’s dungaree card was found on Pinterest. I was having issues with my Silhouette, so I used the template and fussy cut the card pieces. I embossed the strapped overall to give them a little interest. Buttons are a hand punch then I poked tiny holes in them. Pockets are 1/2″ squares that I rounded the bottom corners using a nail file, and I did the same to the baby fox square. Baby fox was found online, Since the way the pp was cut the foxes in the paper didn’t show so I cut pieces with the fox on them for the pocket tops.
Thanks for stopping by I really appreciate you taking the time. Have a great day and stay healthy & safe.
I have had so much fun making Halloween after coming across the Whimsy Stamps collection. My warlock is from Whimsy Stamps Quick Card fronts Lil Warlocks paper pack and that striped patterned paper was in my stash. I may have been a SSS from a kit a few years ago. The Hero Arts Leaves & Vines fancy die frame was die cut from grey cardstock with a little black ink blending. A sentiment strip layered with a little colored backing completes this card.
Step away from the Halloween stamps and designer papers and move on to the next holiday, Gayle!!! Thanks for stopping in for a peek. I appreciate you and your time. Take care and stay safe.
Z- Fold open and bottom photo is closed. This Whimsy Stamps Haunted Houses designer paper was perfect to create the scene for this card. Tim Holtz/Sizzix Toil and Trouble Witch & Broom and Bats dies were die cut in black cardstock with a sentiment from a Gina K Designs stamp set and Hero Arts Bats background stamp completes my card today.