bee ok!

The Paper Players CAS Challenge: PP550

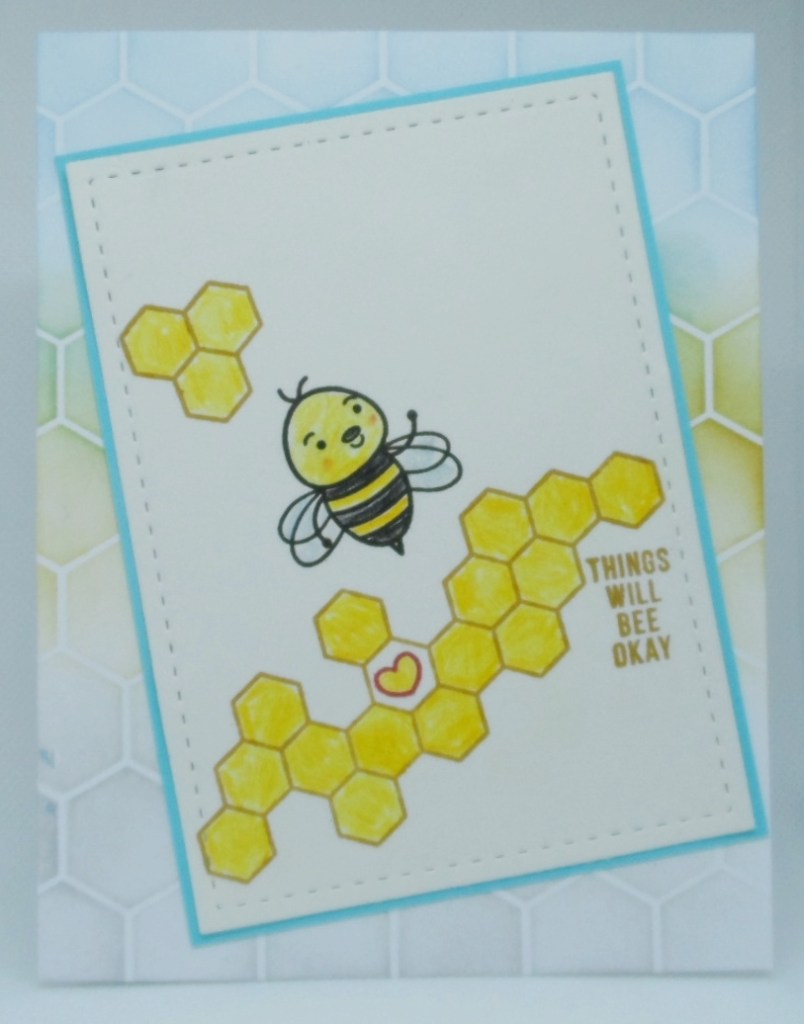
The challenge at The Paper Players is a clean and simple card that must include a bee! I decided on one of the bees from a SSS Bee Yourself stamp set. Cute bee images as well as some honeycombs and sweet sentiments, too, are on this stamp set. I did really need to layer my focal image on some light blue cardstock and decided to stencil my card base with a light blend of GKD’s powder blue, honey mustard and soft stone over an Altenew honeycomb stencil. I think it will pass for clean and simple….hopefully….still a struggle for me.

Thanks for stopping for for a peek today. It’s been a little stormy and rainy here today but the sun is shining again so “Things Will BEE Okay”

Twinchie Take Two

AAA Cards Game #194

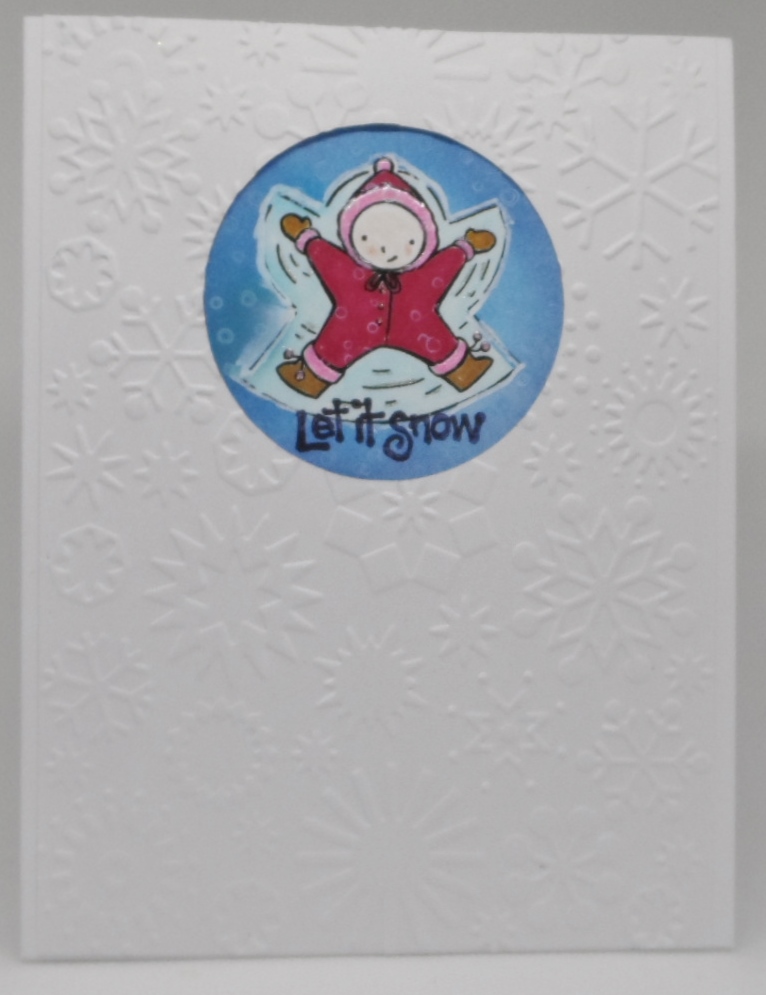
The challenge at the AAA Cards is a Twinchie + optional twist Christmas in July! What’s a twinchie you asked? Well thankfully it was explained in the challenge as a square, circle or hexagon up to 2″. In addition to the CAS Twinchie everything should be contained within the 2 inches including the sentiment and no added mat or layer outside of the twinchie. That is the reason that this is Take Two! My original card I die cut my 2 inch circle from the layering mat and I believe that may have been a violation!!! So I went back to the drawing board and added my two inch twinchie circle to the top of my card base,

Here’s my original card:

Both cards use SU’s Wonderful Winterland stamp set and sentiment is Penny Black’s Christmas with Mimi. Spellbinder’s nestabilities circle die was used to create my twinchie and on the top card I couldn’t resist adding some “snow” with SSS large falling snow stencil. The bottom card I used cuttlebug’s snowflake embossing folder.

Hopefully, I have the recipe for my twinchie card correct the second time around. These challenges do get my brain thinking in a direction I don’t usually process but it’s fun to keep on trying.

Hope everyone had a great day. Thanks for stopping in for a peek.

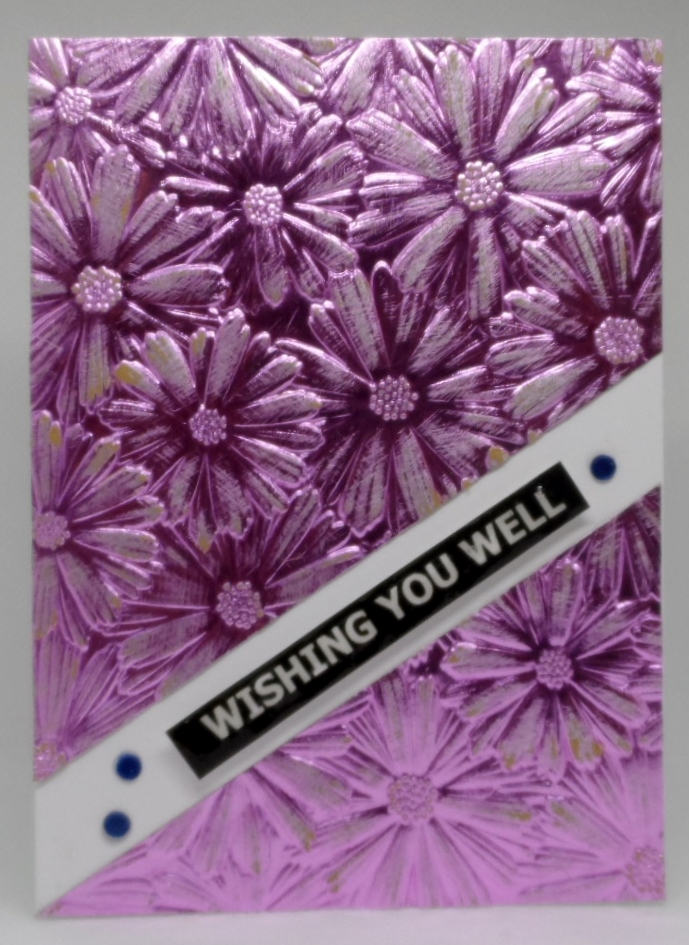
Wishing Florals

The Sisterhood of Crafters: Embossing –Heat or Dry

I haven’t played along with The Sisterhood of Crafters challenge in awhile so their challenge to include either heat or dry embossing interested me. It interested me enough to pull out the SSS Floral Field 3D embossing folder and emboss it on a piece of foil cardstock, lightly sand the raised image, cut it apart for my Bonnie sentiment strip which was popped up and added a few blue sequins to finish off this card. I thought that my sentiment strip needed some shine so I added glossy accents but now I’m wondering if I should have used versamark and clear embossing powder to add the shine. Any suggestions??

Thanks for stopping in for a peek. It was a lovely day of sunshine and lower humidity so it was a two walk day!

Sparkling Christmas Wreath

I created a card to honor Rita at Split Coast Stampers as she is the Featured Stamper. I settled on a Christmas Wreath card to provide inspiration. I am posting this card to Simon Says Stamp Wednesday challenge where embossing must be used. I used heat embossing on this card.

https://www.simonsaysstampblog.com/wednesdaychallenge/simon-says-emboss-it-4/

I used the Stampin Up Arrange a Wreath die and a Spellbinders kit called Sparkling Christmas. In the kit are patterned papers, stamps, dies, foam adhesive, and double sided adhesive. I used the patterned paper and a matching piece of cardstock from the kit for the greeting. The solid green came from SU Subtle cardstock. Here is Rita’s card where I took the inspiration: https://www.splitcoaststampers.com/gallery/photo/3017509?&cat=500&ppuser=70873

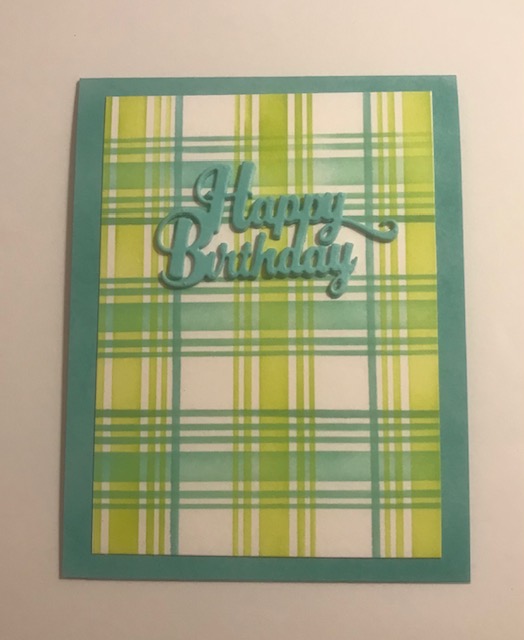
Mad about Plaid

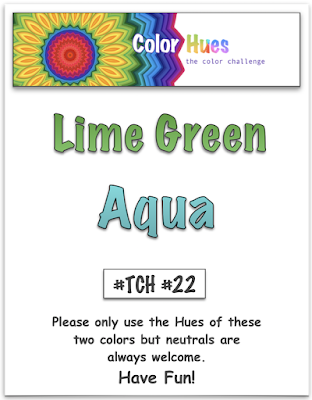
I’ve been tossing around some ideas for the latest Color Hues Challenge to use Lime Green and Aqua. Most of my ideas were involving flowers, which would have involved lots of coloring. While I like coloring flowers, aqua just wasn’t doing it for me for flowers. Then in the middle of the night it came to me – plaid. Don’t know why it didn’t occur to me before because I love plaids. I got out my Plaid Layering stencil from Taylored Expressions. I sponged the first layer in Ocean Mist, then turned the stencil and sponged Key Lime. Then used the second layer and sponged the thin lines in Ocean Mist going both directions. When I went to die cut the sentiment from Ocean Mist CS, I decided it was too light – I’d sponged the color on pretty heavy when I used the stencil. So, I took a scrap of white and sponged heavily with Ocean Mist, then cut the sentiment out three times so I could layer for dimension. I trimmed the plaid piece down using Master Layouts 1. My plan was to make a landscape card, but the holes cut in the sentiment kind of made it blend in with the background. Then I turned it the other way and voila! The sentiment landed over more of the Key Lime and that worked. Since the outer edges of the plaid were Key Lime, I decided on an Ocean Mist card base, but the color still seemed too light. So I sponged around the edges to deepen the color. I like how it turned out and I have another birthday card for my stash.

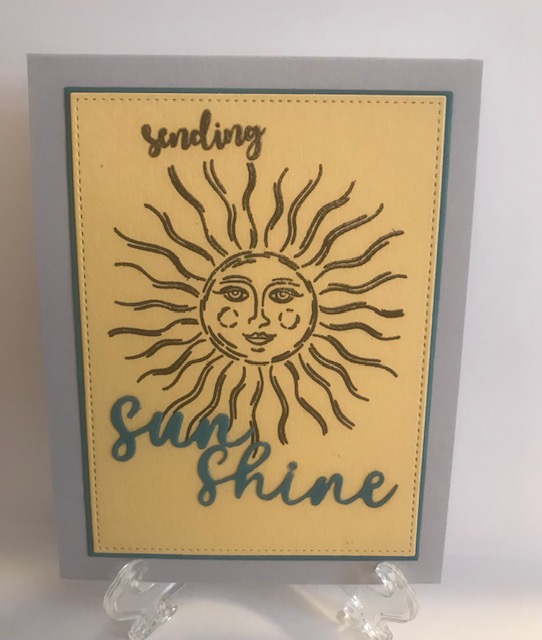
Sending Lots of Sunshine

The color challenge at Just Us Girls is to use yellow, teal and gray. I stamped the cheery sun from Hello Sunshine by Simon Says Stamp in Obsidian, then VersaMark and embossed with clear EP on Sweet Corn CS, then matted it with Tranquil Teal. I die cut Sun Shine from the Gina K Designs Sunshine mini set from the Tranquil Teal mat. “Sending” is from Beautiful Balloons – the font matches the die cut sentiment nicely. The card base is Soft Stone.

For the card below I stamped the sun in Wild Dandelion, then VersaMark and embossed in clear, then used Copics to add a bit of color to the face.  The mat is a piece of Grass Green that I had use to die cut something else from the center. The card base is Wild Dandelion.

Butterfly Repeat

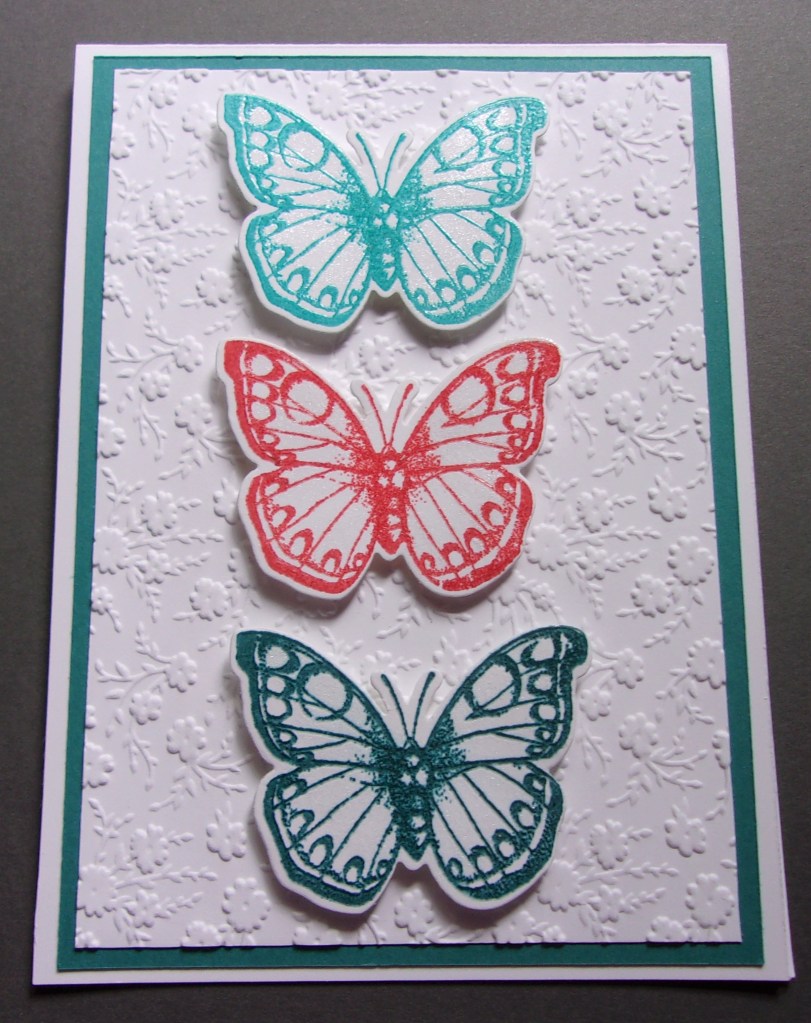
July challenge at A Blog Named Hero is to Repeat Yourself. I pulled out an old Hero Arts set and stamped a trio of butterflies.

http://ablognamedhero.com/2021/07/july-challenge-repeat-yourself/

I used a stamp and die set labeled Hero Arts/Sizzix Butterflies 3; I saw it on Amazon labeled Antique Butterflies. It comes with flowers and 3 sizes of butterflies in red rubber stamps along with matching dies. I chose the largest butterfly to stamp and die cut.

I used Gina K Designs inks in the colors Blue Lagoon, Coral Reef, and Tranquil Teal. I used Tranquil Teal cardstock for the layer you see. I used a Stampin’ Up Ornate Floral 3D embossing folder to add florals to the background. the butterflies are stamped and embossed with clear embossing powder and popped up for dimension.

I chose to leave the greeting off of the front as I really have no room for one. It has been a long time since I have pulled out my Hero Arts stamps and I enjoyed using them. They were the first brand of stamps that I purchased 20 years ago.

Christmas in July

Christmas in July seems to be the theme everywhere. Getting started Christmas cards this early is not a bad thing as I’m always hustling at the last minute to finish cards. The background panel is created by brushing Red Velvet ink over a poinsettia stencil. I stamped the large poinsettia from Winter Flower by Gina K designs (2018 incentive) in VersaMark on vellum and embossed in gold. It’s a very elegant sentiment but doesn’t show well here. I used the matching die to cut it and die cut another poinsettia from a scrap of Red Velvet CS to layer behind it. The vellum really softened the red. The sentiment is from the same set, embossed in gold. The tiny poinsettia was cut using and old Spellbinders die, Holly Frame. The die cuts four at a time, so I layered them together for dimension and added a bit of bling from my stash for the center.  I’m entering this in the following challenges:

Retro Rubber Challenge Blog (RRCB162)

Mod Squad Vellum Flowers

Gina K Monthly Mix Christmas in July Challenge

RRCB 162

Retro Christmas

Just Add Ink #562…Inspiration

The challenge with the Just Add Ink Challenge blog is an inspiration photo:

and is definitely a Christmas in July theme for me. Working off of the ornaments in the inspiration photo, I wanted to play around with my Taylored Expressions Baubles layering stencil and Beautiful Baubles stamp set. The stencil is very easy to line up and fun to create these retro looking ornaments.

Thanks for stopping in for a peek.