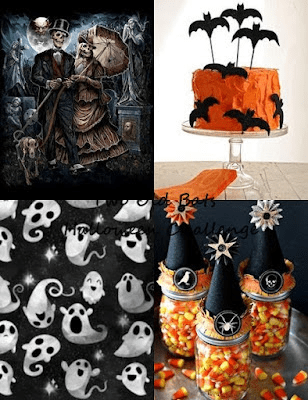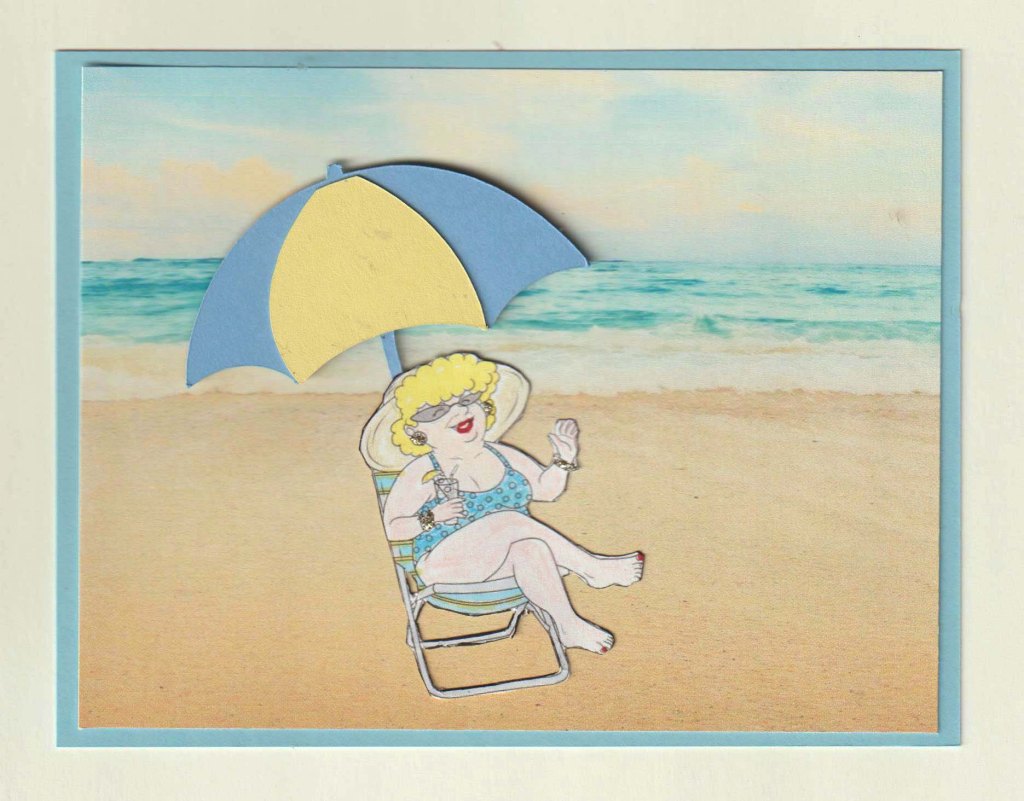
When I saw this image I immediately thought of my second granddaughter, who is the most like me. My son & d-i-l say, “why did she have to take after Grandma Gerry”. She has my humor and snarkiness. The only difference from the photo is that my granddaughter has always been very blonde.
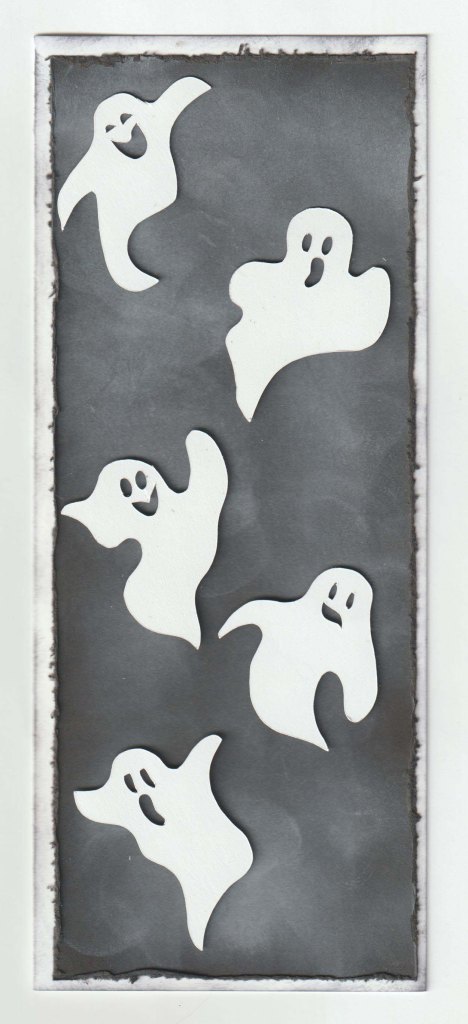
The background in the photo inspired me to emboss the gray background piece with Tim Holtz Brick ef lightly sponged with Basic Gray stamp pad. Frame is Spellbinders Classic Rectangles Small. I loved making this and can’t wait till she gets it.
Thanks for stopping by. Comments are greatly appreciated. Have a great day and stay healthy & safe.
Gina K Designs Sketched Flowers Stamp and Enjoyable Greetings stamps and die sets, SimonSaysStamp Square Dance Stencil, GKD and SSS inks., Glossy Accents, silver Liquid Pearls.
Today’s Spring CardCamp class lesson was presented by GinaK to create a card using rainbow colors and die cuts. I opted for two die cuts from Sketched Flowers and using my various rainbow ink pads inked the leafy vines then stamped with versamark and clear heat embossed. The background continues with a rainbox of colors using the inked brushes over the square dance stencil, layered on a piece of black cardstock then mounted on my vibrant green card base. I was inspired by and CASE’d Cathy Zielske’s YouTube card from yesterday.
Fun challenge today. the second instructor was Zsoka Marko who created die cut background cards.
Thanks for stopping in for a peek. I appreciate you and your time. Take care and be safe.
I think anyone who is a Gina K Designs follower will recognize the placement of any wreath made using the wreath builder. I followed her directions today and made the die cut wreath. The dies I used are SU dies that recently retired, so I picked them up for half the original price. This shows one of the leaf dies. I used the colors that Gina used making an 8 color rainbow. My greeting came from a Paper Smooches set. I enjoyed creating with Gina’s ideas.
As the challenge is to use things from our stash, everything used has been in my stash for quite a while. Luckily the pp was just the right size. Dies used are Leafy Greenery and Stitched Ovals both from Di-namics. I used a toothpick to add glue to the leaves otherwise I would have had glue all over.
Thanks for stopping by. Comments are greatly appreciated. Have a great day and stay healthy & safe.
I created with lessons from Dana Joy. She showed how she watercolors flowers with layers. I own a die set from Lawn Fawn, so I die cut many pieces of watercolor paper with this set. I made several poppies. I used Stampin Up inks and refills for the coloring. Poppy Red was used for the flowers and Granny Apple Green for the leaves. I added a bit of Gina K Designs Fresh Asparagus with the apple green for a bit of variation. I finished the flower centers with a bit of sparkly Nuvo drops. I chose the greeting from a Paper Smooches set.
I really enjoyed Day 8 lesson. I enjoyed coloring the large petals of this flower.
I created a card with Day 7 where the focus is on stacked die cuts.
Day 7 with Victoria Calvin.
I chose to use punches for my stacked die cuts. I layered thin Hobby Lobby white paper. My punches are very old as they are the whale type punch from EK Success. I was thrilled to come up with a reason to actually use the punches. I decided to use the birthday greeting as well as the gift box. The patterned paper is Echo Park from a few years ago. I used a scrap with the gift box. The gift box is a Sizzix/Stephanie Bernard die. The greeting is from The Stamps of Life, so a lot of Stephanie is on this card.
I really struggled with week 1 of the class, so I was thrilled with Day 7. I knew I had supplies for the technique being taught.
Gina K Designs Sketched Flowers, SimonSaysStamp Hello die and shadow, Spellbinder’s Large Classic Ovals, Martha Stweart butterfly punch
Day 9 classes at Spring CardCamp 2022 was led my Jennifer McGuire and we learned an in-lay diecutting technique which ends up with the image panel having no raised dies but flat and smooth. I made a woodgrained background by swiping GDK honey mustard and dark sage over my scored background then die cut one image at a time.
Frantic Stamper’s Good Friends Daisy Frame, Gina K Designs Leaf Stencit, Stamperia stencil
Yana Smakula continued the lesson and we went from flat to stacked and off set. I cut my frame and word dies from 4 different shades of light weight cardstock and off set them slightly for dimesion. The background is a combination of a GKD leaf stencil and one from Stamperia.
Two different looks but came together nicely.
Thanks for stopping in for a peek. I appreciate you and your time. Take care and be safe.
Day 8 at Spring CardCamp 2022 was to create “realistic 3D flowers using die cut flowers. The lesson was taught by Caly Person and an alternate lesson by Dana Joy creating watercolored die cut flowers. So this was the only stand alone flower and leaf die in my stock of goodies and I opted for a more non-realistic grouping of flowers for my card. I like the background so I may try again but this time with flower stamps and dies.
Thanks for stopping in for a peek. I appreciate you and your time. Take care and be safe.
Hero Arts Seashells Fancy Dies, Gina K Designs Gifts from the Sea sentiment, Distress Oxide Inks
Our class today at the Spring CardCamp 2022 was Faux Letterpress die cuts. Cut your die 3 times from heavy cardstock and once from vellum, glue together and ink the vellum layer in a pigment ink and run through your machine on emboss mode. Kristina Werner was the instructor on this class and our background was supposed to be water colored. Kristina used DO reinkers, however, as I do not own reinkers, I used the ink pads with water and a brush to achieve my background. If you look closely you can hopefully see my seashells faux letterpress. This was like following a Martha Stewart recipe…..looked good but didn’t turn out quite right. I do like my inked (water colored) background though.
Here’s my other attempt:
Hero Arts Jungle Frame Fancy Die, My Monthly Hero Jungle set, Taylored Expressions A2 thin cutting frame.
After die cutting the jungle frame 3 times from heavy cardstock and once from vellum, I inked the vellum in black soot distress ink. Well that made pretty much of a mess because my sandwich slid a little bit so I wiped off the black soot and cut another piece of vellum which I should have added to the back of my stack but decided to add to the top and the result gave me more of a raised embossed look. The other side which was watercolored didn’t really look that great so I added some more ink and water to this side. I like this look even though it didn’t fit the homework assignment.
Thanks for stopping in for a peek. I appreciate you and your time. Take care and be safe.