For the advanced lesson, the idea is to mask several images.
Daisies in a Vase
You may think my vase is quite round and it is. I used a fish bowl. This stamp is from Rubber Stampede, dated 1994. I have used it as a vase before, but it has been a long time. The flowers are from Power Poppy, Glads & Gerberas. I masked the daisies two times. I stamped one set of flowers, masked them, stamped a set where it hit those flowers, then masked both sets. My last set was stamped in the center. The For You sentiment came from the SU Paper Pumpkin, Sentimental Rose set.
For the intermediate level with masking, it involved masking more than one image on the card front.
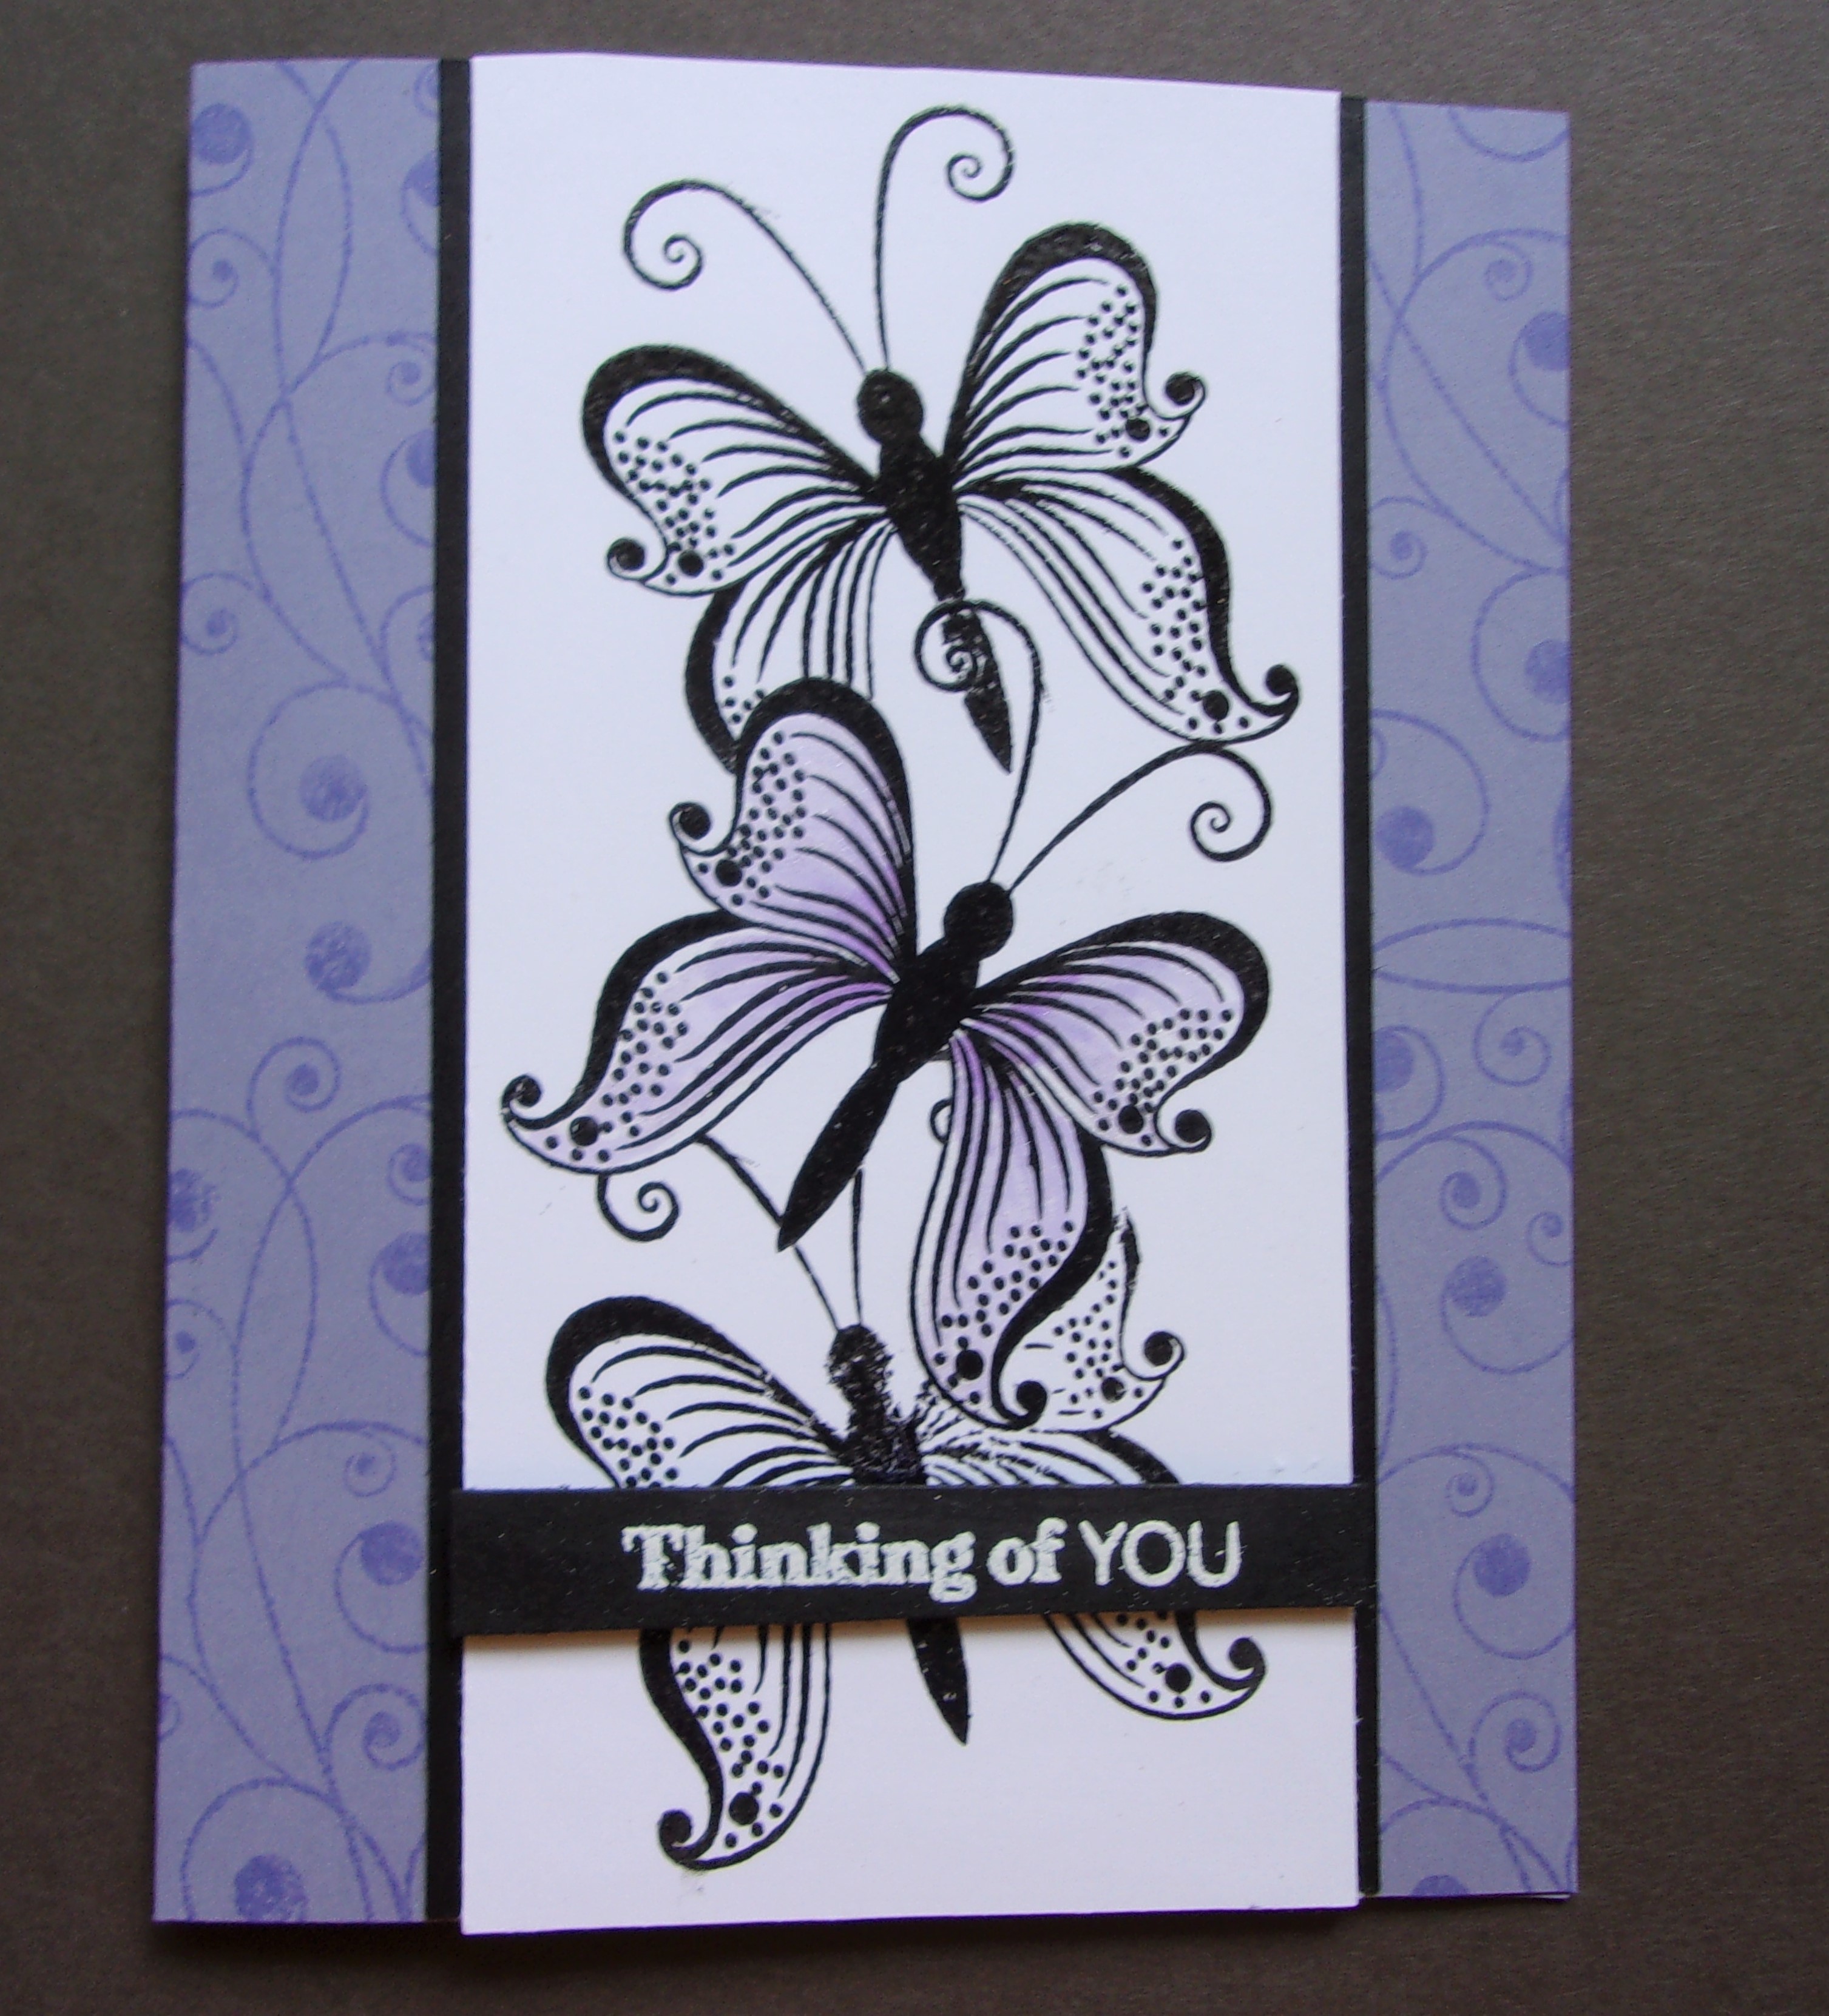
Masking Butterflies
I masked the middle butterfly, then stamped the butterflies above and below. I colored the middle butterfly and left the other two white. My background was quite plain, so I used the flourish stamp in the set with ink that closely matched to give it a bit of background. I used a set designed by Gina K Designs for a Catherine Pooler’s Stamp of Approval collection. It is called Beautiful World. The background paper is Stampin’ Up Wisteria Wonder, stamped with GKD Wild Wisteria. The black ink is Versafine Onyx Black. The sentiment is from SU Paper Pumpkin, Sentimental Rose (April 2019).
Day 3 of the Progressive Cardmaking class is all about masking. The beginner masking is quite simple, basically masking one image to keep it in the forefront.
Birthday Wishes
I used Gina K Designs Bold Blooms for the main image, masking the flower before adding the leaves. The sentiment is from a incentive set by Gina K Designs. It doesn’t have a name and cannot be purchased in her store, but came during a holiday sale. I used Rose Gold embossing powder on Versamark ink. I left the card very simple with no sequins or embellishments. This will be posted in the Altenew Academy class Student Forum.
Hero Arts is celebrating 45 years in business. I love Hero Arts stamps. I began stamping in 2000 and many of my stamps were Hero Arts. Hobby Lobby carried many Hero Arts stamps, both individual and in sets, and I purchased several. Here is a photo of a few stamps found in my collection from the 1990’s with colored stickers.
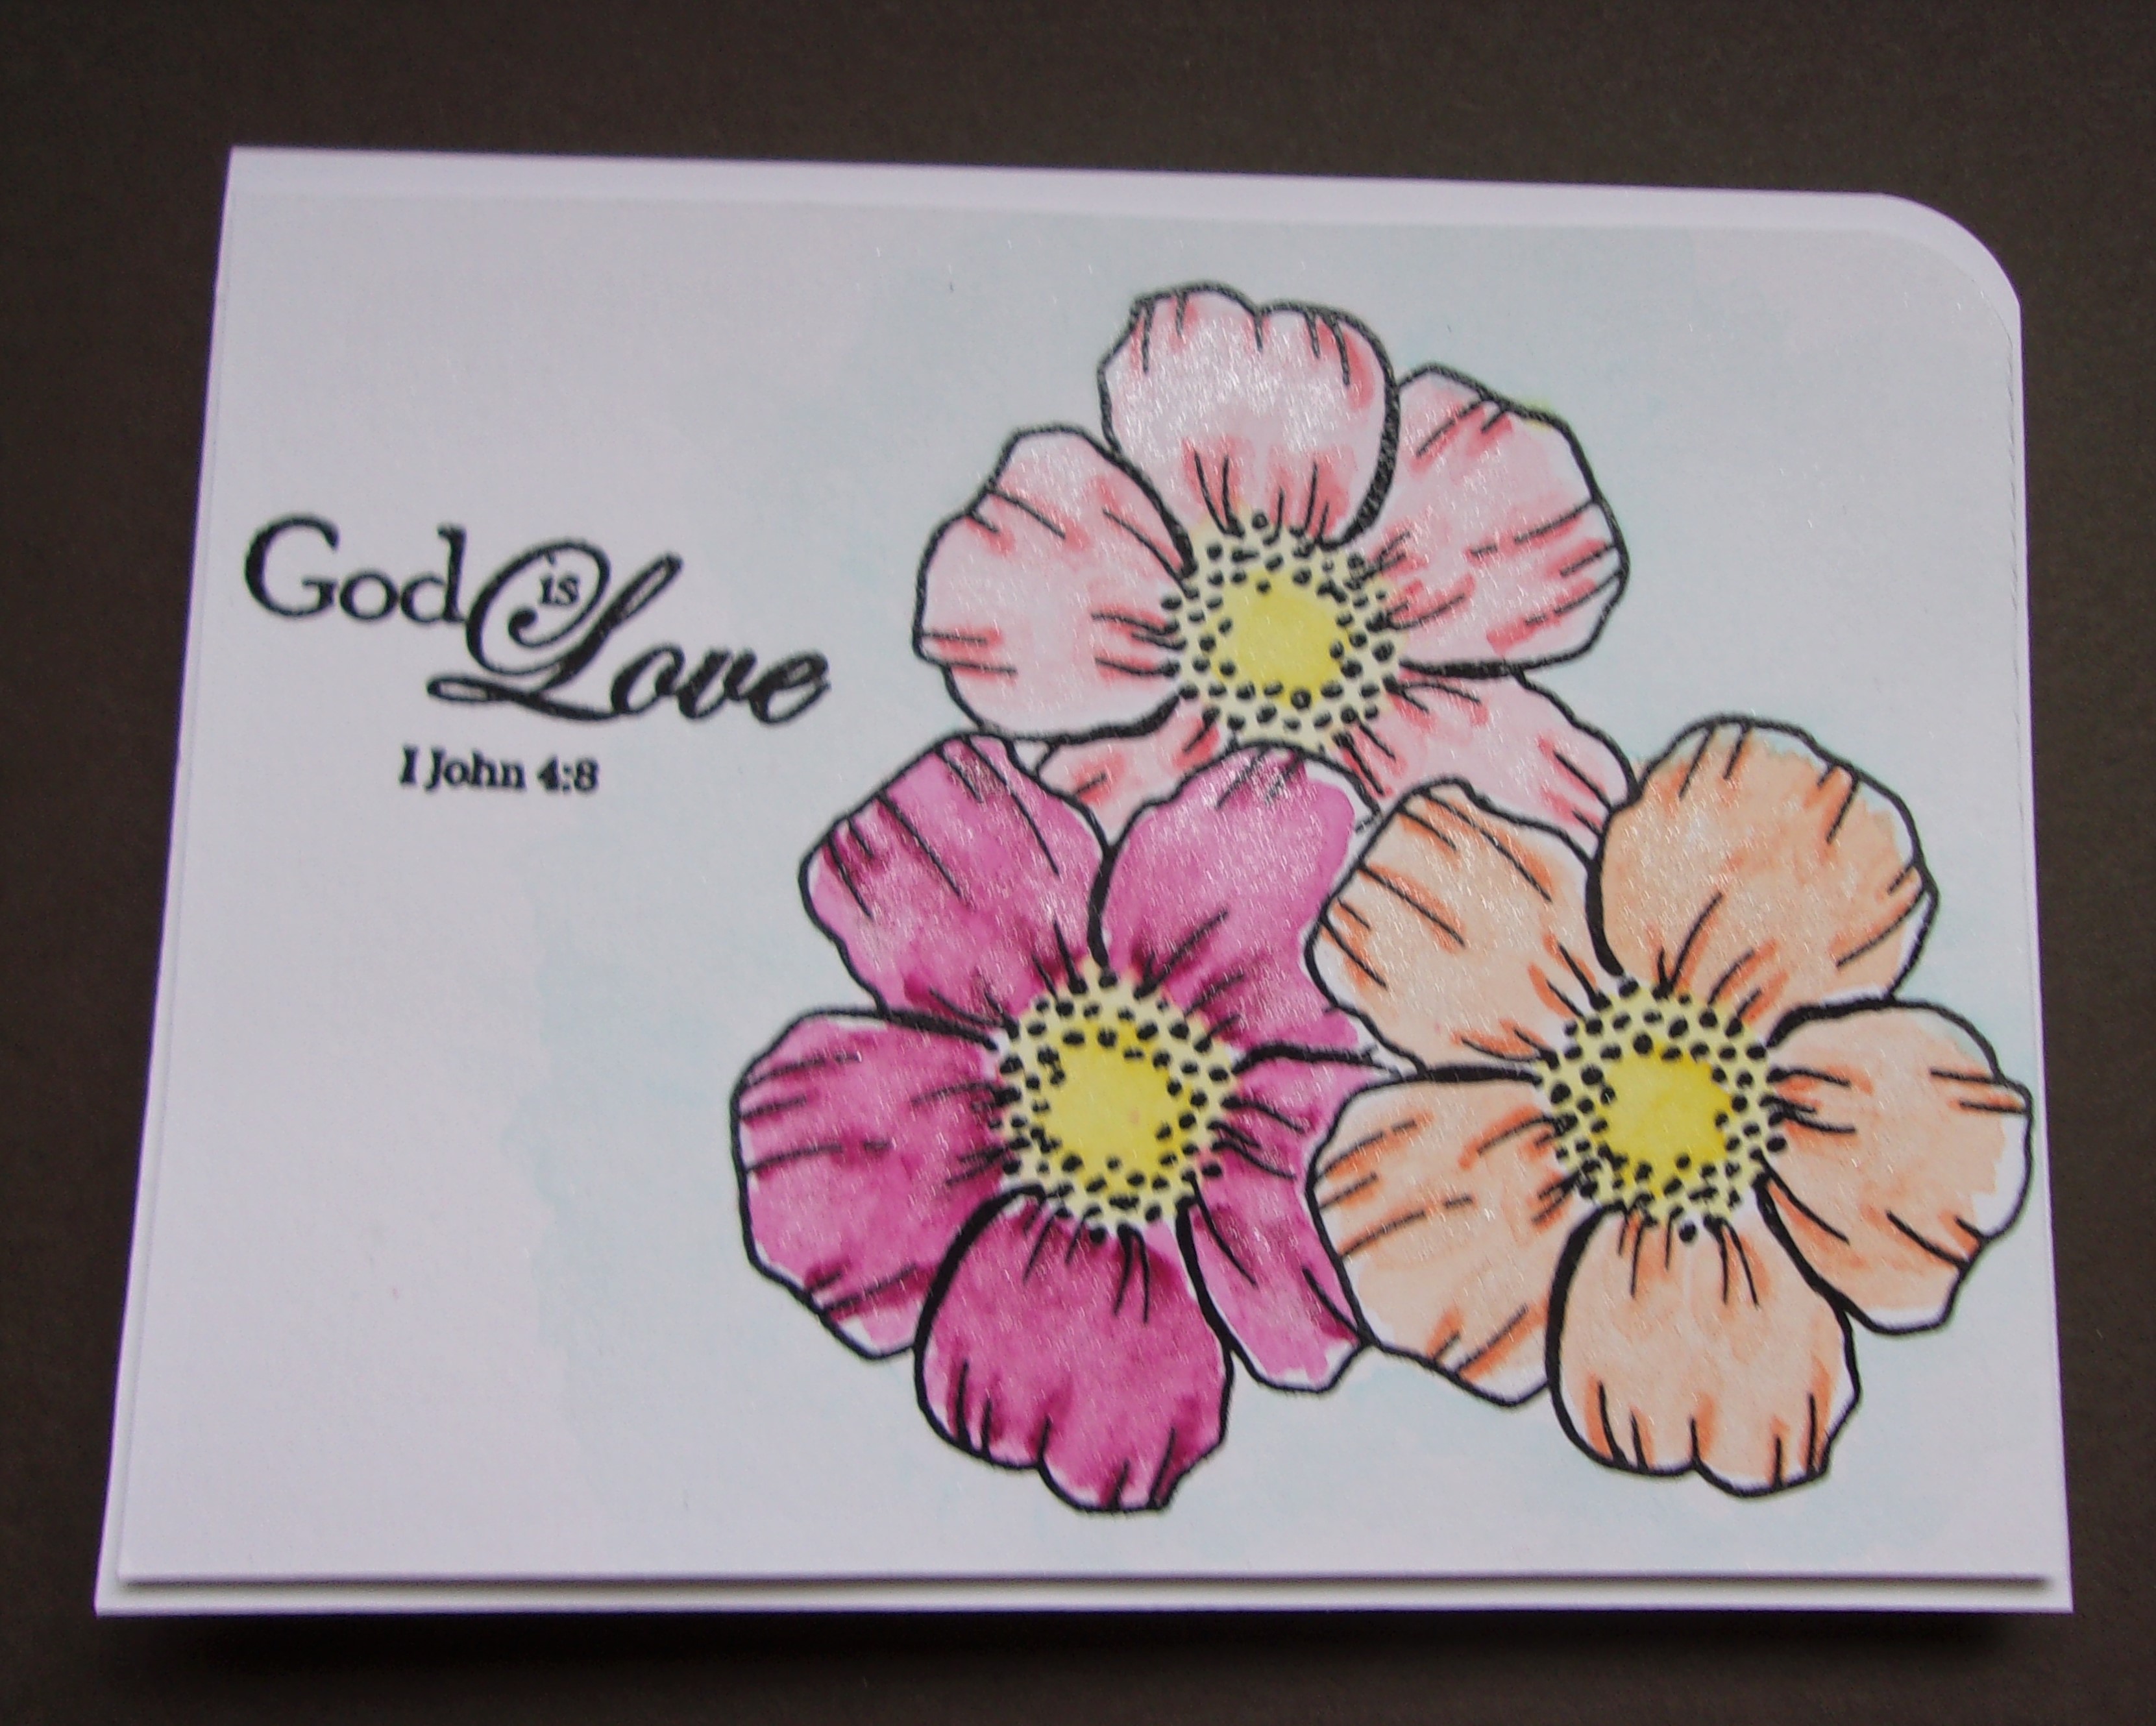
This lesson was about watercoloring the image. I chose a Unity set called God is Love. I masked the flower image each time I stamped another flower. Ink colors used: SU Flirty Flamingo, Grapefruit Grove, Berry Burst, Tombow 451-Sky Blue, 055-Process Yellow. The final detail I was to add sparkle to the flowers using a Crafter’s Companion clear Sparkle pen.
I am taking an Altenew Adademy class called Progressive Card Making, taught by Justine Hovey. Each day has three levels, beginner, intermediate, advanced. Following are Day 1 beginner photos.
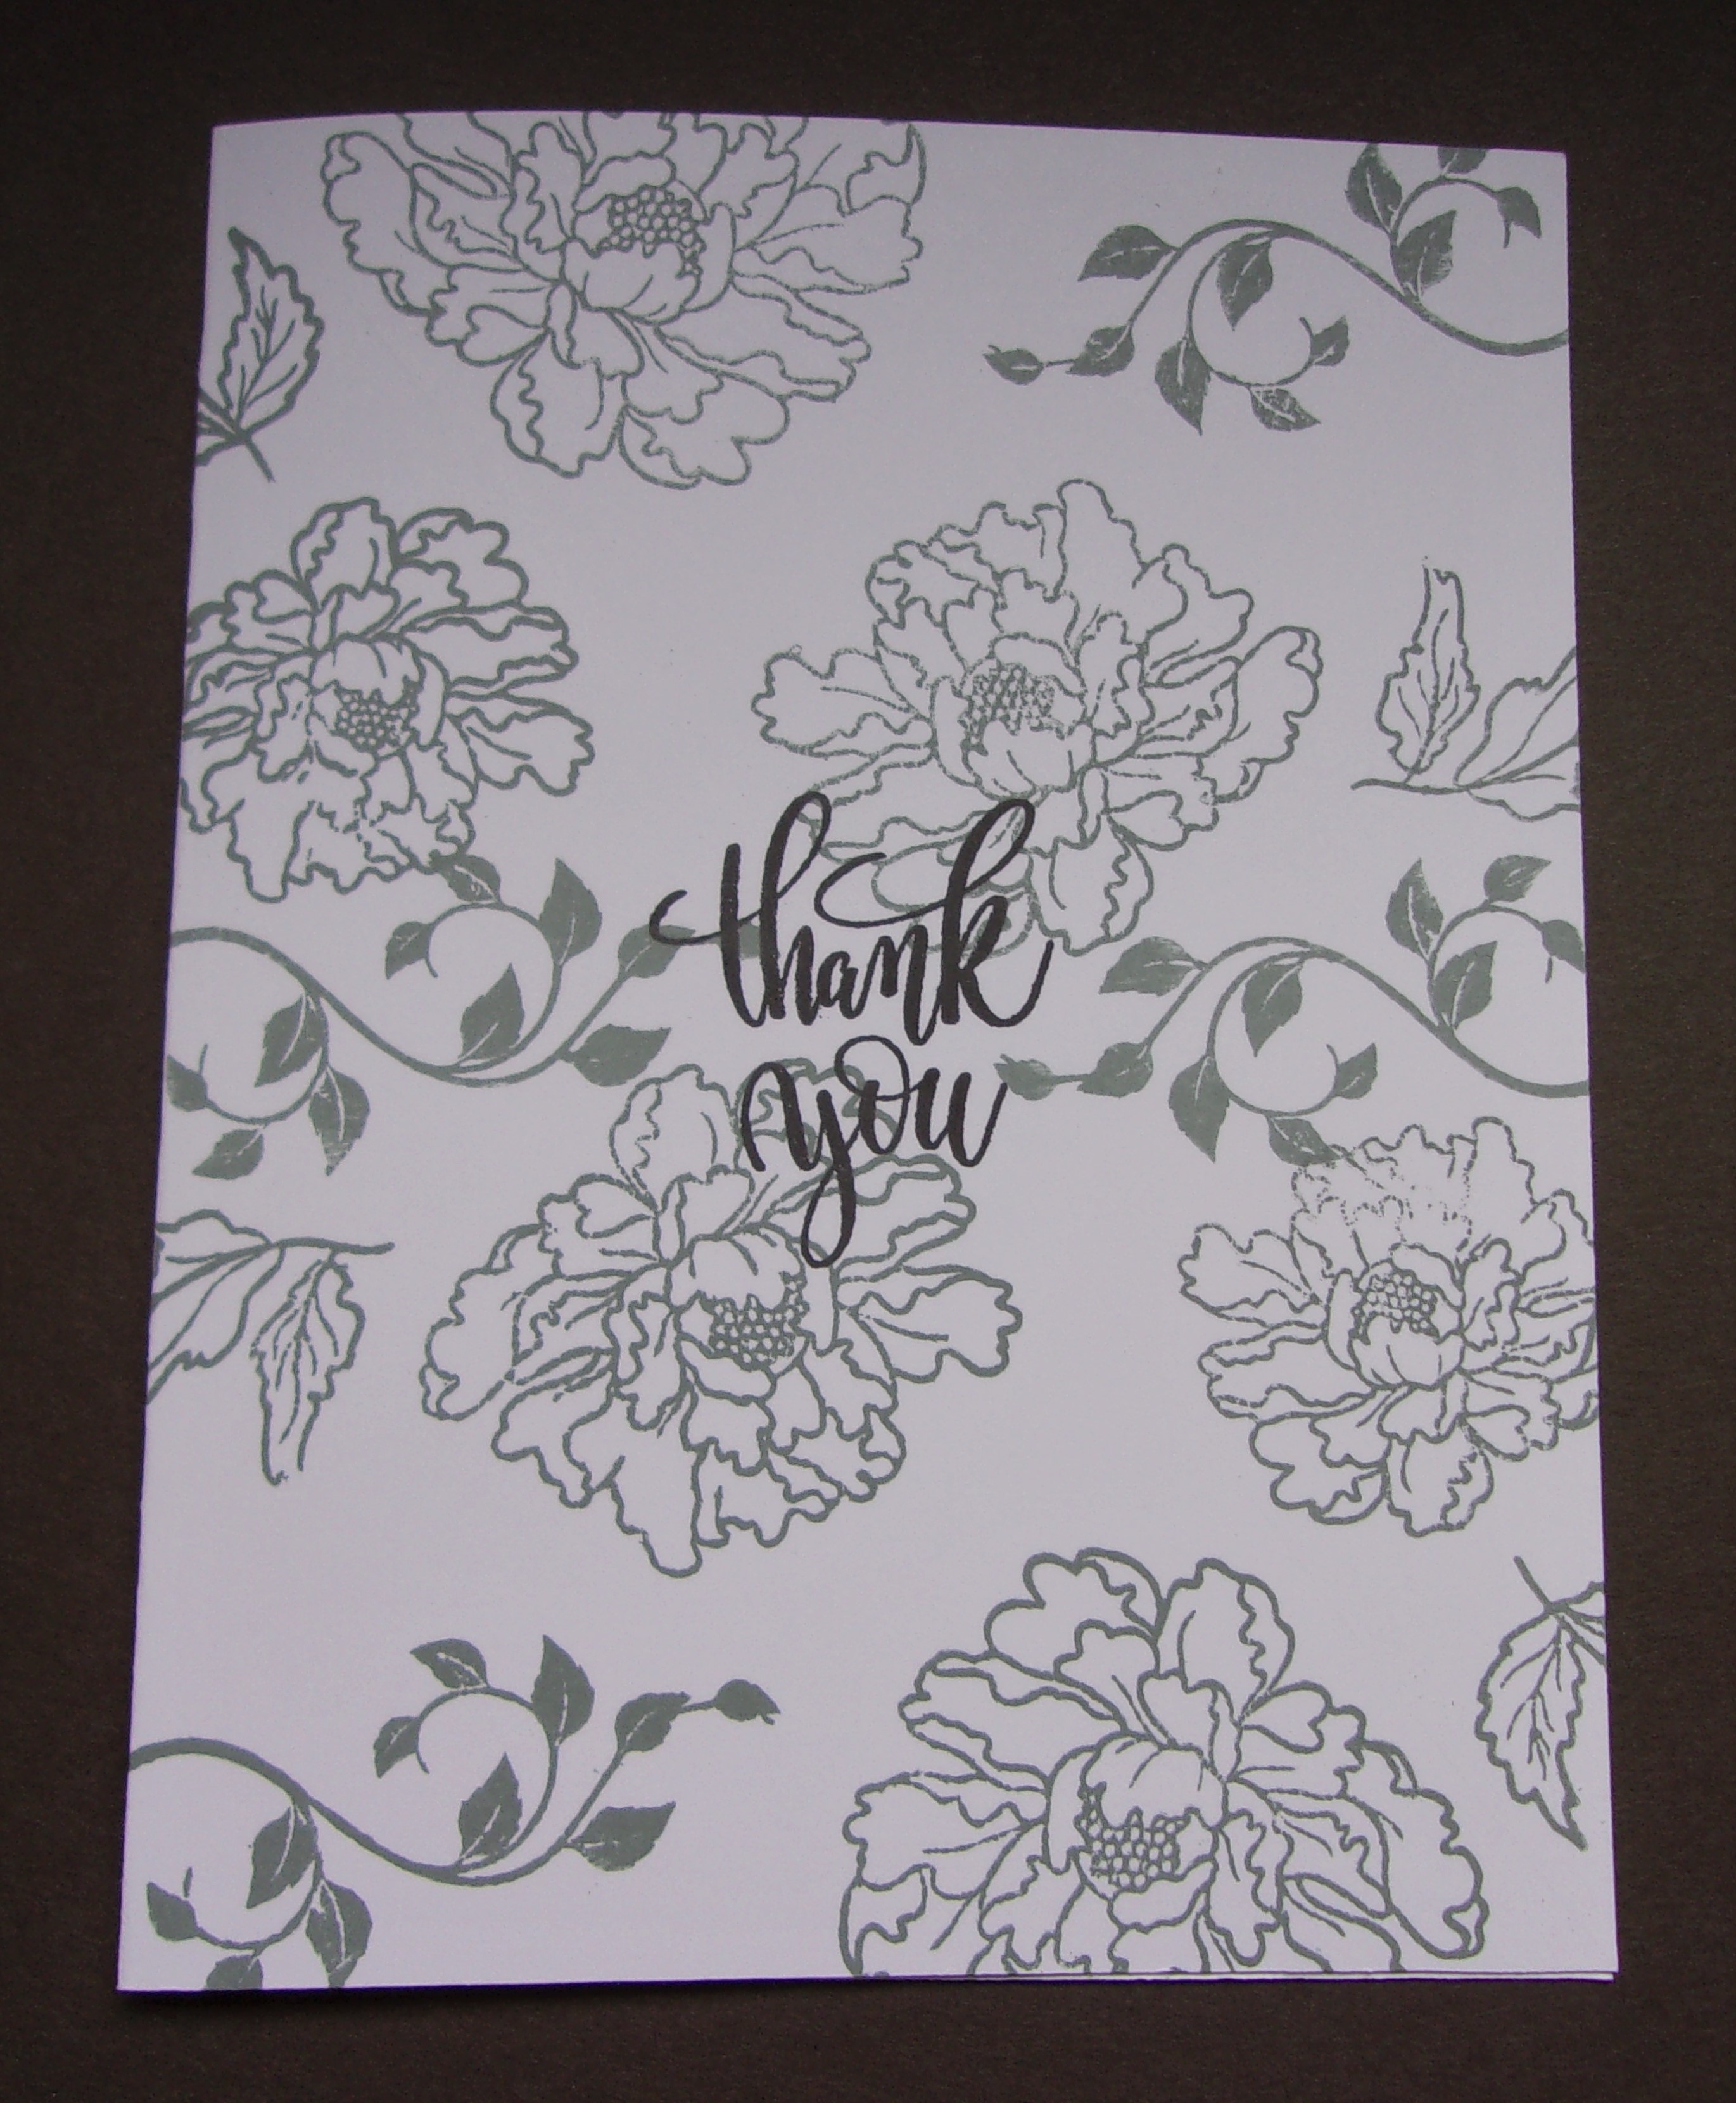
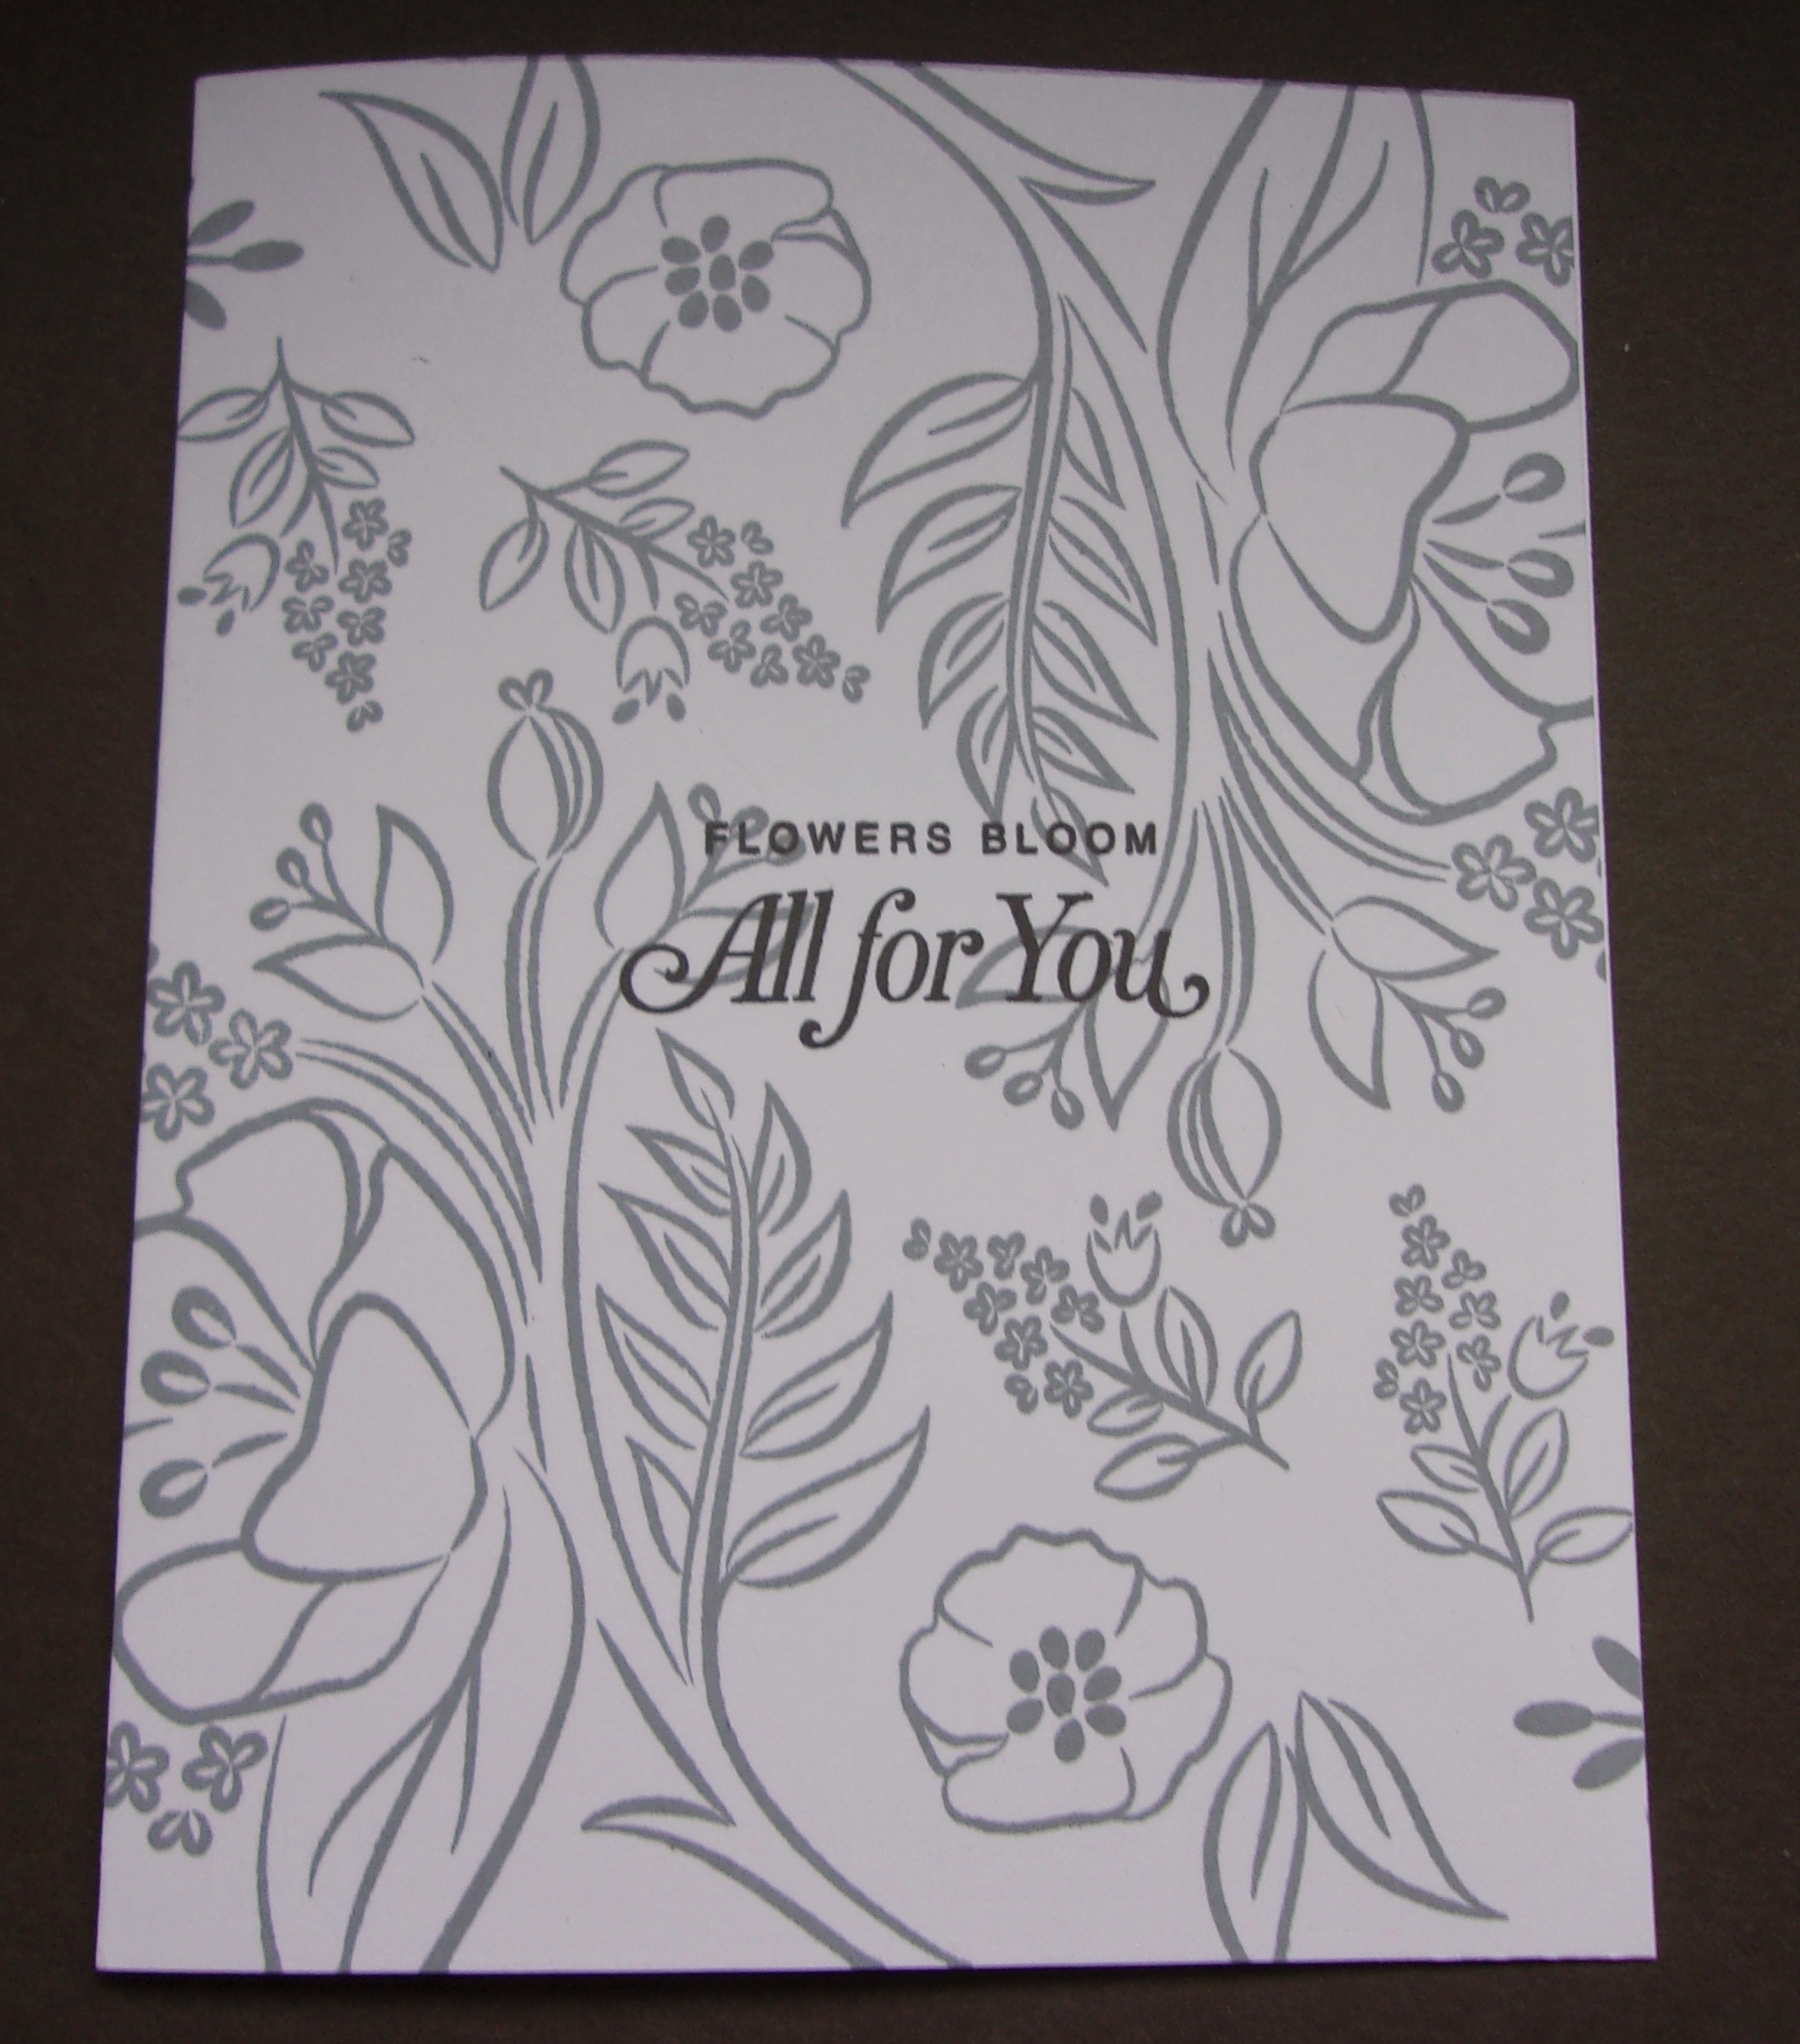
Card 1: GKD Rose PeoniesCard 2: SU All that You Are
This day is all about stamping. We lined the stamps up on half of the Misti, then rotated the paper and stamped again. I did add a few images to fill in the white spaces. I am enjoying this class. It is independent, so I do not have to hurry. My day 1 has lasted a few days.
I used Lawn Fawn Hippo ink for the flowers and Versafine Black ink for the greetings, embossed with clear embossing powder.
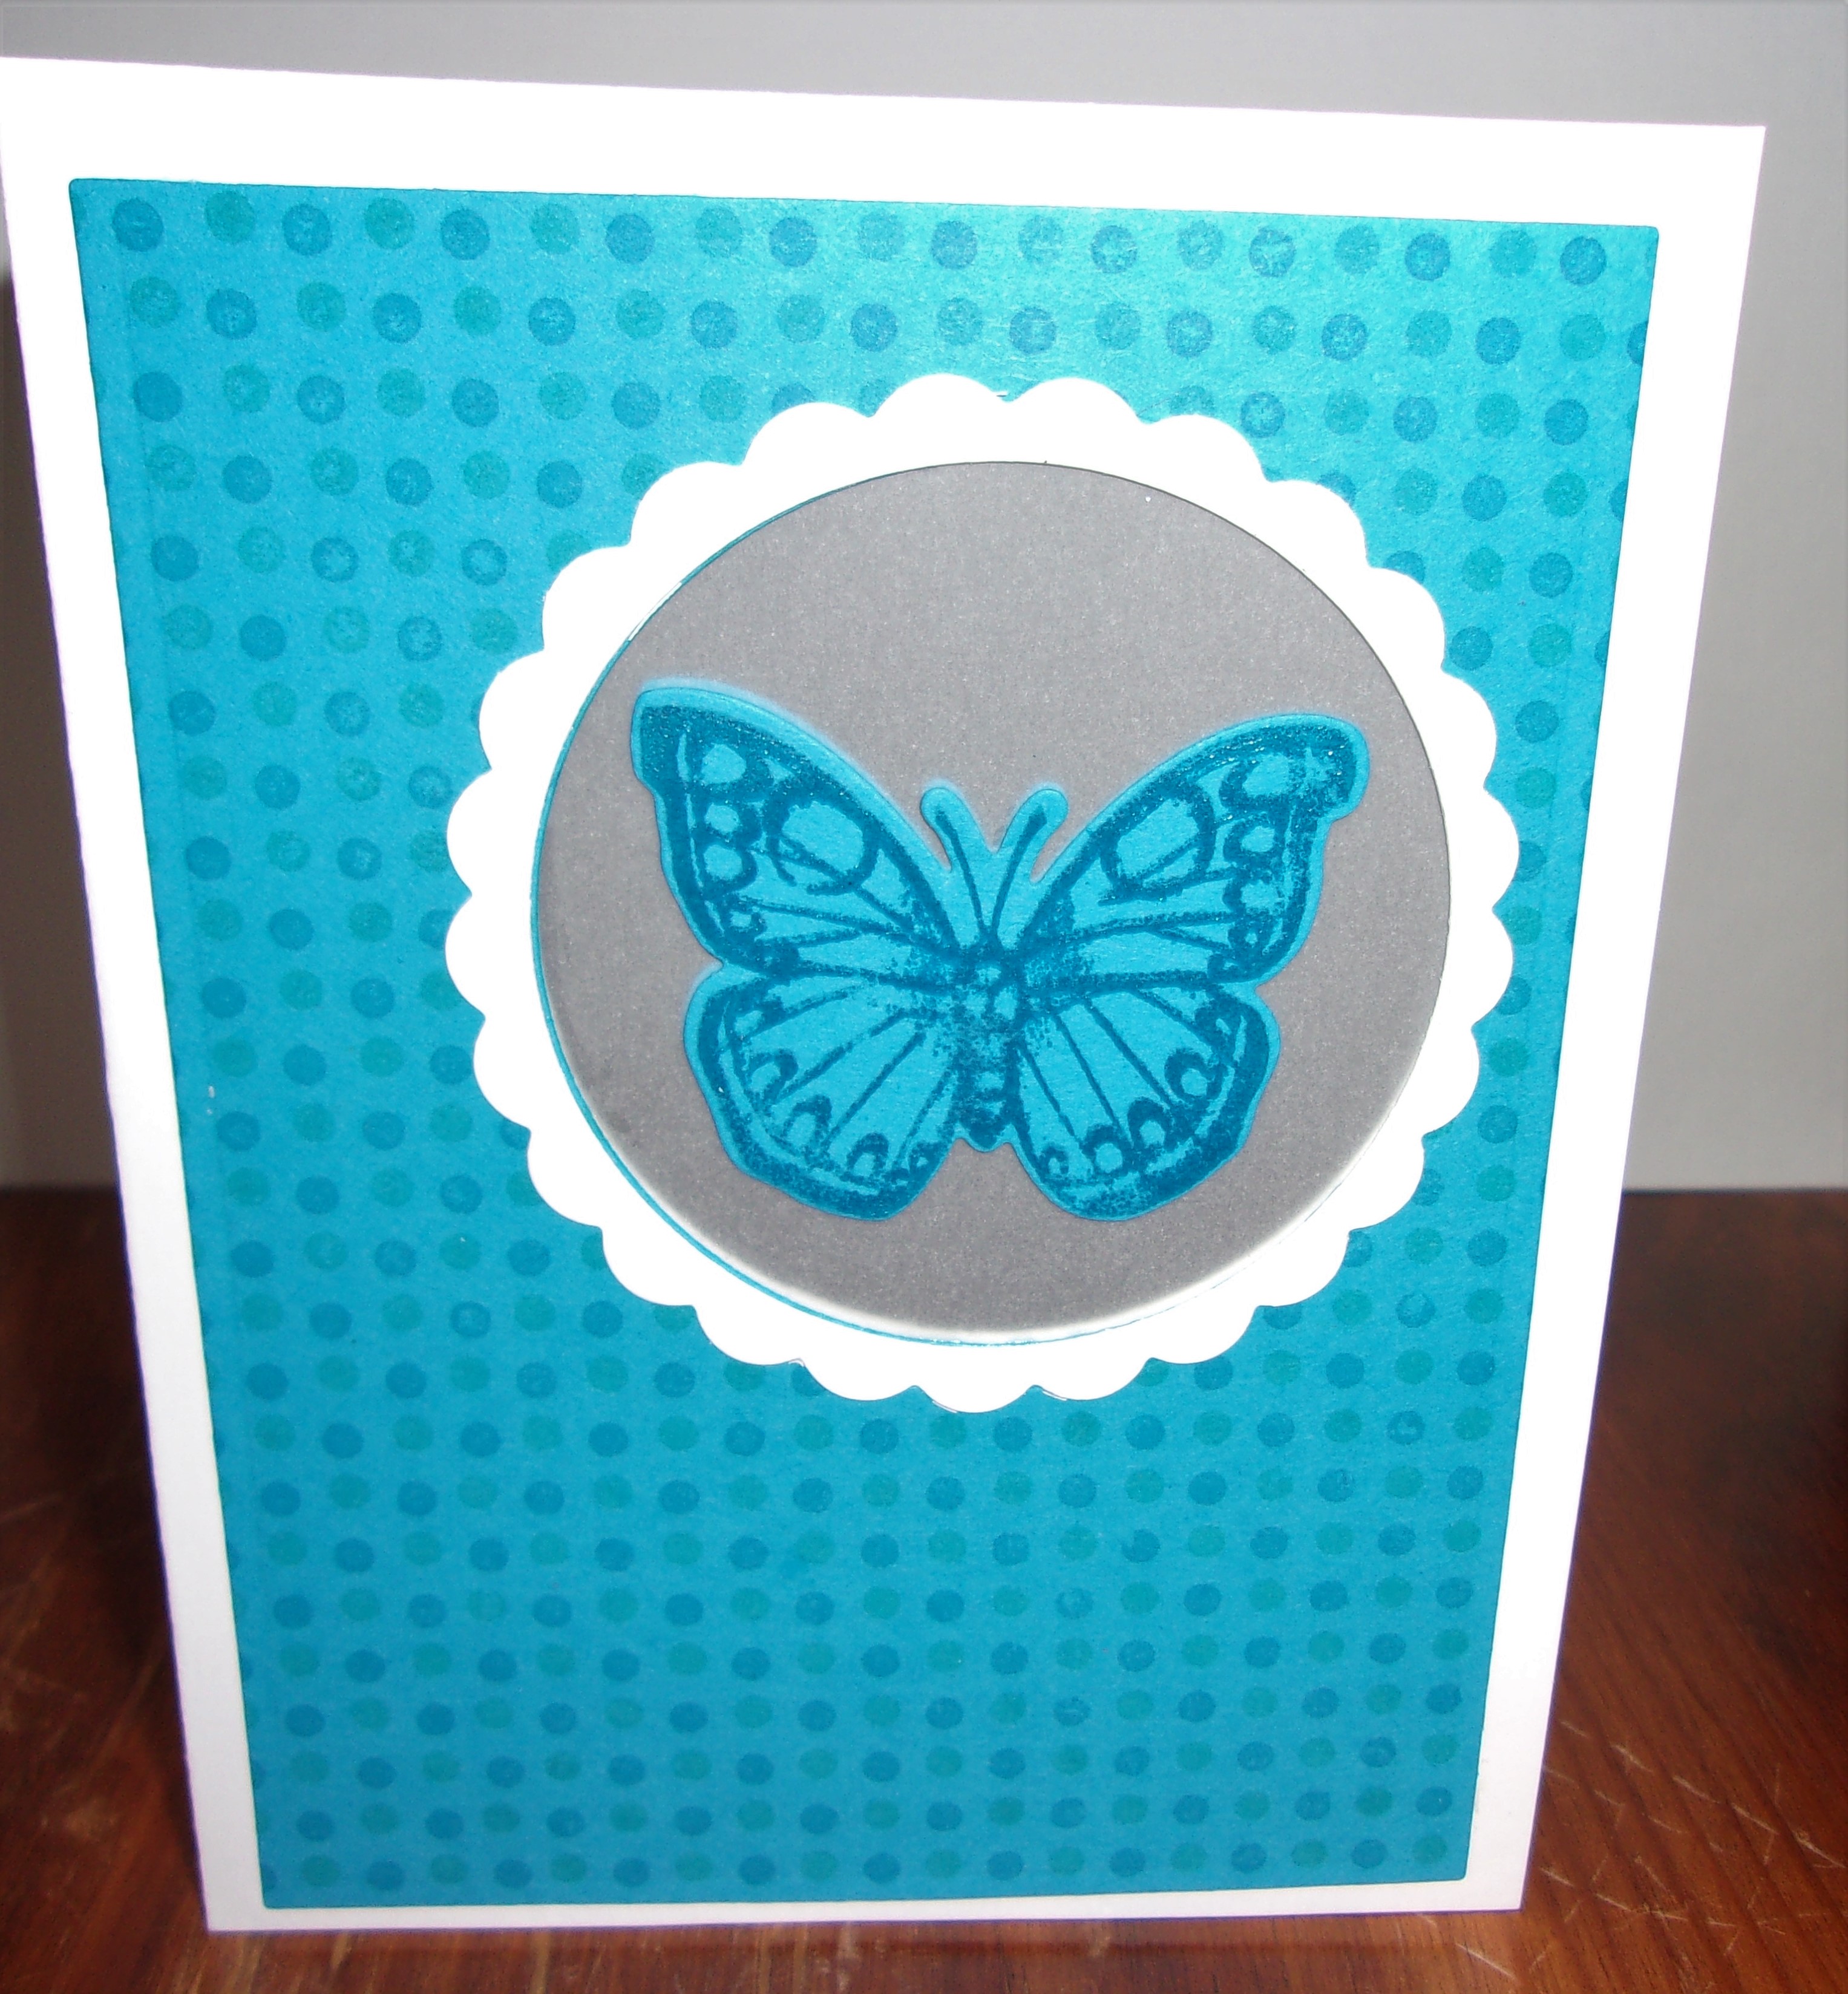
Day 3 is all about background stamps. I own one Hero Arts cling background stamps, so that is what I chose. I have had this stamp for many years and have no idea of its actual name, so I will call it Dotted Background Cling Stamp.
I followed Jennifer McGuire’s video and idea of shifting the background stamp to change it a bit, and also to place a floating image on the card. I have vellum, so that is what I floated the image on.
Day 3 background shift and floating image
I used two ink colors in the background: Lawn Fawn Peacock and Blue Jay. I made the template of the stamp by stamping it on vellum, so I could have a guide to shift my stamp. The butterfly is from a set that was created by Hero Arts along with Sizzix. The butterfly was stamped with Blue Jay ink, then Versamark and clear embossed. I used several dies on this card. First is the butterfly die that matches the stamped image, then I decided it needed a frame, so I used a Sizzix circle die and a scalloped circle die together. Since the butterfly is floating on vellum, the inside is covered with the same butterfly image to hide the adhesive. I did the same with the scallop frame.
I didn’t add a greeting. This way, it can be used for several occasions.
I used Jelly Bean Green cardstock by Gina K Designs for the card base. I used Echo Park Spring Fling Patterned Paper. The yellow piece on the flap and the circle is Wild Dandelion, also from Gina K Designs. The butterfly image is long ago retired from Stampin’Up called Butterfly Prints with matching punch. I found a sentiment in the set Springtime Baskets from Gina K Designs, illustrated by Claire Brennan. This was a fun card to make.






 Stamp Buddies